15 Minute Vanilla Mousse Filling For Cake
Learn how to make an amazing vanilla mousse filling for cake. This simple recipe provides solutions for a sweet, light, and delicious cake filling.
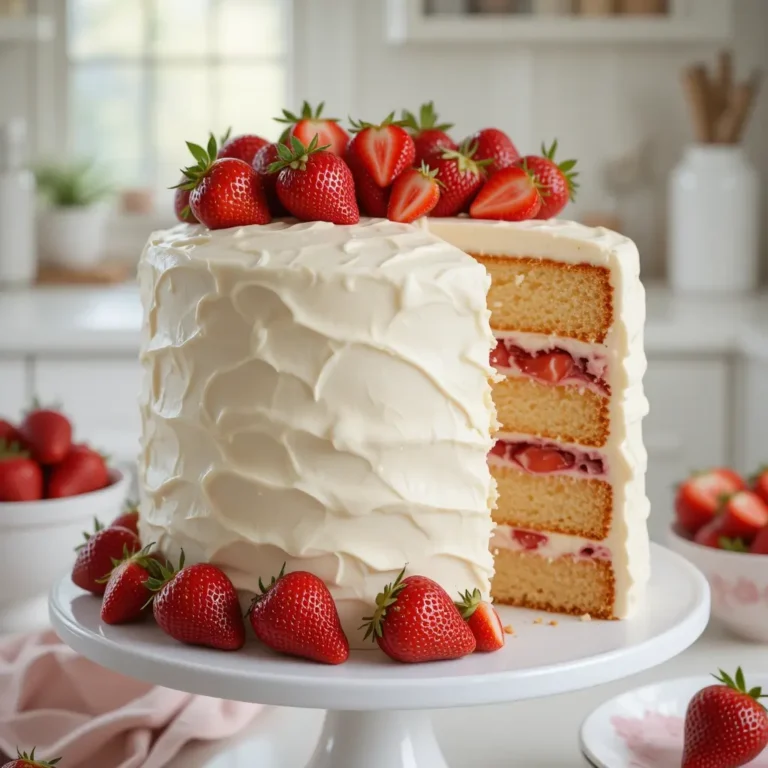
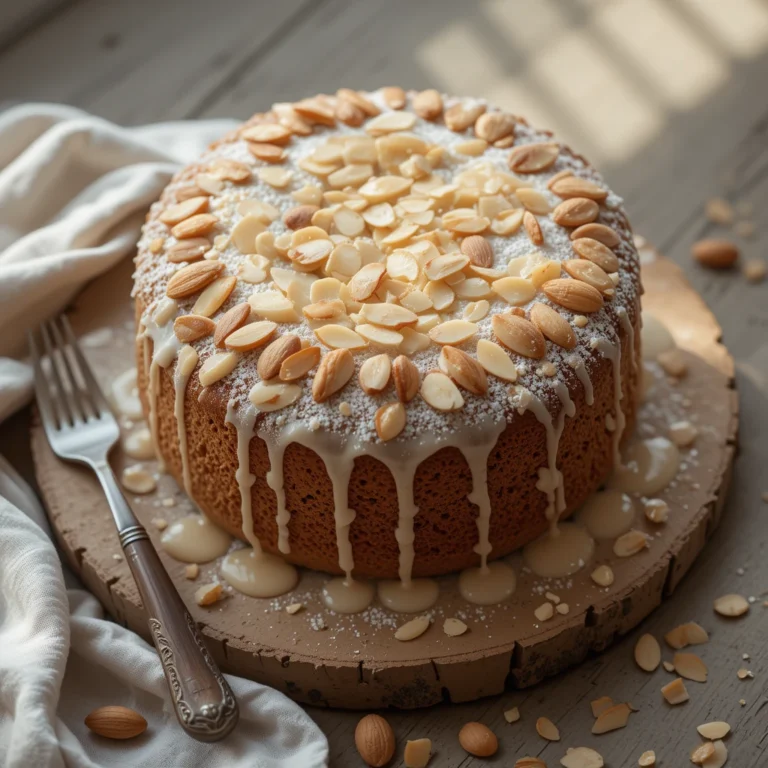
Picture this: you’re biting into a slice of cake and suddenly hit the most incredibly light, airy, and creamy vanilla mousse that melts on your tongue like a cloud of pure bliss.
This vanilla mousse filling for cake transforms any ordinary dessert into a restaurant-quality masterpiece that’ll have your guests begging for the recipe. It’s surprisingly simple to make, requiring just 15 minutes of prep time and basic pantry ingredients.
What is Vanilla Mousse Filling for Cake?
Ever wondered why fancy bakeries charge premium prices for their layered cakes? The secret often lies in their heavenly mousse fillings! This vanilla mousse filling for cake is essentially whipped cream’s sophisticated cousin – lighter than buttercream, more elegant than regular whipped cream, and infinitely more impressive.
As they say, “the way to a man’s heart is through his stomach,” and this silky-smooth filling definitely paves that path. Ready to become the dessert hero of your kitchen?
Why You’ll Love This Vanilla Mousse Filling for Cake
The Perfect Texture Balance
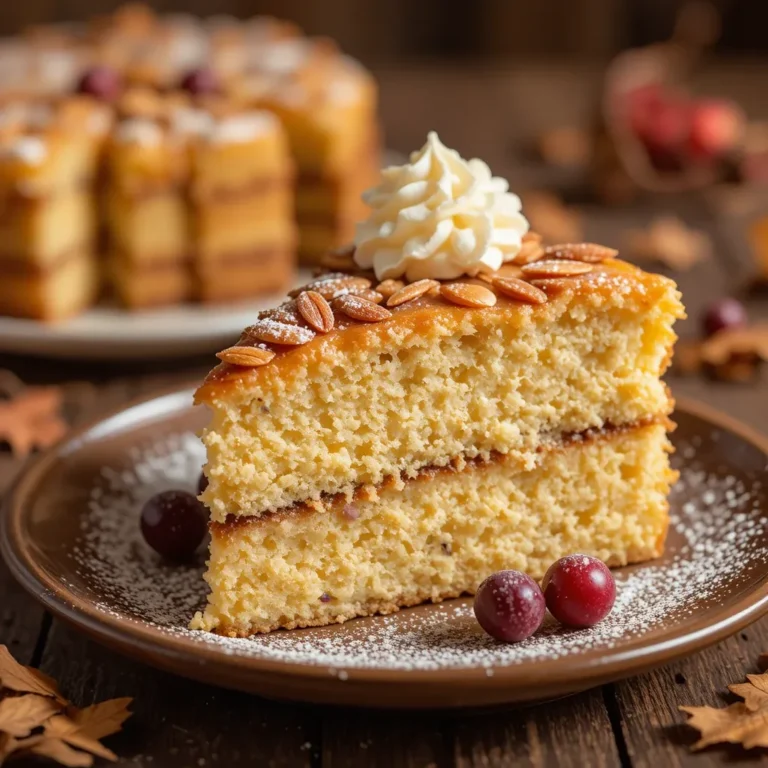
This vanilla mousse filling strikes the perfect balance between rich and light. Unlike heavy buttercream that can overwhelm delicate cake layers, this mousse complements without competing. The airy texture literally melts in your mouth, creating layers of flavor that dance on your palate.
Budget-Friendly Elegance
Making this vanilla mousse filling at home costs a fraction of what you’d pay at a bakery. With just five basic ingredients – most of which you probably already have – you can create professional-quality results. Compare this to our popular chocolate ganache recipe, and you’ll see how versatile and economical homemade fillings can be.
Endless Flavor Possibilities
While vanilla serves as the perfect base, this mousse filling accepts flavor variations beautifully. Add lemon zest for citrus brightness, coffee for mocha depth, or berry puree for fruity sweetness. The neutral vanilla base makes it compatible with virtually any cake flavor combination.
Ready to elevate your cake game? Let’s dive into creating this show-stopping filling that’ll make every celebration extra special.
How to Make Vanilla Mousse Filling for Cake
Quick Overview
This vanilla mousse filling delivers professional bakery results with surprisingly simple techniques. The key lies in proper whipping techniques and temperature control. You’ll create a light, stable mousse that holds its shape beautifully between cake layers while maintaining that signature melt-in-your-mouth texture.
Preparation Time: 15 minutes
Chilling Time: 2 hours
Total Time: 2 hours 15 minutes
Yield: Enough for one 9-inch layered cake
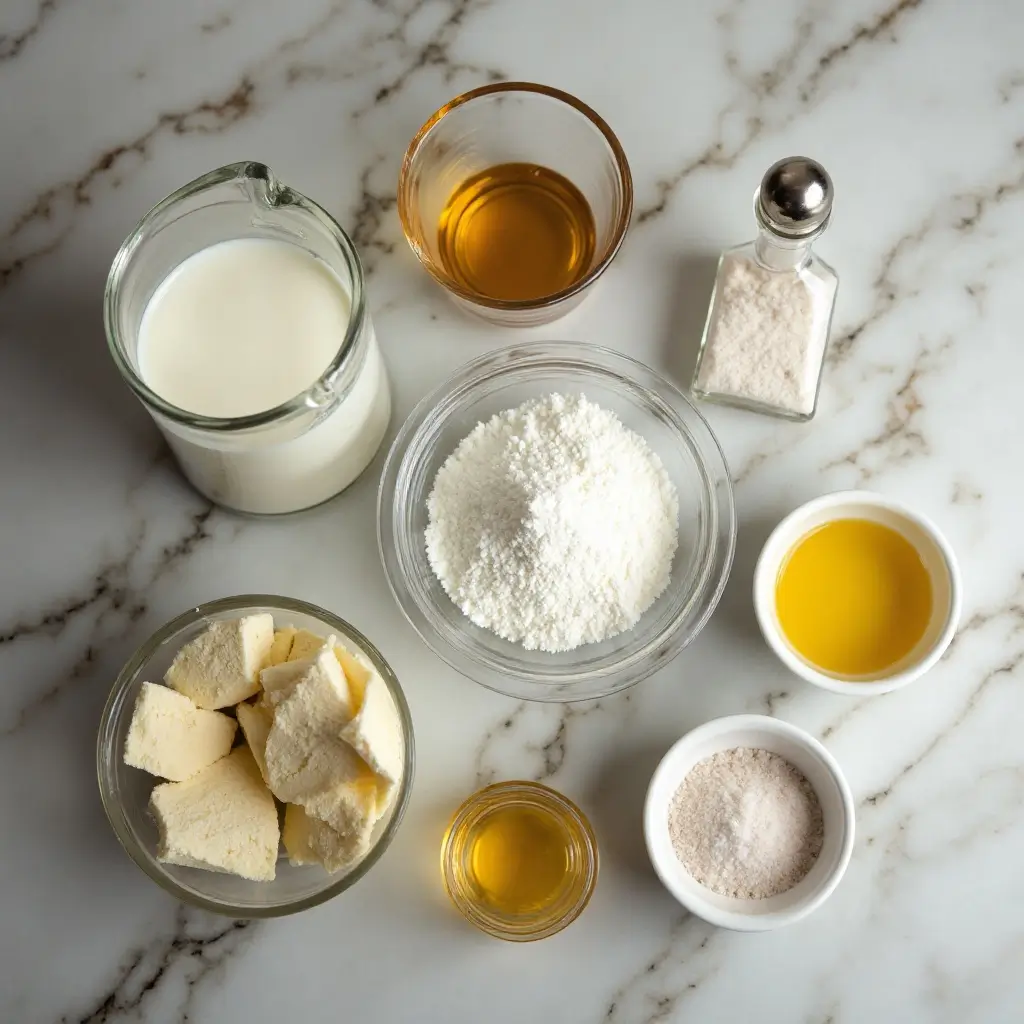
Key Ingredients for Vanilla Mousse Filling for Cake
Essential Ingredients:
- 2 cups heavy whipping cream (35% fat content minimum)
- 1/2 cup powdered sugar (sifted)
- 1 packet (2 1/4 teaspoons) unflavored gelatin
- 1/4 cup warm water
- 2 teaspoons pure vanilla extract
- Pinch of salt
Optional Flavor Enhancers:
- 1 vanilla bean pod (scraped)
- 1 tablespoon vanilla bean paste
- 1/4 teaspoon almond extract
Pro Tip: Use high-quality vanilla extract for the best flavor. The difference is noticeable in the final product.
Step-by-Step Instructions
Step 1: Prepare the Gelatin
Sprinkle unflavored gelatin over warm water in a small bowl. Let it bloom for 5 minutes until it becomes spongy. This crucial step ensures your mousse will set properly and hold its shape when sliced.
Step 2: Dissolve the Gelatin
Microwave the bloomed gelatin for 15-20 seconds until completely dissolved. Alternatively, place the bowl over simmering water and stir until clear. Let it cool to room temperature but don’t let it set.
Step 3: Whip the Cream Base
In a large, chilled bowl, combine heavy cream, powdered sugar, vanilla extract, and salt. Using an electric mixer, whip on medium speed until soft peaks form. This takes about 3-4 minutes.
Step 4: Incorporate the Gelatin
While continuing to whip on low speed, slowly drizzle the cooled gelatin mixture into the cream. Increase speed to medium-high and whip until firm peaks form. The mixture should hold its shape when the beaters are lifted.
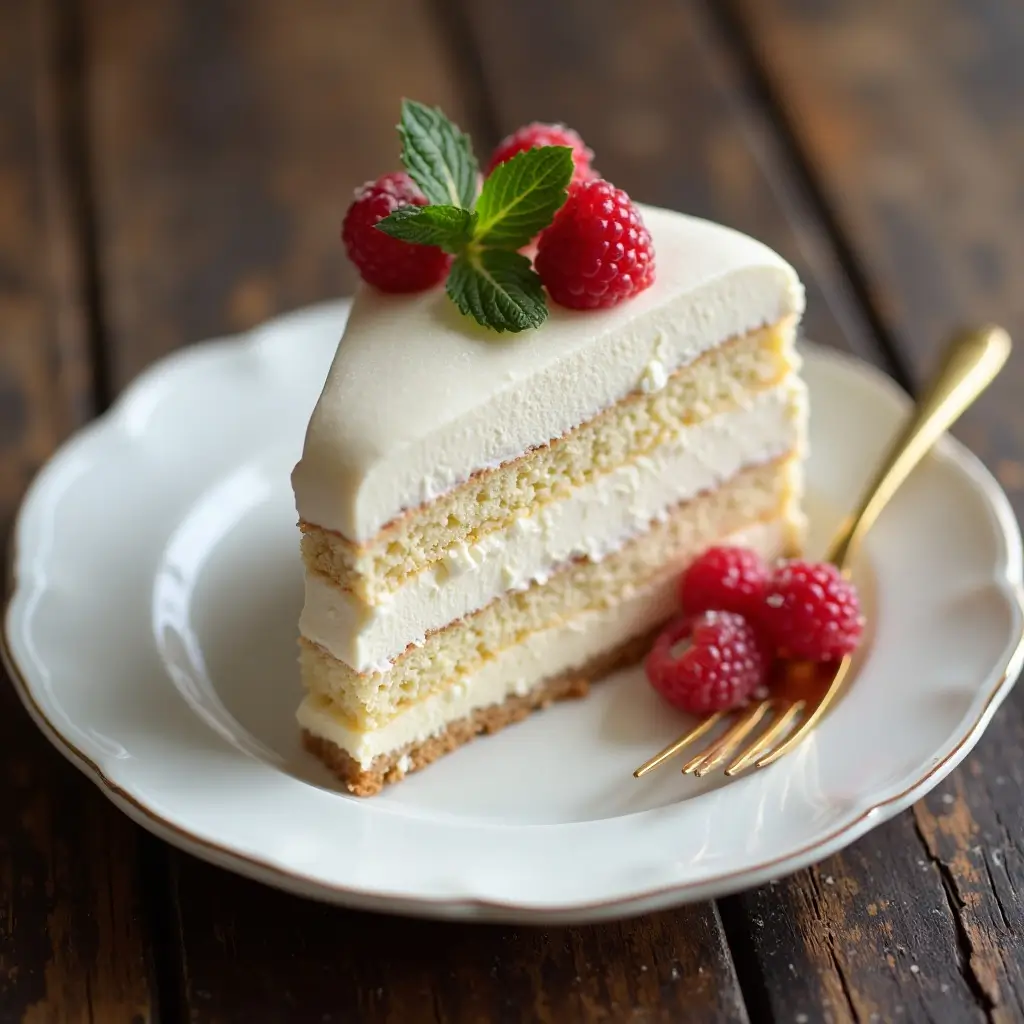
Step 5: Final Assembly
Use immediately as a filling between cake layers, or transfer to a piping bag for decorative applications. The mousse will continue to set as it chills, becoming more stable over time.
What to Serve Vanilla Mousse Filling for Cake With
This versatile vanilla mousse filling pairs beautifully with numerous cake combinations:
Classic Pairings:
- Vanilla sponge cake with fresh strawberries
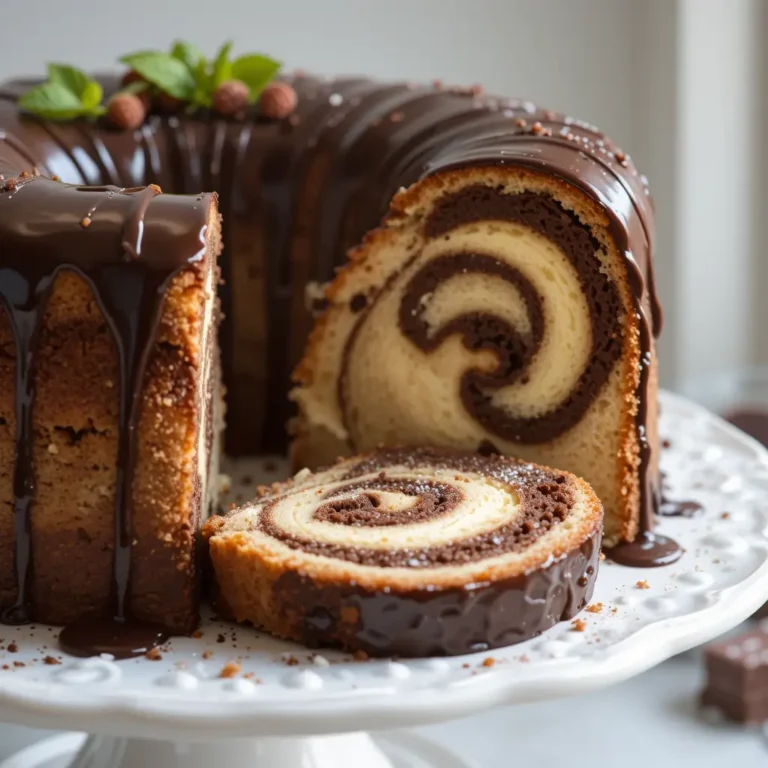
- Chocolate cake layers for ultimate indulgence
- Lemon cake with berry compote
- Red velvet cake for color contrast
Beverage Companions:
- Hot coffee or espresso
- Champagne or sparkling wine
- Cold milk for kids
- Earl Grey tea for afternoon elegance
Complementary Flavors:
- Fresh fruit arrangements
- Chocolate shavings or curls
- Caramel drizzle
- Toasted nuts or coconut flakes
Top Tips for Perfecting Vanilla Mousse Filling for Cake
Temperature Control is Key
Keep all equipment and ingredients properly chilled. Warm cream won’t whip properly, and hot gelatin can deflate your mousse. Room temperature gelatin incorporates smoothly without shocking the cream.
Don’t Over-Whip
Stop whipping once firm peaks form. Over-whipped cream becomes grainy and can separate. If this happens, gently fold in a tablespoon of unwhipped cream to restore smoothness.
Timing Matters
Use the mousse immediately after making for easiest spreading. If it becomes too firm, let it sit at room temperature for 10 minutes and gently re-whip by hand.
Ingredient Substitutions
- Replace gelatin with agar-agar for vegetarian version (use 1 teaspoon)
- Substitute half the cream with mascarpone for richer flavor
- Use maple syrup instead of powdered sugar for natural sweetness
Storing and Reheating Tips
Refrigerator Storage: Store assembled cakes with vanilla mousse filling in the refrigerator for up to 3 days. Cover loosely with plastic wrap to prevent absorption of other flavors while maintaining proper airflow.
Freezing Guidelines: This mousse filling freezes well for up to 2 months. Wrap individual cake slices in plastic wrap, then aluminum foil. Thaw overnight in the refrigerator before serving.
Make-Ahead Tips: Prepare the mousse up to 2 days in advance. Store in the refrigerator and re-whip gently by hand before using if it becomes too firm.
Serving Temperature: Serve at cool room temperature for best texture. Remove from refrigerator 15-20 minutes before serving for optimal consistency.
Frequently Asked Questions
Can I make vanilla mousse filling without gelatin?
Yes, but the texture will be less stable. For gelatin-free versions, use cornstarch (2 tablespoons) or agar-agar (1 teaspoon) as alternatives. The mousse may be softer but still delicious.
Why did my mousse turn grainy?
Grainy texture usually results from over-whipping the cream or adding gelatin that’s too hot. Always let gelatin cool to room temperature and stop whipping once firm peaks form.
How long does vanilla mousse filling last?
Properly stored in the refrigerator, vanilla mousse filling stays fresh for 3-4 days. Always keep it covered to prevent it from absorbing other flavors.
Can I flavor the vanilla mousse differently?
Absolutely! Replace vanilla with lemon zest, coffee extract, or fruit purees. Just maintain the same liquid ratios for proper consistency.
What’s the difference between mousse and whipped cream filling?
Mousse contains gelatin or another stabilizer, making it firmer and longer-lasting than regular whipped cream. It holds its shape better for layered cakes.
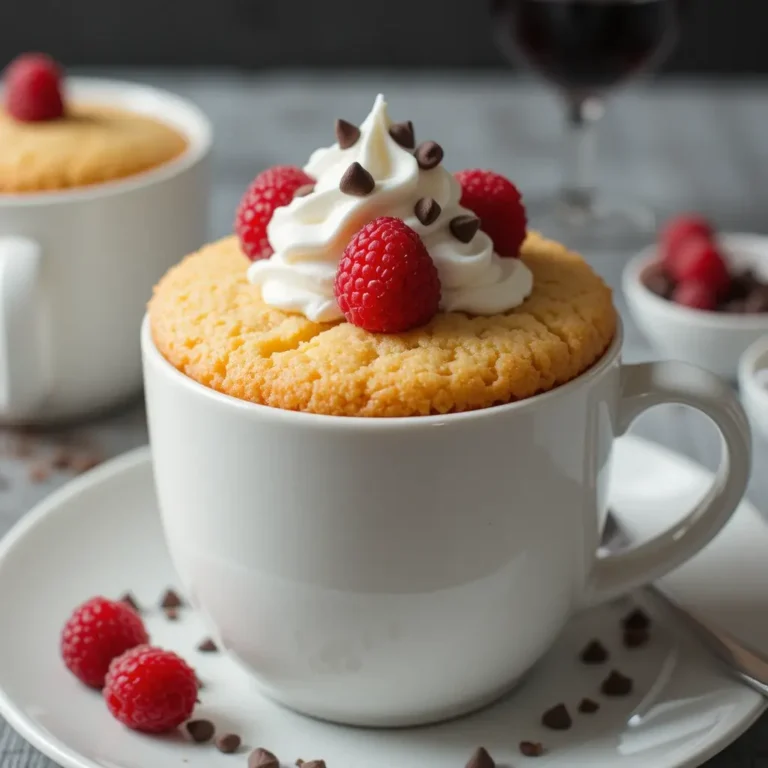
Can I use this filling for cupcakes?
Yes! Pipe it onto cooled cupcakes or use it as a filling by making a small hole in the center and piping the mousse inside.
Nutrition Information
| Nutrient | Per Serving (1/12 of recipe) |
|---|---|
| Calories | 145 |
| Total Fat | 14g |
| Saturated Fat | 9g |
| Cholesterol | 45mg |
| Sodium | 15mg |
| Total Carbohydrates | 4g |
| Sugars | 4g |
| Protein | 2g |
| Calcium | 4% DV |
| Vitamin A | 12% DV |
Nutritional values are approximate and may vary based on specific ingredients used.
Additional Pro Tips for Success
Equipment Recommendations:
- Use a stand mixer for best results and easiest preparation
- Chill your mixing bowl and beaters for 15 minutes before starting
- Keep a rubber spatula handy for gentle folding techniques
Troubleshooting Common Issues:
- If mousse is too soft: Add a bit more gelatin (bloomed first)
- If too firm: Fold in a tablespoon of unwhipped cream
- If lumpy: Strain through fine-mesh sieve before using
Professional Presentation Tips:
- Use an offset spatula for smooth, even layers
- Pipe decorative borders with a star tip
- Dust with powdered sugar just before serving
- Garnish with fresh berries or mint leaves
This vanilla mousse filling for cake recipe proves that professional-quality desserts are absolutely achievable at home. With its perfect balance of simplicity and elegance, you’ll find yourself reaching for this recipe again and again. Whether you’re celebrating a special occasion or just want to make an ordinary day extraordinary, this mousse filling delivers every single time.