Easy Red Velvet Cheesecake Mini – 30 Minutes Prep Time
Simple dessert recipes is a family favorite. Get all the tips you need for baking a batch of the most delicious red velvet cheesecake mini.
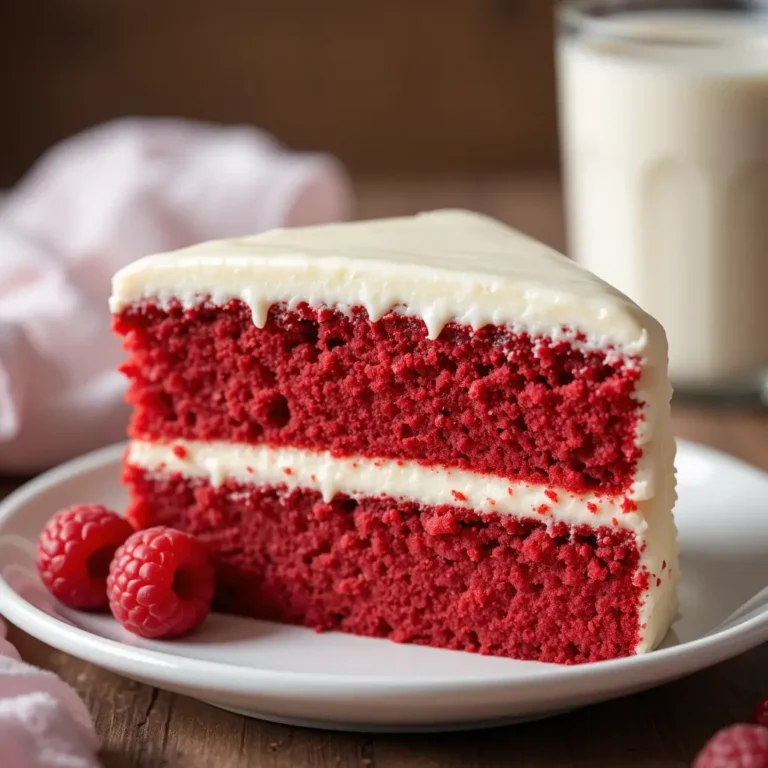
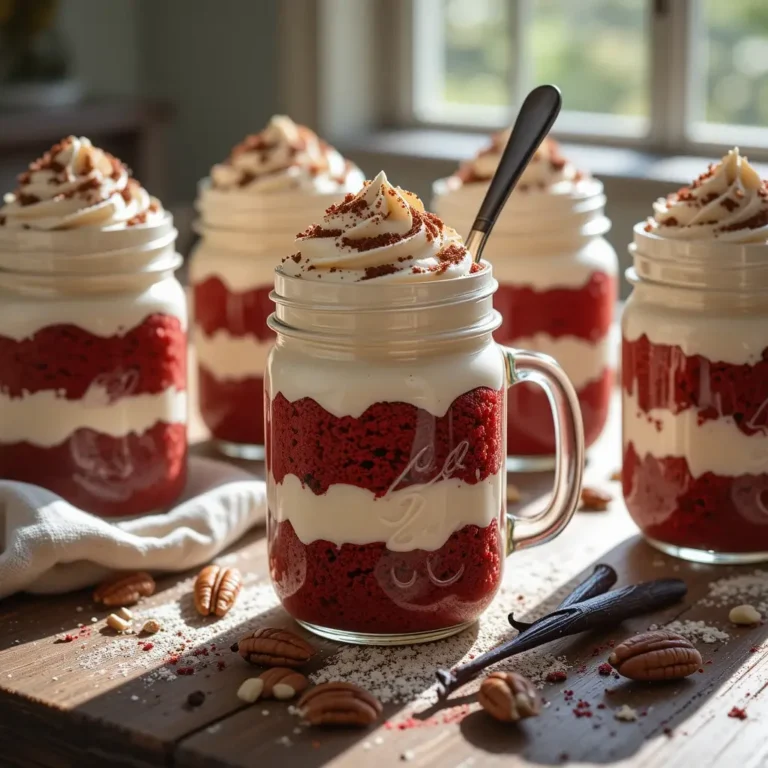
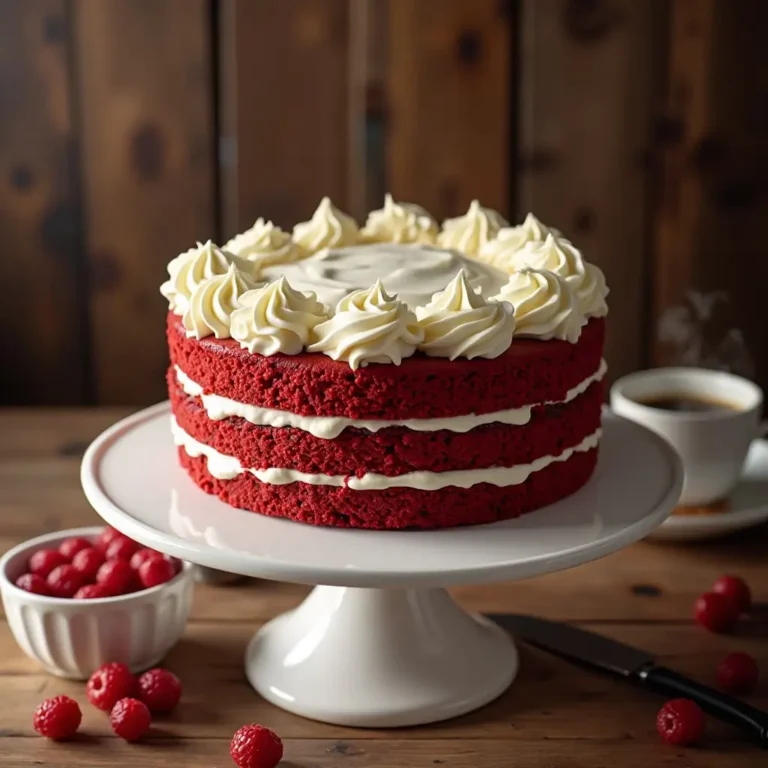
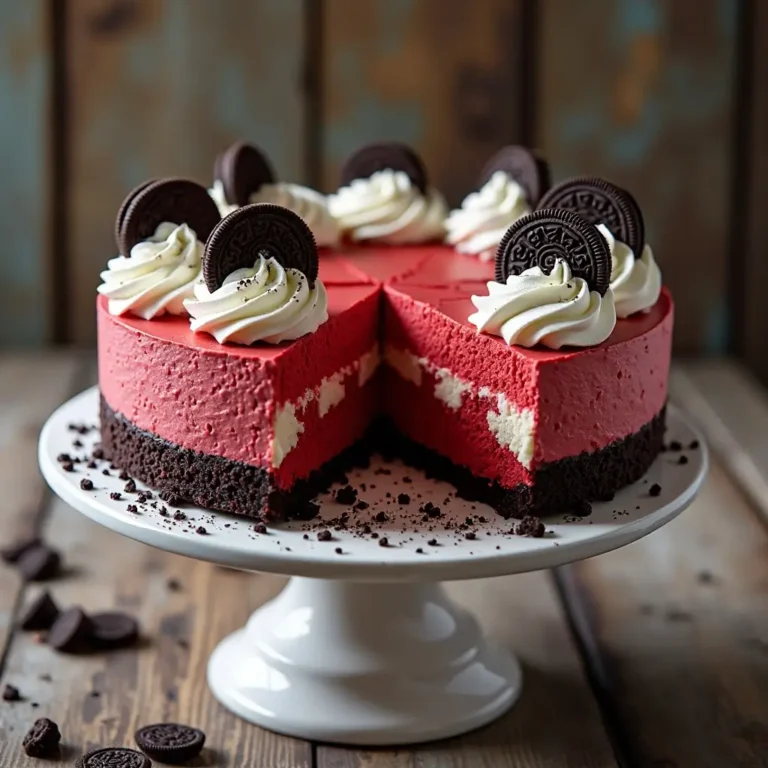
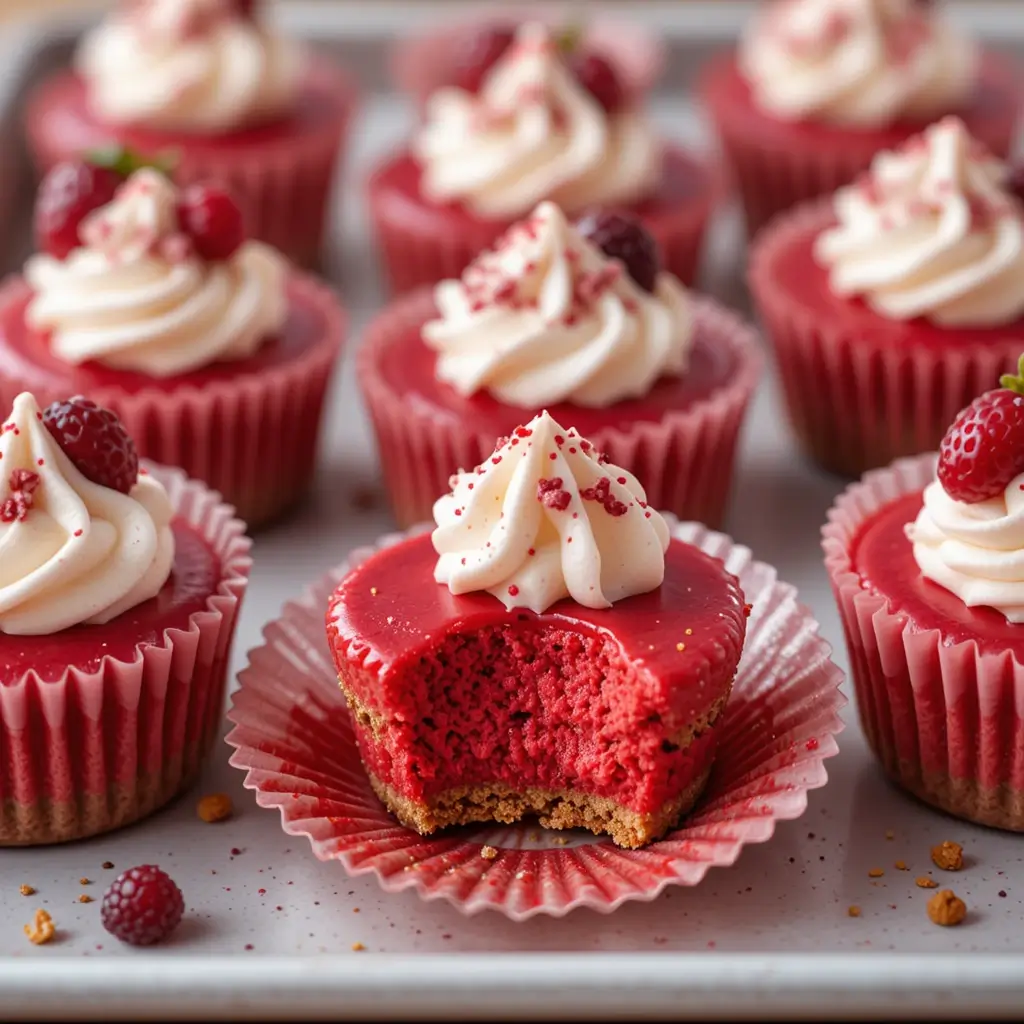
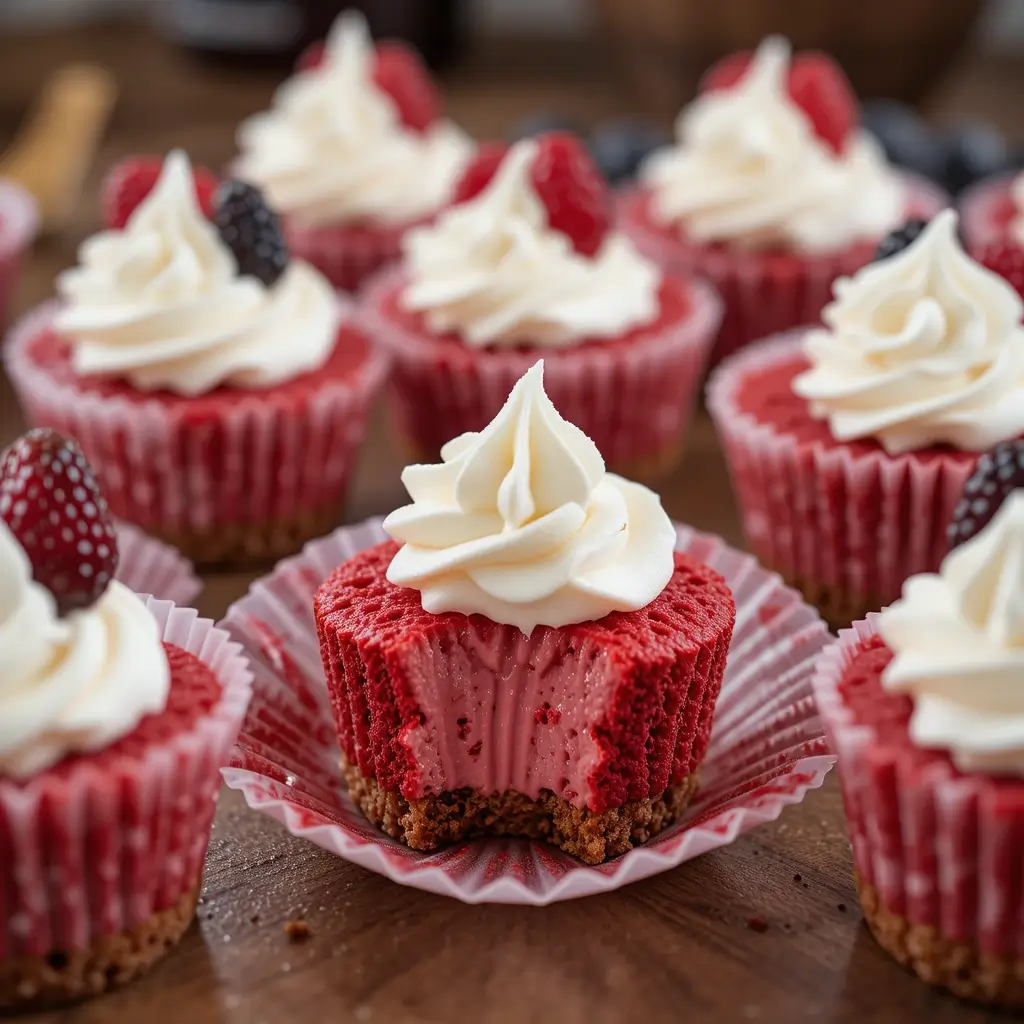
These red velvet cheesecake minis are pure magic in miniature form! Imagine silky, tangy cheesecake swirled with rich cocoa and that signature red velvet flavor, all nestled in perfectly portioned cups.
Here’s a fun fact: red velvet cake became popular during the Great Depression when bakers used cocoa and buttermilk to create an affordable yet luxurious-tasting dessert.
These mini versions capture all that nostalgic charm while being incredibly simple to make and absolutely perfect for parties, date nights, or when you want to treat your family to something special without the commitment of a full-sized cake.
What is Red Velvet Cheesecake Mini?
Ever wondered why we call it “red velvet” when it’s really more about that subtle chocolate flavor? These adorable mini cheesecakes combine the best of both dessert worlds – the tangy richness of classic New York cheesecake with the distinctive cocoa notes and gorgeous crimson color of red velvet cake.
Legend has it that the way to anyone’s heart is through their stomach, and these little beauties prove that theory right! They’re called “minis” because good things really do come in small packages. Ready to fall in love with dessert all over again?
Why You’ll Love This Red Velvet Cheesecake Mini
Rich, Creamy Texture That Melts in Your Mouth
The star of these mini cheesecakes is their incredibly smooth, velvety texture. The cream cheese base creates that signature tangy richness, while the hint of cocoa adds depth without overwhelming sweetness. Each bite delivers the perfect balance of flavors that dance on your taste buds.
Budget-Friendly Dessert for Special Occasions
Making these at home costs a fraction of what you’d pay at a fancy bakery or restaurant. With simple pantry ingredients and basic baking skills, you can create an impressive dessert that looks and tastes like it came from a high-end patisserie.
Perfect Individual Portions
No more guessing about serving sizes or dealing with messy cake cutting! These minis are perfectly portioned for parties, potlucks, or portion control. They’re also fantastic for meal prep – you can make a batch and enjoy them throughout the week.
Just like our popular chocolate lava cakes, these red velvet cheesecake mini prove that individual desserts always steal the show. Why not whip up a batch this weekend and see for yourself?
How to Make Red Velvet Cheesecake Mini
Quick Overview
These red velvet cheesecake mini are surprisingly simple to create! The process involves making a graham cracker crust, preparing a smooth cheesecake filling with red velvet flavoring, and baking them in a muffin tin for perfectly portioned results. The creamy, tangy filling pairs beautifully with the buttery crust, creating a dessert that’s both elegant and comforting.
Prep Time: 20 minutes
Bake Time: 25 minutes
Chill Time: 4 hours
Total Time: 4 hours 45 minutes
Servings: 12 mini cheesecakes
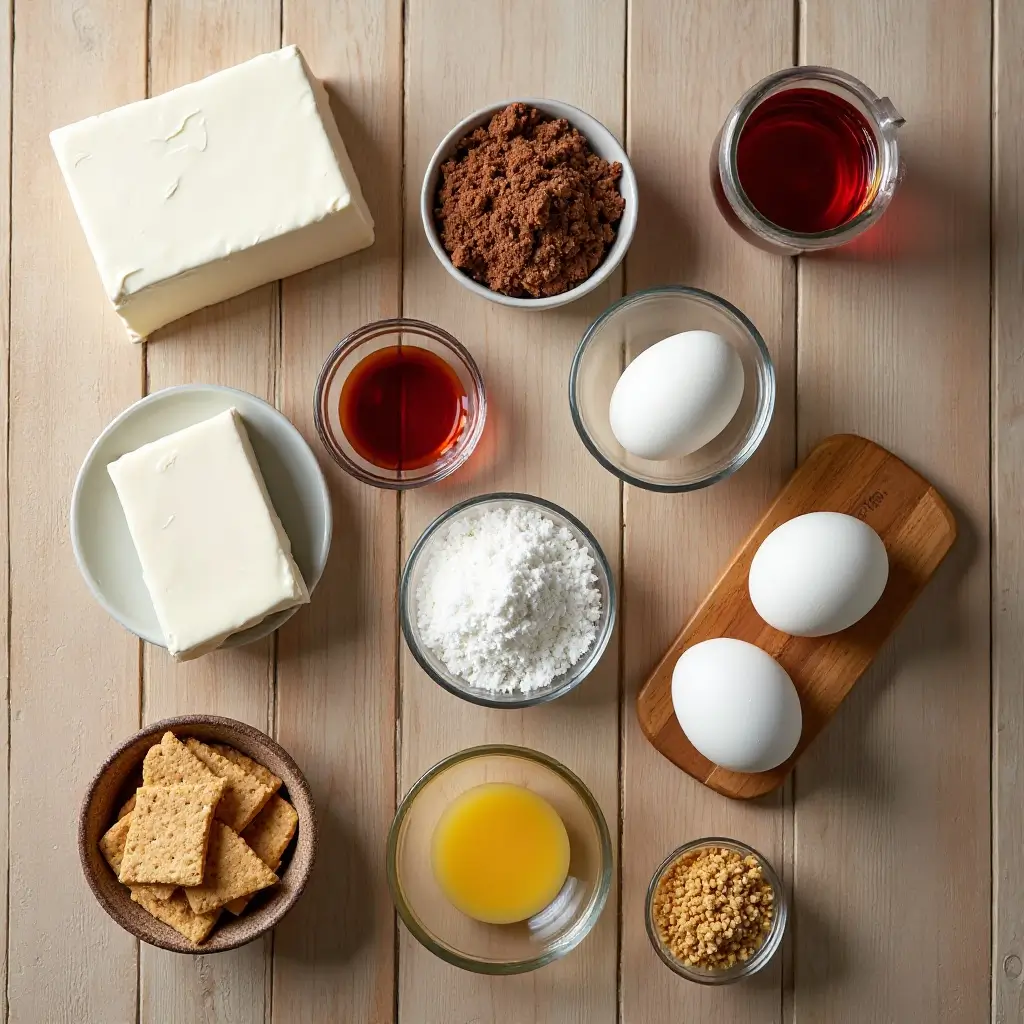
Key Ingredients for Red Velvet Cheesecake Mini
For the Crust:
- 1 cup graham cracker crumbs
- 3 tablespoons granulated sugar
- 4 tablespoons unsalted butter, melted
For the Cheesecake Filling:
- 16 oz cream cheese, room temperature
- 1/2 cup granulated sugar
- 2 large eggs, room temperature
- 1/4 cup sour cream
- 1 teaspoon vanilla extract
- 2 tablespoons unsweetened cocoa powder
- 1 tablespoon red food coloring
- 1 teaspoon white vinegar
For the Topping (Optional):
- 1/2 cup heavy whipping cream
- 2 tablespoons powdered sugar
- Fresh berries for garnish
Step-by-Step Instructions
Step 1: Prepare Your Workspace Preheat your oven to 325°F (163°C). Line a 12-cup muffin tin with paper liners or grease each cup thoroughly with butter. This prevents sticking and makes removal much easier.
Step 2: Make the Graham Cracker Crust In a medium bowl, combine graham cracker crumbs, 3 tablespoons of sugar, and melted butter. Mix until the mixture resembles wet sand and holds together when pressed. Divide the mixture evenly among the muffin cups, pressing firmly into the bottom of each liner. Use the back of a spoon or small measuring cup to pack it down well.
Step 3: Prepare the Cheesecake Filling In a large mixing bowl, beat the cream cheese with an electric mixer until smooth and fluffy, about 2-3 minutes. Gradually add the remaining sugar, beating until well combined. Add eggs one at a time, beating just until incorporated after each addition. Mix in sour cream and vanilla extract until smooth.
Step 4: Add Red Velvet Elements In a small bowl, whisk together cocoa powder, red food coloring, and white vinegar until smooth. Add this mixture to the cream cheese base and beat until evenly distributed and the color is uniform throughout.
Step 5: Fill and Bake Divide the cheesecake mixture evenly among the prepared muffin cups, filling each about 3/4 full. Gently tap the pan on the counter to remove air bubbles. Bake for 22-25 minutes, or until the centers are almost set but still slightly jiggly.
Step 6: Cool Properly Turn off the oven and crack the door slightly. Let the cheesecakes cool in the oven for 30 minutes to prevent cracking. Remove from oven and cool completely at room temperature, then refrigerate for at least 4 hours or overnight.
Step 7: Serve Remove from muffin tin just before serving. Top with whipped cream and fresh berries if desired.
What to Serve Red Velvet Cheesecake Mini With
These delightful mini cheesecakes pair beautifully with several complementary options:
Coffee and Tea: Serve alongside freshly brewed coffee, espresso, or black tea to balance the richness.
Fresh Berries: Strawberries, raspberries, or blackberries add a tart contrast that cuts through the creamy sweetness.
Sparkling Beverages: Champagne, prosecco, or sparkling cider creates an elegant pairing for special occasions.
Vanilla Ice Cream: A small scoop of premium vanilla ice cream turns these into an extra-indulgent dessert.
Wine Pairing: A sweet dessert wine like moscato or port complements the rich flavors beautifully.
Top Tips for Perfecting Red Velvet Cheesecake Mini
Use Room Temperature Ingredients
Cold cream cheese creates lumps that are nearly impossible to smooth out. Take your cream cheese and eggs out of the refrigerator 2-3 hours before baking for the smoothest filling.
Don’t Overmix the Batter
Once you add the eggs, mix just until combined. Overmixing incorporates too much air, which can cause cracks during baking.
Water Bath Alternative
For extra insurance against cracking, place a pan of hot water on the bottom rack of your oven while baking. The steam creates a more gentle baking environment.
Check Doneness Carefully
The centers should still have a slight jiggle when done. They’ll continue cooking from residual heat and firm up as they cool.
Substitution Options
No red food coloring? Use 2-3 tablespoons of beet juice for natural coloring. For a lighter version, substitute half the cream cheese with Greek yogurt.
Storing and Reheating Tips
Refrigerator Storage: Store covered in the refrigerator for up to 5 days. Place in an airtight container or cover tightly with plastic wrap to prevent them from absorbing other flavors.
Freezer Storage: These mini cheesecakes freeze beautifully for up to 3 months. Wrap individually in plastic wrap, then place in a freezer-safe container. Thaw overnight in the refrigerator before serving.
Serving Temperature: For best texture and flavor, remove from the refrigerator 15-20 minutes before serving to take the chill off.
Make-Ahead Tips: These are perfect for entertaining since they must be made ahead anyway. Prepare up to 2 days in advance and add toppings just before serving.
Nutrition Information
| Nutrient | Per Mini Cheesecake |
|---|---|
| Calories | 285 |
| Total Fat | 22g |
| Saturated Fat | 13g |
| Cholesterol | 95mg |
| Sodium | 220mg |
| Total Carbs | 18g |
| Sugars | 15g |
| Protein | 5g |
| Calcium | 8% DV |
Nutritional values are approximate and may vary based on specific ingredients used.
Frequently Asked Questions
Can I make these without food coloring?
Absolutely! The cocoa powder gives these a lovely chocolate flavor even without the signature red color. You can also use natural alternatives like beet juice or freeze-dried strawberry powder.
Why did my cheesecakes crack?
Cracking usually occurs from overbaking, sudden temperature changes, or overmixing. Follow the cooling process carefully and check doneness with a gentle shake rather than a toothpick.
Can I use a different crust?
Yes! Try chocolate cookie crumbs, vanilla wafers, or even crushed pecans mixed with butter for variety. The key is maintaining the same ratio of crumbs to butter.
How do I know when they’re done baking?
The edges should be set, but the centers should still jiggle slightly when gently shaken. They’ll continue to set as they cool.
Can I double the recipe?
Certainly! Use two muffin tins and bake in batches if needed. The baking time remains the same for each batch.
What’s the best way to remove them from the pan?
Paper liners make removal easiest. If you didn’t use liners, run a thin knife around the edges while they’re still slightly warm to loosen them.
Creative Variations to Try
White Chocolate Red Velvet: Add 1/4 cup melted white chocolate to the filling for extra richness.
Cream Cheese Swirl: Reserve 1/4 of the plain cream cheese mixture before adding red velvet ingredients, then swirl it on top for a marbled effect.
Mini Red Velvet Trifles: Layer crumbled cheesecake with whipped cream and berries in small glasses for an elegant presentation.
Gluten-Free Option: Replace graham crackers with gluten-free cookies or almond flour mixed with sugar and butter.
These adorable red velvet cheesecake mini prove that great things really do come in small packages! With their perfect individual portions and irresistible flavor combination, they’re sure to become your go-to dessert for any special occasion. The best part? They’re much easier to make than they look, and your friends and family will think you’re a baking genius. Give this recipe a try, and don’t forget to share your beautiful creations on social media!