Thanksgiving Cake Carrot Family-Favorite Holiday Dessert
Thanksgiving special with a carrot cake! This Thanksgiving cake carrot recipe is moist, flavorful, and perfect for dessert or holiday celebrations.
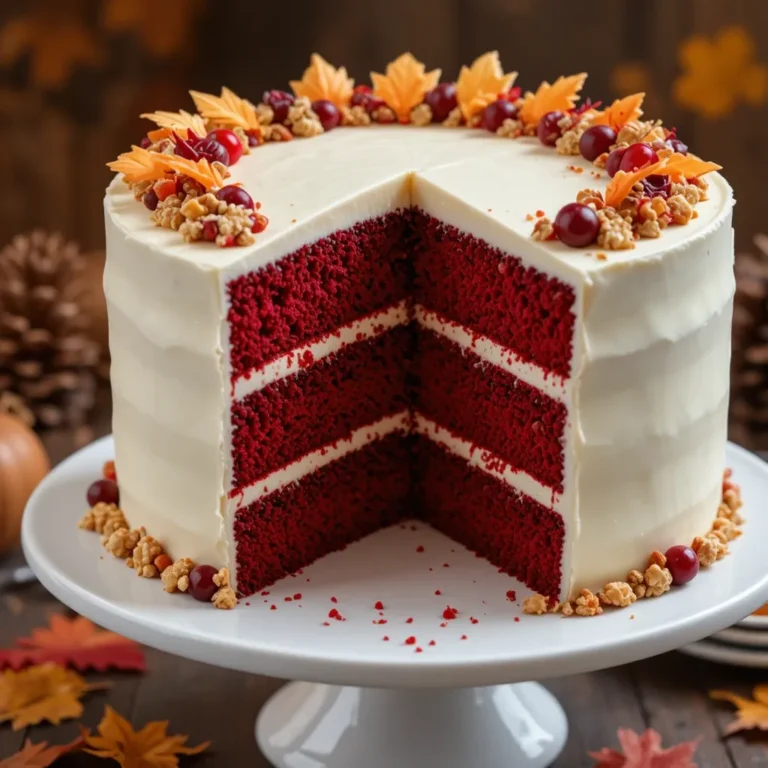
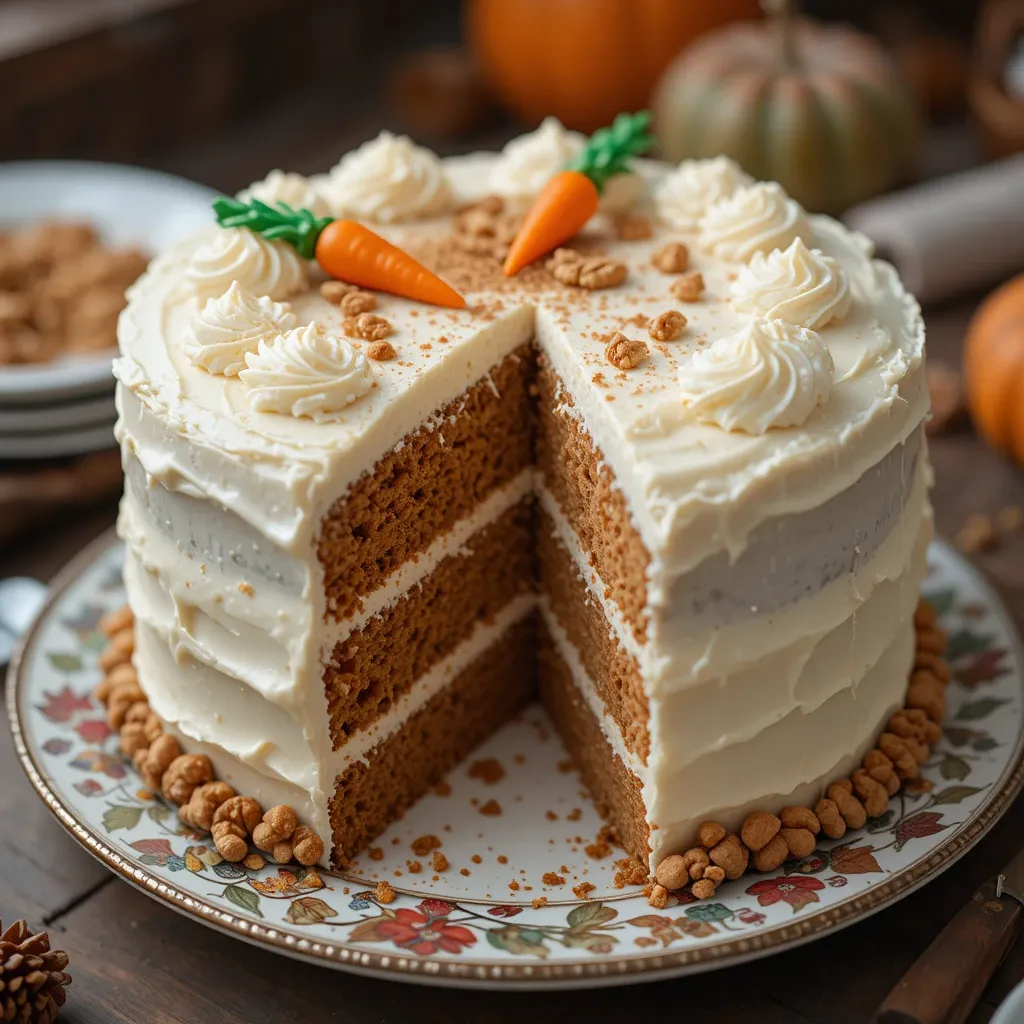
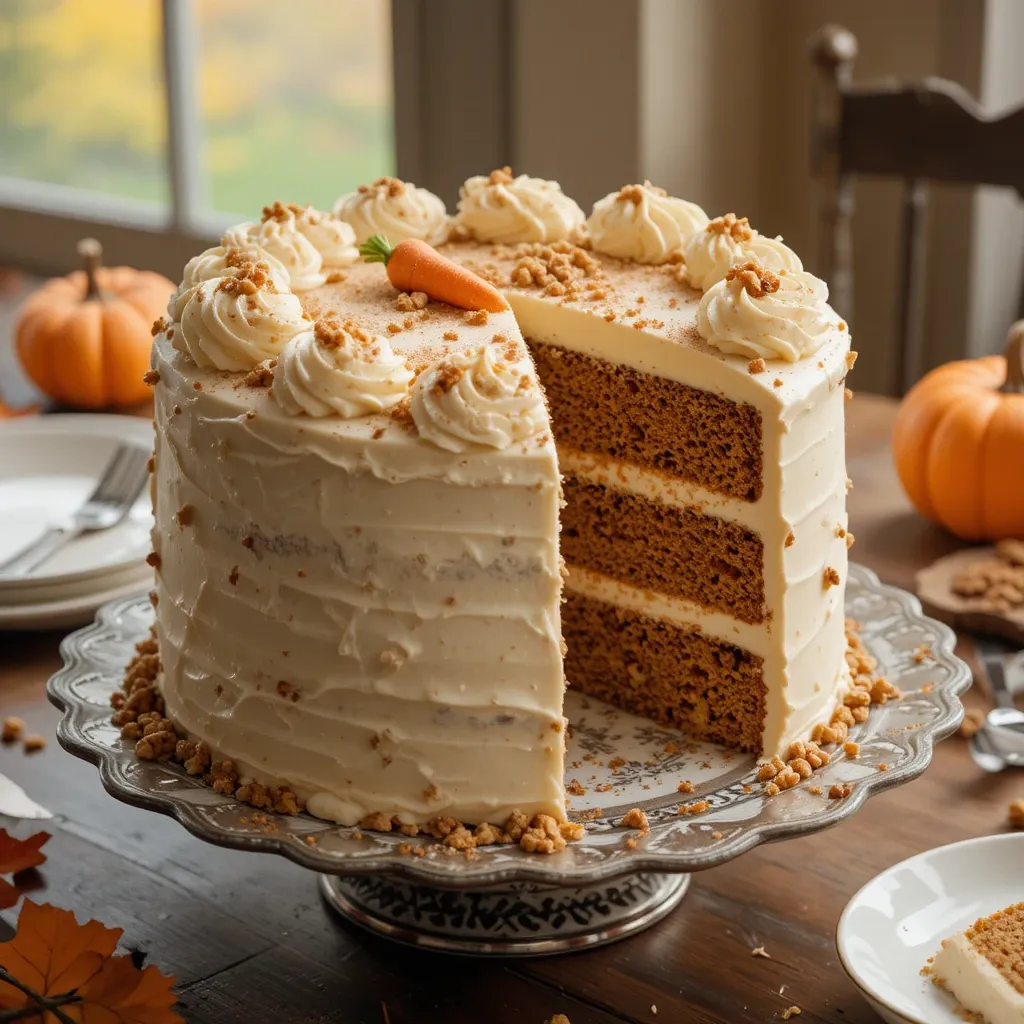
There’s something magical about a moist, spiced thanksgiving cake carrot that brings everyone together during the holidays. This isn’t just any dessert – it’s a showstopper that combines warm autumn spices, sweet carrots, and velvety cream cheese frosting into one unforgettable treat.
Fun fact: carrot cake became popular during World War II when sugar was rationed, and home bakers discovered that carrots added natural sweetness to their cakes! This recipe is incredibly simple to make, takes less than an hour of active prep time, and is guaranteed to become a family favorite.
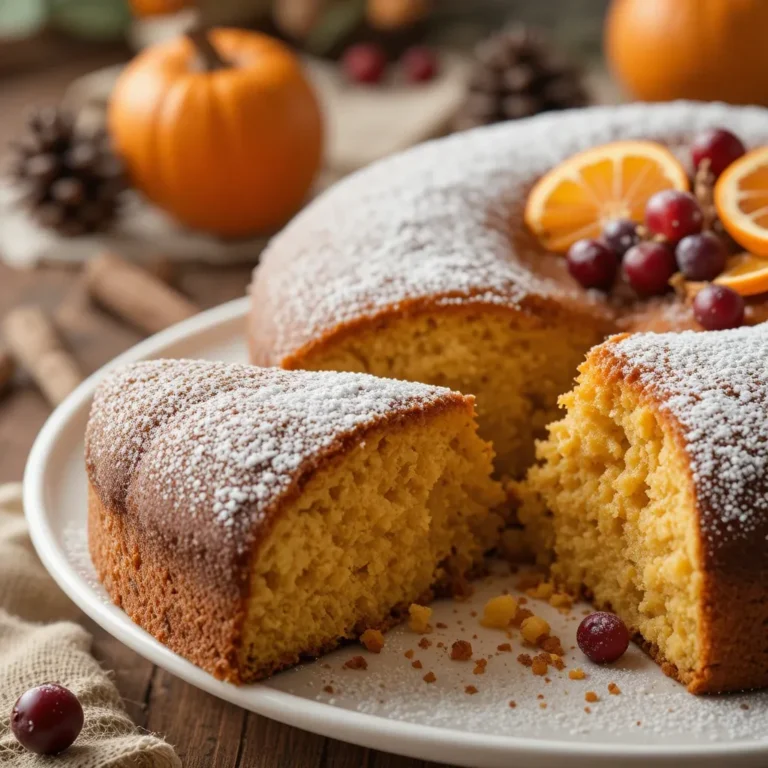
Much like our popular Pumpkin Spice Bundt Cake, this thanksgiving cake carrot delivers that cozy, nostalgic flavor we all crave during the holiday season. Get ready to impress your guests with a dessert that tastes like it came from a fancy bakery!
What is Thanksgiving Cake Carrot?
Ever wondered why we call it “cake” when there are vegetables involved? It sounds like a gardener’s joke, right? But here’s the thing – this thanksgiving cake carrot is proof that the way to everyone’s heart truly is through their stomach! \
The name simply celebrates the star ingredient: fresh, grated carrots that transform into tender, flavorful magic when baked. It’s called a “thanksgiving” cake because it embodies all those warm, spice-filled flavors we associate with the holiday season. Don’t let the veggie part fool you – this cake is pure indulgence. Trust me, you need to try this recipe and taste the magic for yourself!
Why You’ll Love This Thanksgiving Cake Carrot
The Ultimate Crowd-Pleaser
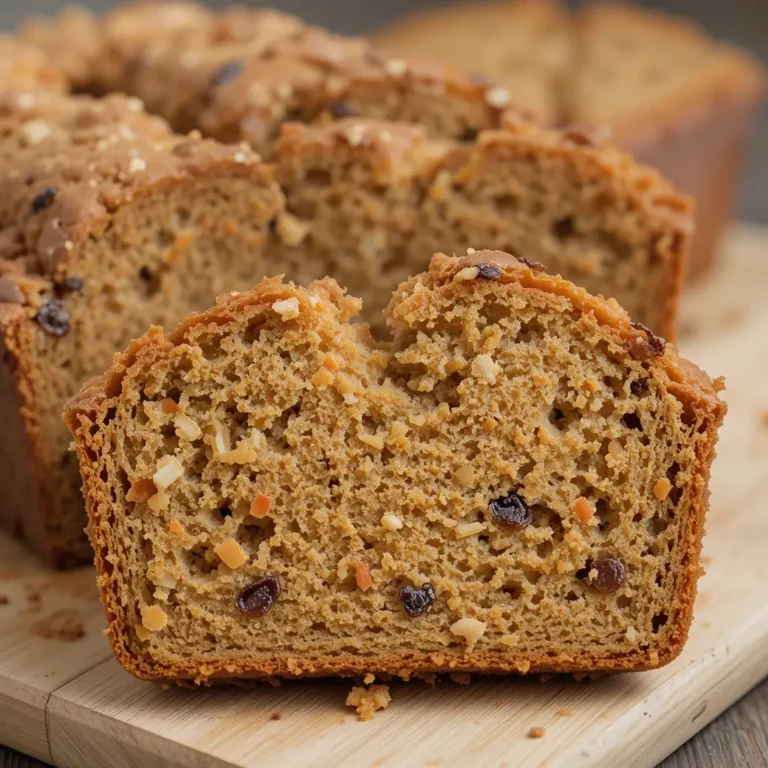
This thanksgiving cake carrot is incredibly moist thanks to the natural oils in the carrots and the addition of crushed pineapple. Every bite melts in your mouth with a perfect balance of cinnamon, nutmeg, and vanilla. The cream cheese frosting adds a tangy sweetness that complements the spiced cake beautifully. Your kitchen will smell absolutely heavenly while this bakes!
Budget-Friendly Holiday Baking
Making this thanksgiving cake carrot at home costs a fraction of what you’d pay at a bakery. We’re talking about $12-15 for an entire cake that serves 12-16 people! Store-bought carrot cakes can easily run $40-50, and they often don’t taste nearly as fresh. Plus, you can customize the spices and sweetness to your family’s preferences.
Loaded with Delicious Mix-Ins
The real magic happens with the add-ins: crunchy walnuts or pecans (your choice!), sweet raisins, and coconut flakes that add texture and depth. The cream cheese frosting is generously spiced with vanilla and perfectly sweetened. If you loved our Classic Cream Cheese Pound Cake, you’ll adore how the frosting in this recipe creates that same luxurious, tangy finish.
Why settle for store-bought when you can create bakery-quality thanksgiving cake carrot right in your own kitchen? Let’s get baking!
How to Make Thanksgiving Cake Carrot
Quick Overview
This thanksgiving cake carrot is surprisingly easy to make, even if you’re not an experienced baker. The batter comes together in one bowl, and you don’t need any fancy equipment. The cake bakes up incredibly moist and tender with minimal effort.
Total Time Breakdown:
- Prep Time: 20 minutes
- Bake Time: 35-40 minutes
- Cooling Time: 30 minutes
- Frosting Time: 15 minutes
- Total Time: About 2 hours
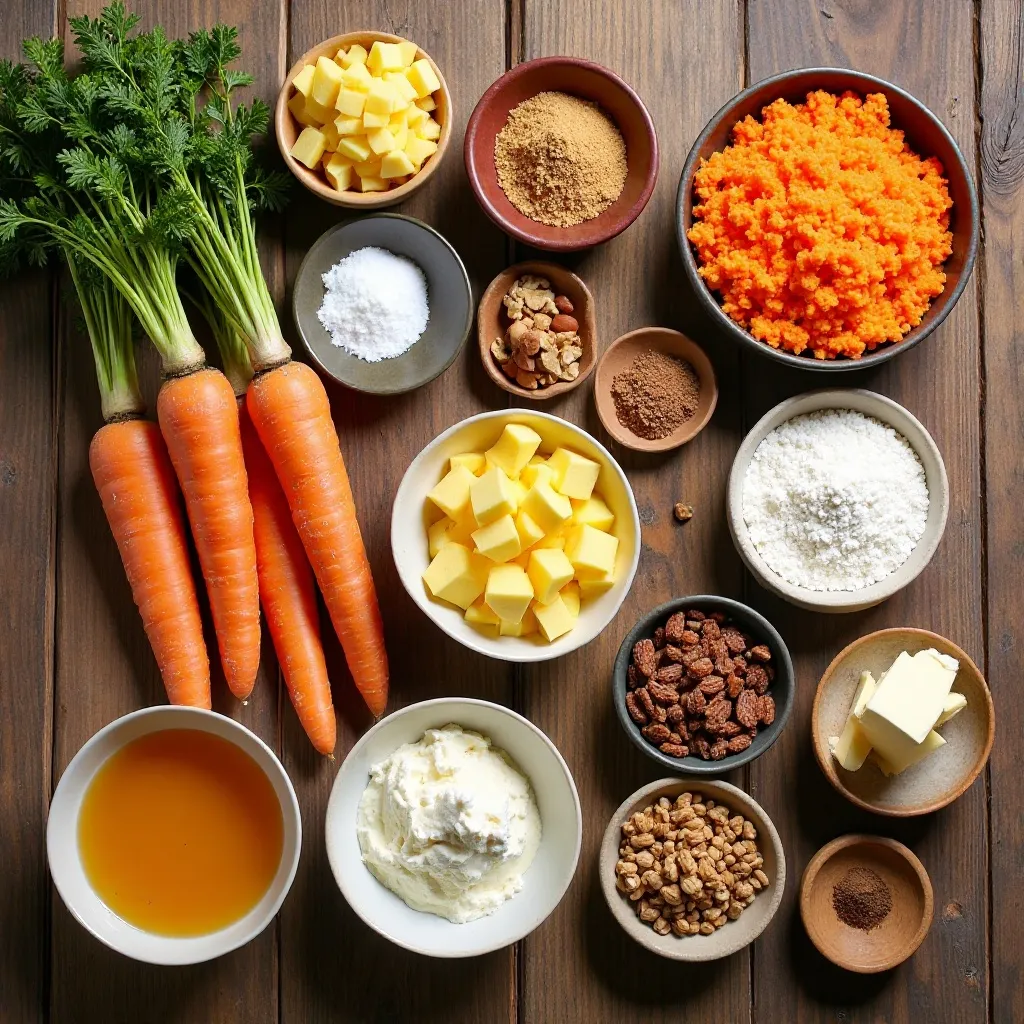
Key Ingredients for Thanksgiving Cake Carrot
For the Cake:
- 2 cups all-purpose flour
- 2 teaspoons baking powder
- 1½ teaspoons baking soda
- 1 teaspoon salt
- 2 teaspoons ground cinnamon
- ½ teaspoon ground nutmeg
- ½ teaspoon ground ginger
- 4 large eggs, room temperature
- 1½ cups granulated sugar
- ½ cup light brown sugar, packed
- 1 cup vegetable oil (or melted coconut oil)
- 2 teaspoons pure vanilla extract
- 3 cups grated carrots (about 4-5 medium carrots)
- 1 cup crushed pineapple, drained well
- 1 cup chopped walnuts or pecans
- ½ cup shredded coconut (optional)
- ½ cup raisins (optional)
For the Cream Cheese Frosting:
- 16 ounces cream cheese, softened
- 1 cup unsalted butter, softened
- 5 cups powdered sugar
- 2 teaspoons vanilla extract
- ¼ teaspoon salt
- 2 tablespoons heavy cream (if needed for consistency)
Step-by-Step Instructions
Step 1: Prepare Your Baking Pans
Preheat your oven to 350°F (175°C). Grease two 9-inch round cake pans with butter or cooking spray, then line the bottoms with parchment paper circles. This ensures your cake releases perfectly every time. Lightly flour the sides of the pans and tap out any excess.
Step 2: Mix the Dry Ingredients
In a large mixing bowl, whisk together the flour, baking powder, baking soda, salt, cinnamon, nutmeg, and ginger. Make sure all the spices are evenly distributed throughout the flour. This step is crucial for ensuring every bite has that perfect spice blend. Set this bowl aside for now.
Step 3: Prepare the Carrots and Mix-Ins
Peel and finely grate your carrots using a box grater or food processor. You want them finely shredded, not chunky. Drain the crushed pineapple thoroughly by pressing it in a fine-mesh strainer – excess liquid can make your cake soggy. Chop your nuts into small pieces. Have everything ready to add to your batter.
Step 4: Beat the Wet Ingredients
In a separate large bowl, beat the eggs with an electric mixer on medium speed for about 30 seconds. Add both sugars and continue beating for 2-3 minutes until the mixture is light and fluffy. Slowly drizzle in the oil while mixing on low speed, then add the vanilla extract. The mixture should be smooth and well combined.
Step 5: Combine Everything
Add the dry ingredients to the wet ingredients in three additions, mixing on low speed just until combined after each addition. Don’t overmix – a few small lumps are perfectly fine! Fold in the grated carrots, drained pineapple, nuts, coconut, and raisins using a rubber spatula. Mix gently until everything is evenly distributed throughout the batter.
Step 6: Bake the Cakes
Divide the batter evenly between your prepared pans, smoothing the tops with a spatula. Tap the pans gently on the counter a few times to release any air bubbles. Bake for 35-40 minutes, or until a toothpick inserted into the center comes out with just a few moist crumbs. The tops should spring back when lightly pressed. Don’t open the oven door during the first 30 minutes of baking!
Step 7: Cool Completely
Let the cakes cool in the pans for 15 minutes, then carefully run a knife around the edges and invert them onto a wire cooling rack. Remove the parchment paper and let them cool completely – at least 1 hour. This is important! Frosting a warm cake will result in a melted mess.
Step 8: Make the Cream Cheese Frosting
In a large bowl, beat the softened cream cheese and butter together on medium-high speed for 3-4 minutes until light and fluffy. Gradually add the powdered sugar, one cup at a time, beating well after each addition. Add the vanilla and salt, then beat for another 2 minutes. If the frosting is too thick, add heavy cream one tablespoon at a time until you reach the perfect spreadable consistency.
Step 9: Assemble Your Thanksgiving Cake Carrot
Place one cake layer on your serving plate. Spread about 1½ cups of frosting evenly over the top, going all the way to the edges. Carefully place the second layer on top, pressing down gently. Use the remaining frosting to cover the top and sides of the cake. For a rustic look, use the back of a spoon to create swirls. For a smooth finish, use an offset spatula dipped in hot water.
Step 10: Garnish and Serve
Decorate your thanksgiving cake carrot with extra chopped nuts, a sprinkle of cinnamon, or even some decorative carrot-shaped candies! Refrigerate the cake for at least 30 minutes before slicing to let the frosting set. This makes for cleaner, prettier slices.
What to Serve Thanksgiving Cake Carrot With
This thanksgiving cake carrot is already a complete dessert, but here are some delicious pairing ideas:
Hot Beverages: A steaming cup of spiced chai tea, coffee, or hot apple cider complements the warm spices beautifully. The richness of the cream cheese frosting pairs wonderfully with the slight bitterness of coffee.
Ice Cream: Serve a slice with a scoop of vanilla bean or cinnamon ice cream for an extra-indulgent treat. The contrast between warm cake and cold ice cream is absolutely divine.
Whipped Cream: A dollop of fresh whipped cream lightened with a touch of maple syrup adds an airy element to each bite.
Fresh Fruit: Orange segments or fresh berries provide a bright, acidic contrast that cuts through the richness of the cake.
Nuts and Caramel: Drizzle extra salted caramel sauce over individual slices and sprinkle with toasted pecans for a truly decadent presentation.
This cake also pairs beautifully with the savory elements of your Thanksgiving feast, providing the perfect sweet ending to turkey, stuffing, and all the trimmings.
Top Tips for Perfecting Thanksgiving Cake Carrot
Carrot Preparation is Key
Always use freshly grated carrots for the best flavor and texture. Pre-shredded carrots from the store are too dry and won’t provide the moisture your cake needs. Grate them finely – large chunks won’t incorporate well and can create an uneven texture.
Room Temperature Ingredients
Make sure your eggs are at room temperature before you start. Cold eggs won’t incorporate as well into the batter, which can result in a denser cake. Simply place them in a bowl of warm water for 5 minutes if you forgot to take them out earlier.
Don’t Overmix the Batter
Once you add the flour mixture to the wet ingredients, mix just until you don’t see any more dry flour. Overmixing develops too much gluten, which makes your cake tough and dense instead of tender and fluffy.
Properly Drain Your Pineapple
This is crucial! Squeeze out as much liquid as possible from the crushed pineapple. Excess moisture can make your cake soggy and prevent it from baking properly. Use a fine-mesh strainer or even squeeze it in a clean kitchen towel.
Test for Doneness Correctly
Insert a toothpick into the center of the cake – it should come out with a few moist crumbs, not completely clean. A completely clean toothpick means you’ve slightly overbaked it. The internal temperature should reach about 205°F.
Oil vs. Butter
This recipe uses oil instead of butter because oil creates a moister, more tender crumb that stays fresh longer. Don’t substitute with butter unless you’re prepared for a slightly drier texture.
Frosting Temperature
Your cream cheese and butter must be truly softened (not melted!) for smooth, lump-free frosting. They should be soft enough to leave an indent when pressed but still hold their shape. If your frosting is lumpy, it means the ingredients weren’t soft enough.
Make It Ahead
The unfrosted cake layers can be baked up to 2 days in advance. Wrap them tightly in plastic wrap and store at room temperature. You can also freeze unfrosted layers for up to 3 months – just thaw completely before frosting.
Storing and Reheating Tips
Refrigerator Storage
Store your thanksgiving cake carrot in an airtight container or cake keeper in the refrigerator. Because of the cream cheese frosting, this cake must be refrigerated and should not be left at room temperature for more than 2 hours. It will stay fresh for 5-7 days when properly stored.
Freezing Instructions
This cake freezes beautifully! For best results, freeze individual slices wrapped tightly in plastic wrap, then placed in a freezer-safe bag. This way, you can thaw single portions as needed. Frozen slices will keep for up to 3 months. You can also freeze the entire frosted cake by placing it in the freezer unwrapped for 30 minutes to firm up the frosting, then wrapping it securely.
Thawing and Serving
Thaw frozen slices in the refrigerator overnight or at room temperature for 1-2 hours. For the best texture, let refrigerated cake sit at room temperature for 20-30 minutes before serving – this allows the flavors to bloom and the texture to soften slightly.
Reheating Notes
While this cake is delicious cold, you can warm individual slices in the microwave for 10-15 seconds for a just-baked feel. Be careful not to overheat, as this can melt the frosting. This cake is best enjoyed at cool room temperature rather than warm.
Tips for Avoiding Common Baking Mistakes
Mistake #1: Sunken Center
If your cake sinks in the middle, you likely opened the oven door too early or your leavening agents (baking powder/soda) were expired. Always check expiration dates and don’t open the oven for the first 30 minutes of baking.
Mistake #2: Dry, Crumbly Cake
Overbaking is the usual culprit here. Check your cake at the 35-minute mark and remember that it continues cooking slightly as it cools. Also, make sure you’re measuring flour correctly – spoon it into the measuring cup and level it off rather than scooping directly from the bag.
Mistake #3: Grainy Frosting
This happens when the powdered sugar isn’t fully incorporated. Beat the frosting for a full 3-4 minutes after adding all the sugar. If it’s still grainy, you can add a tablespoon of heavy cream and beat for another 2 minutes.
Mistake #4: Cake Sticking to Pan
Always line the bottom of your pans with parchment paper and grease the sides well. Let the cake cool for 15 minutes before attempting to remove it – too soon and it will fall apart, too long and it will stick.
Mistake #5: Uneven Layers
Use a kitchen scale to divide the batter evenly between pans, or eyeball it carefully. If your oven has hot spots, rotate the pans halfway through baking. You can also use cake strips around the outside of your pans to promote even rising.
Mistake #6: Frosting Won’t Spread Smoothly
Make sure your cake is completely cool before frosting. Brush away any loose crumbs first with a pastry brush. Apply a thin “crumb coat” of frosting first, refrigerate for 15 minutes, then apply the final coat.
Frequently Asked Questions
Can I make thanksgiving cake carrot without pineapple?
Yes, absolutely! While pineapple adds moisture and subtle sweetness, you can omit it and increase the grated carrots to 3½ cups instead. You could also substitute with applesauce or additional mashed banana for moisture.
Why is my carrot cake dense and heavy?
The most common reasons are overmixing the batter, using too much flour, or having old leavening agents. Make sure you’re measuring flour correctly by spooning it into the cup rather than scooping. Also, mix just until ingredients are combined – no more!
Can I make this as a sheet cake instead of layers?
Definitely! Pour the batter into a greased 9×13-inch pan and bake at 350°F for 40-45 minutes. This is perfect for casual gatherings and potlucks. You’ll use about half the frosting recipe for a sheet cake.
What’s the best way to grate carrots for this cake?
Use the fine holes on a box grater or the grating blade on a food processor. You want small, fine shreds that will bake evenly throughout the cake. Avoid using large shreds or chunks as they won’t incorporate well.
Can I reduce the sugar in this recipe?
You can reduce the sugar by up to ¼ cup, but I don’t recommend going lower than that. The sugar provides structure and moisture, not just sweetness. The carrots and spices will still shine through even with the full amount.
How do I prevent my frosting from being too sweet?
Add an extra pinch of salt to the frosting and use a splash of lemon juice. This balances the sweetness. You can also reduce the powdered sugar by ½ cup and add 2 tablespoons of sour cream for tanginess.
Can I make this cake gluten-free?
Yes! Substitute the all-purpose flour with a 1:1 gluten-free baking flour blend that contains xanthan gum. Bob’s Red Mill and King Arthur both make excellent options. The texture will be nearly identical.
Is it necessary to use both baking powder and baking soda?
Yes, both are important! The baking soda reacts with the acidic ingredients (brown sugar, pineapple) while the baking powder provides additional lift. Using both creates the perfect rise and texture.
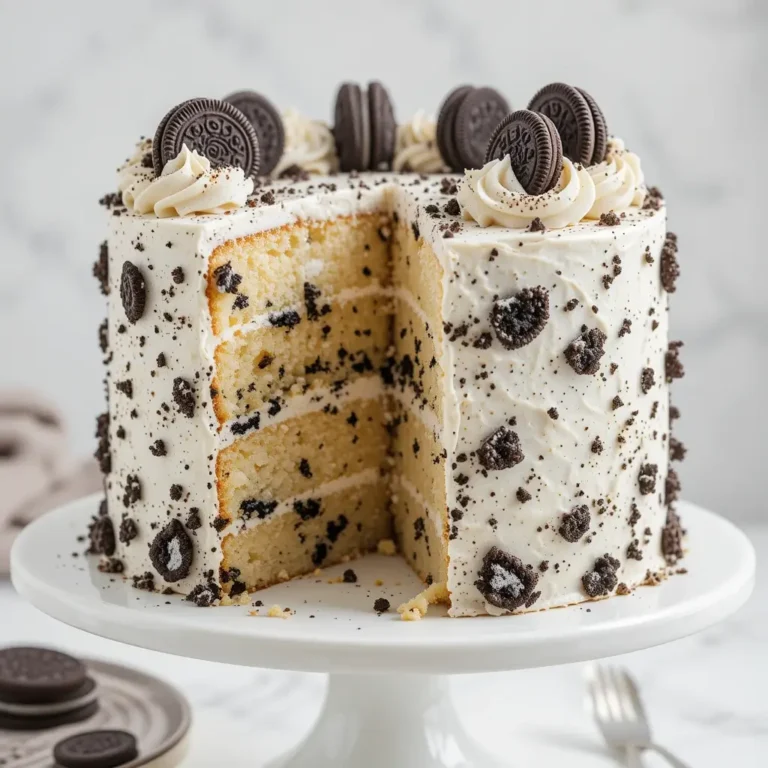
Can I add chocolate chips to this recipe?
While not traditional, white chocolate chips work beautifully in carrot cake! Add 1 cup to the batter along with the nuts. Dark chocolate would overpower the delicate spices, so I’d avoid that.
How far in advance can I make this for Thanksgiving?
Bake the unfrosted layers up to 2 days ahead and store wrapped at room temperature. Frost the cake the night before serving and refrigerate. You can also freeze the frosted cake up to 1 month ahead.
Nutrition Information
| Nutrient | Per Slice (1/16 of cake) |
|---|---|
| Calories | 520 |
| Total Fat | 28g |
| Saturated Fat | 11g |
| Cholesterol | 95mg |
| Sodium | 380mg |
| Total Carbohydrates | 65g |
| Dietary Fiber | 2g |
| Sugars | 50g |
| Protein | 5g |
| Vitamin A | 85% DV |
| Calcium | 8% DV |
| Iron | 10% DV |
Note: Nutrition information is approximate and will vary based on specific ingredients used and portion sizes.
Final Thoughts
This thanksgiving cake carrot truly is everything you want in a holiday dessert. It’s impressively beautiful, incredibly delicious, and surprisingly simple to make. The combination of warm spices, sweet carrots, and tangy cream cheese frosting creates a flavor profile that screams autumn and celebration.
I love making this cake because it brings people together. There’s something about slicing into a homemade layer cake that makes any occasion feel special. Whether you’re serving it at your Thanksgiving table, bringing it to a potluck, or just treating your family to something special on a Sunday afternoon, this cake delivers every single time.
The best part? Leftovers actually get better after a day or two in the fridge as the flavors meld together. Though in my experience, there are rarely leftovers!
Don’t be intimidated by the layer cake format – I promise you can do this. Just follow the steps, take your time, and enjoy the process. Your kitchen will smell amazing, and the smiles on everyone’s faces when they taste your creation will make every minute worth it.
Happy baking, and may your Thanksgiving table be filled with love, laughter, and this incredible cake!
Have you made this thanksgiving cake carrot recipe? I’d love to hear how it turned out! Leave a comment below and let me know what you think. Don’t forget to rate the recipe and share your photos – tag me on social media so I can see your beautiful creations!