Halloween Ghost Cake Recipe
Easy Halloween Showstopper! Whip up this Halloween ghost cake with simple decorations—great for kids and adults alike. Bake & scare!
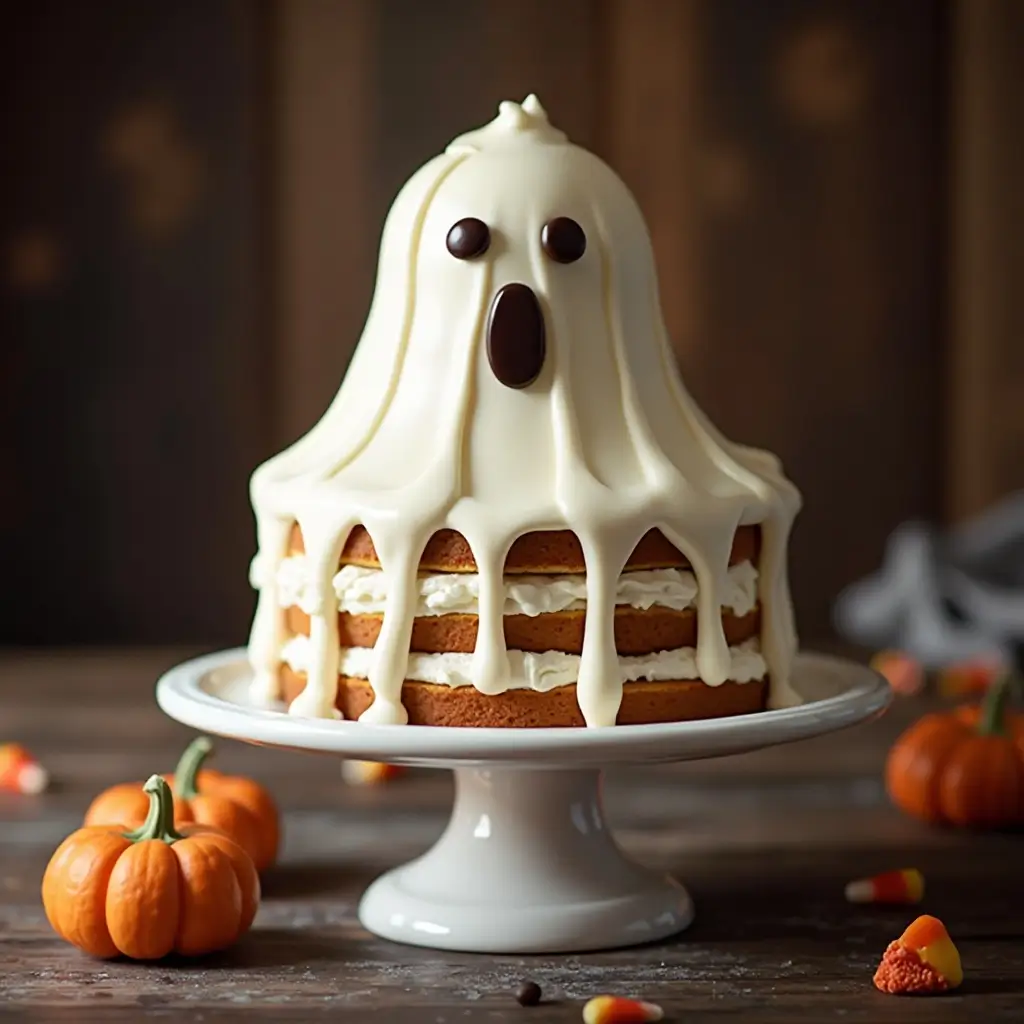
Nothing says Halloween quite like a ghostly white cake that’s both adorable and deliciously spooky! This Halloween ghost cake combines fluffy vanilla layers with creamy buttercream frosting, creating a dessert that’s surprisingly simple to make yet impressive enough to be the centerpiece of your Halloween party.
Perfect for busy parents and baking enthusiasts alike, this recipe takes just 45 minutes of active prep time and delivers maximum wow factor with minimal stress.
Table of Contents
What is Halloween Ghost Cake?
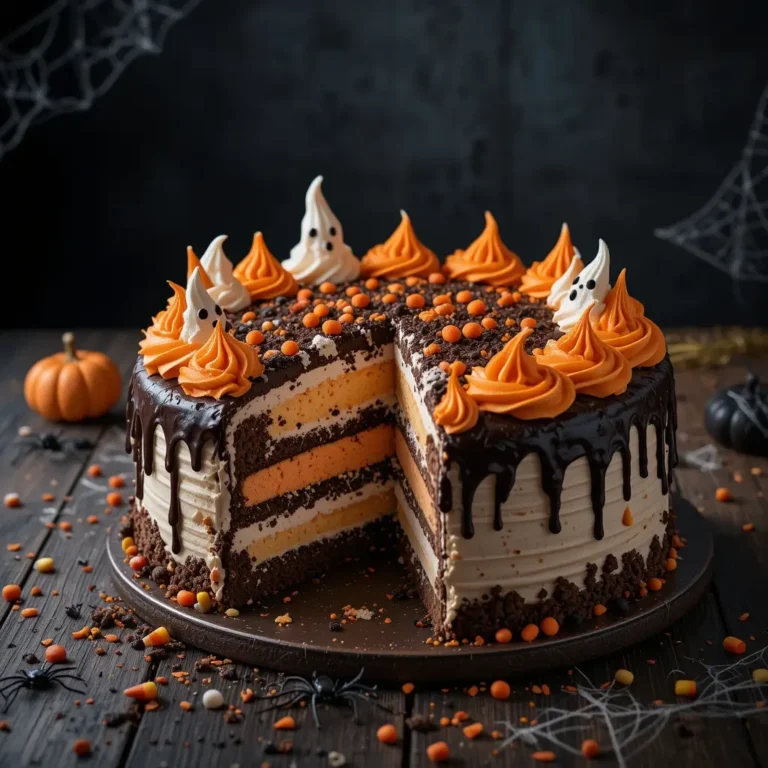
Ever wondered why we call it a “ghost cake” when it’s clearly just a regular cake dressed up for Halloween? Well, the magic lies in the transformation! This playful dessert gets its spooky name from the flowing white frosting that cascades down the sides like ghostly fabric, topped with simple chocolate chip eyes that seem to follow you around the room.
As they say, “the way to a man’s heart is through his stomach” – and nothing captures hearts quite like a cake that’s both cute and delicious. Ready to create your own friendly phantom?
Why You’ll Love This Halloween Ghost Cake:
Perfectly Spooky Yet Simple
This Halloween ghost cake strikes the perfect balance between impressive presentation and achievable execution. The moist vanilla cake layers provide a classic foundation, while the flowing buttercream frosting technique creates that signature ghostly appearance without requiring professional decorating skills.
Budget-Friendly Halloween Magic
Skip the expensive bakery prices and create bakery-quality results at home for a fraction of the cost. Using simple pantry staples like flour, sugar, eggs, and butter, you can craft a show-stopping centerpiece that rivals any store-bought Halloween dessert. The total ingredient cost typically runs under $8, yet feeds 8-10 people generously.
Crowd-Pleasing Flavors Everyone Loves
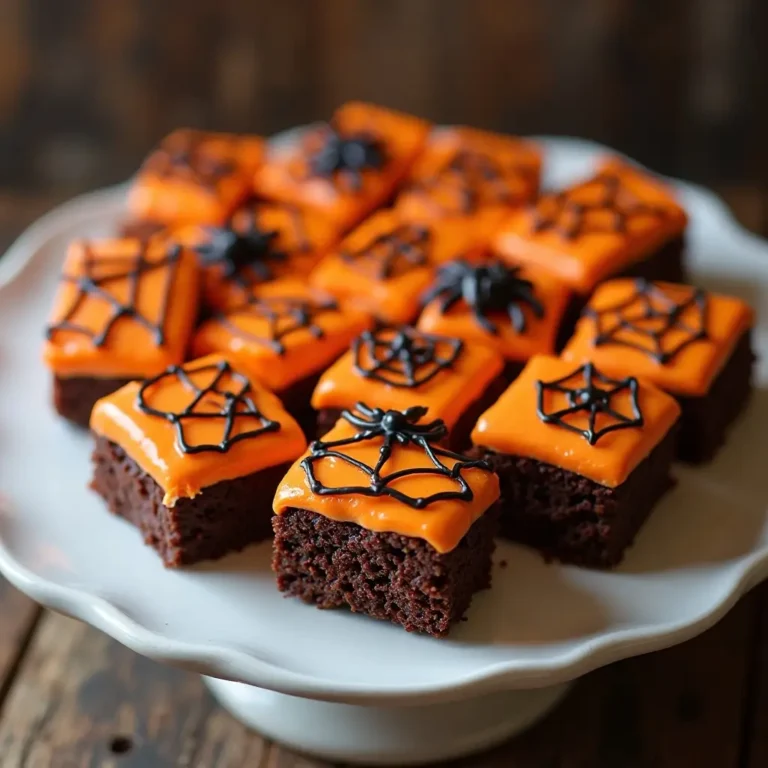
The combination of vanilla cake and classic buttercream appeals to all ages, from picky toddlers to discerning adults. Unlike our popular Chocolate Spider Brownies that can be too rich for some, this ghost cake offers a lighter, more universally loved flavor profile that pairs beautifully with Halloween festivities. Ready to become the hero of your next Halloween gathering?
How to Make Halloween Ghost Cake:
Quick Overview
This Halloween ghost cake delivers maximum spookiness with minimal effort. The secret lies in the draping technique that creates realistic ghost-like folds in the frosting.
Key Features:
- Moist, fluffy vanilla cake base
- Creamy, pipeable buttercream frosting
- Simple chocolate chip decoration
- Beginner-friendly techniques
Timing:
- Prep Time: 20 minutes
- Baking Time: 25 minutes
- Decorating Time: 30 minutes
- Total Time: 1 hour 15 minutes
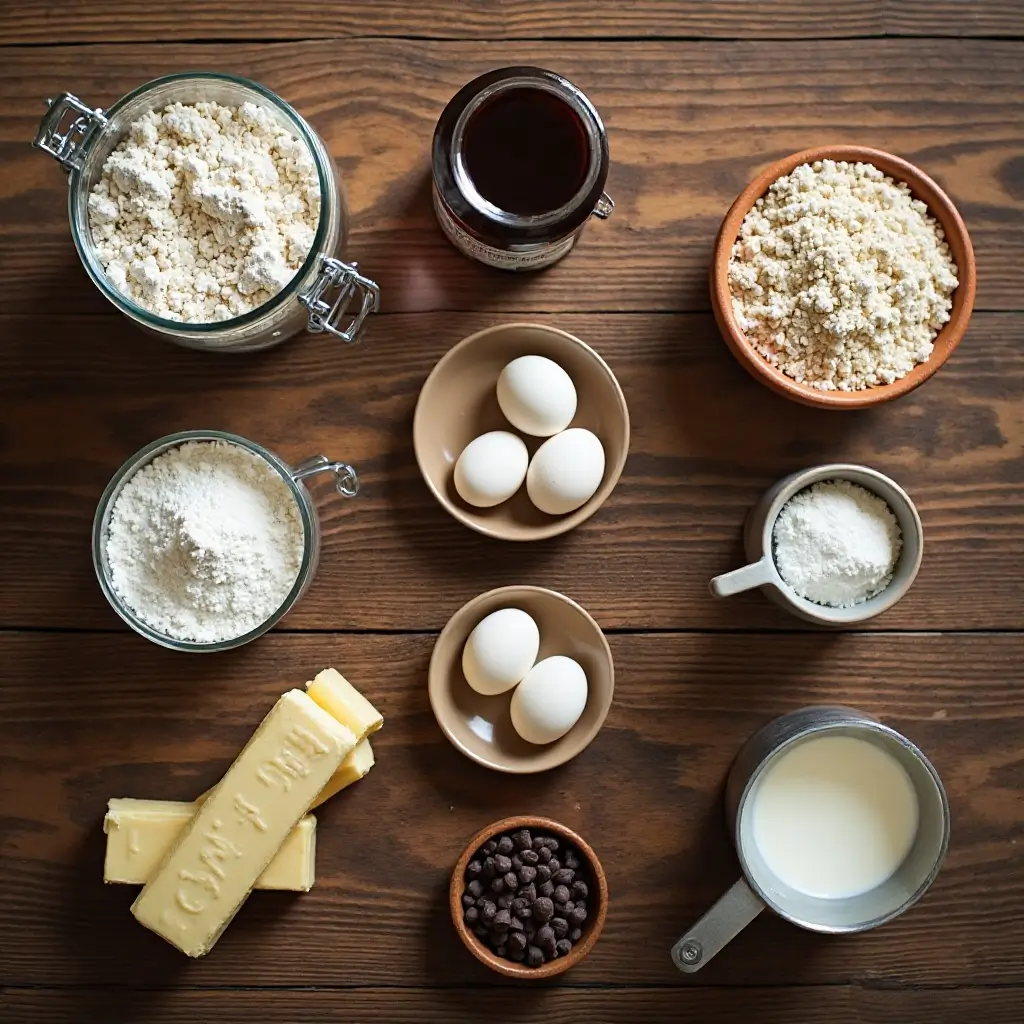
Key Ingredients for Halloween Ghost Cake:
For the Cake:
- 2½ cups all-purpose flour
- 2½ teaspoons baking powder
- ½ teaspoon salt
- 1¾ cups granulated sugar
- ½ cup unsalted butter, softened
- 2 large eggs
- 2 teaspoons vanilla extract
- 1¼ cups whole milk
For the Ghost Frosting:
- 1 cup unsalted butter, softened
- 4 cups powdered sugar
- ¼ cup heavy cream
- 2 teaspoons vanilla extract
- Pinch of salt
For Decoration:
- 2 mini chocolate chips (for eyes)
- Black gel food coloring (optional, for mouth)
Step-by-Step Instructions:
Making the Cake Base
- Prepare Your Workspace: Preheat oven to 350°F (175°C). Grease two 8-inch round cake pans and line with parchment paper. This prevents sticking and ensures easy removal.
- Mix Dry Ingredients: In a medium bowl, whisk together flour, baking powder, and salt. Set aside. This ensures even distribution of leavening agents.
- Cream Butter and Sugar: In a large bowl, beat softened butter and sugar with an electric mixer for 3-4 minutes until light and fluffy. This creates the cake’s tender texture.
- Add Eggs and Vanilla: Beat in eggs one at a time, then vanilla extract. Mix until well combined, scraping bowl sides as needed.
- Alternate Wet and Dry: Add flour mixture in three additions, alternating with milk in two additions. Begin and end with flour mixture. Mix just until combined to avoid tough cake.
- Bake the Layers: Divide batter evenly between prepared pans. Bake 22-25 minutes until a toothpick inserted in center comes out clean. Cool in pans 10 minutes, then turn out onto wire racks.
Creating the Ghost Frosting
- Make Buttercream Base: Beat softened butter until light and fluffy, about 3 minutes. Gradually add powdered sugar, one cup at a time, beating well after each addition.
- Add Liquids: Pour in heavy cream, vanilla, and salt. Beat on high speed for 2-3 minutes until frosting is smooth and pipeable. Adjust consistency with more cream if needed.
Assembling Your Ghost
- Layer the Cake: Place one cake layer on serving plate. Spread ½ cup frosting evenly on top. Add second layer and press gently to adhere.
- Create Ghost Shape: Apply a thin crumb coat of frosting all over cake. Refrigerate 15 minutes to set. This prevents crumbs in final frosting layer.
- Pipe Ghost Body: Using a large star tip, pipe frosting from top center, allowing it to drape naturally down sides. Work in sections, creating flowing, uneven edges that mimic fabric.
- Add Final Touches: Gently press mini chocolate chips for eyes. Use a toothpick dipped in black gel coloring to create a small “o” shaped mouth if desired.
What to Serve Halloween Ghost Cake With:
This versatile ghost cake pairs beautifully with various Halloween treats and beverages. Consider serving alongside warm apple cider or pumpkin spice hot chocolate for a cozy autumn feel. Orange sherbet or vanilla ice cream make excellent accompaniments, especially for kids’ parties.
For a complete Halloween spread, pair with our Pumpkin Spice Cookies, Caramel Apple Dip with sliced apples, or a selection of Halloween-themed candies. The cake’s sweet vanilla flavor also complements savory party foods like mini pizzas, cheese and crackers, or a festive charcuterie board.
Top Tips for Perfecting Halloween Ghost Cake:
Achieving the Perfect Ghost Drape
The key to realistic ghost frosting lies in the piping technique. Use a large star tip (Wilton 1M works perfectly) and pipe from top to bottom in one fluid motion. Let gravity help create natural-looking folds. If frosting is too stiff, add cream one teaspoon at a time.
Flavor Variations That Work
While vanilla is classic, try these substitutions: replace vanilla extract with almond extract for a subtle nutty flavor, or add 2 tablespoons of cocoa powder to create a “dirt cake” ghost effect. For chocolate lovers, substitute ½ cup flour with cocoa powder in the cake base.
Common Mistakes to Avoid
Don’t overmix cake batter once flour is added – this creates tough, dense layers. Ensure butter is properly softened (should give slightly to pressure) for smooth frosting. Room temperature ingredients combine more easily, so take eggs and milk out 30 minutes before baking.
Make-Ahead Strategies
Cake layers can be baked up to 3 days ahead and stored wrapped in plastic wrap at room temperature, or frozen for up to 1 month. Frosting can be made 2 days ahead and stored covered in refrigerator – just re-whip before using.
Storing and Reheating Tips:
Short-Term Storage: This Halloween ghost cake stays fresh covered at room temperature for up to 3 days. Use a cake dome or loosely cover with plastic wrap, ensuring frosting doesn’t touch covering.
Refrigerator Storage: For longer storage, refrigerate covered for up to 1 week. Bring to room temperature 30 minutes before serving for best flavor and texture.
Freezing Instructions: Freeze unfrosted cake layers wrapped tightly in plastic wrap and aluminum foil for up to 3 months. Thaw overnight in refrigerator before frosting. Completed cake can be frozen for up to 1 month – freeze uncovered for 2 hours, then wrap carefully.
Serving After Storage: If refrigerated, let cake sit at room temperature 20-30 minutes before serving. This allows frosting to soften and flavors to fully develop.
Nutrition Information
| Nutrient | Per Slice (1/10 cake) |
|---|---|
| Calories | 485 |
| Total Fat | 18g |
| Saturated Fat | 11g |
| Cholesterol | 75mg |
| Sodium | 245mg |
| Total Carbs | 78g |
| Dietary Fiber | 1g |
| Sugars | 68g |
| Protein | 5g |
Frequently Asked Questions
Can I make this cake gluten-free?
Yes! Substitute the all-purpose flour with a 1:1 gluten-free baking flour blend. Bob’s Red Mill and King Arthur both make excellent options that work perfectly in this recipe without other modifications.
How do I fix frosting that’s too runny?
Add more powdered sugar, ¼ cup at a time, until desired consistency is reached. If it’s extremely runny, refrigerate for 15 minutes, then re-whip. Sometimes room temperature issues cause runniness.
Can I use store-bought frosting instead?
Absolutely! Two containers of vanilla frosting work well. Let it come to room temperature and whip briefly to make it more pipeable. Add a splash of heavy cream if needed for smooth consistency.
What’s the best way to transport this cake?
Use a cake carrier with a high dome, or carefully tent with foil, ensuring it doesn’t touch the frosting. Keep cake level during transport and avoid hot car temperatures that could melt frosting.
How far ahead can I decorate the cake?
The ghost cake looks best decorated the day of serving, but can be completed up to 24 hours ahead. Store covered in a cool, dry place. Add chocolate chip eyes just before serving if concerned about them sliding.
My cake layers are uneven – can I fix this?
Yes! Use a long serrated knife to level cake layers before assembly. Save cake scraps to make cake pops or trifle later. A level cake creates a more stable ghost shape.
Expert Baking Tips for Extra Success:
Temperature Matters: Use an oven thermometer to ensure accurate temperature. Even 25-degree variations can affect cake texture and rising.
Ingredient Quality: Use real vanilla extract, not imitation, for the best flavor. European-style butter (higher fat content) creates richer frosting.
Decoration Alternatives: For a more dramatic look, try using black cocoa powder mixed with powdered sugar to create “shadows” around the ghost base. Edible pearl dust adds an ethereal shimmer.
Kid-Friendly Modifications: Let children help by measuring ingredients, pressing chocolate chip eyes, or using small offset spatulas to help with frosting. This creates lasting Halloween memories.
Photography Tips: Photograph your ghost cake against a dark background with soft, diffused lighting to make the white frosting pop. Add Halloween props like plastic spiders or autumn leaves for context.
This Halloween ghost cake recipe delivers professional-looking results with home baker simplicity. Whether you’re hosting a Halloween party, contributing to a school celebration, or just want to create some spooky fun at home, this cake guarantees smiles and satisfied sweet tooths all around!