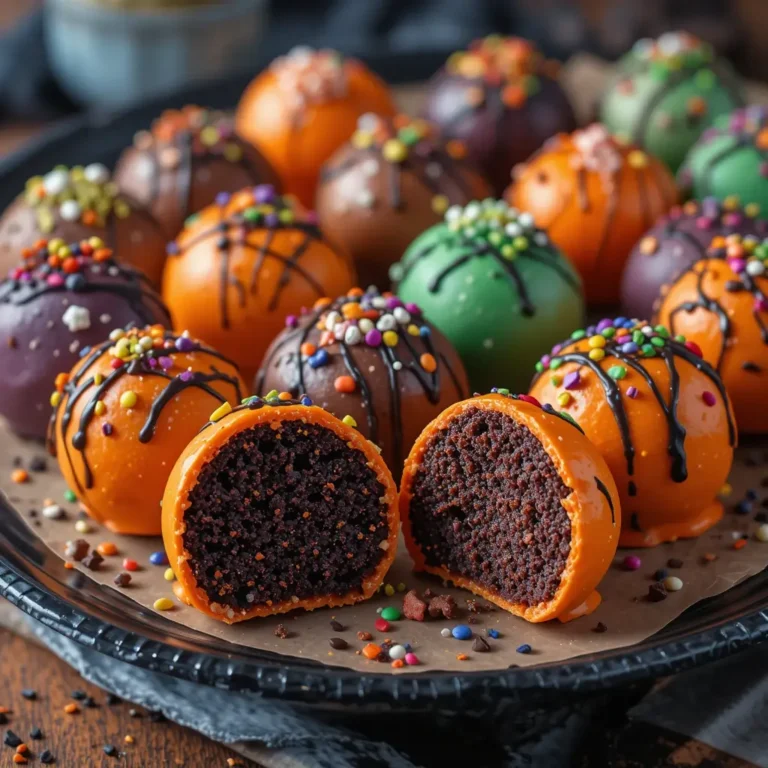
Little Debbie Halloween Cakes
Love Little Debbie Halloween Cakes? Get our copycat recipe to make your own spooky snack cakes at home for a festive treat!
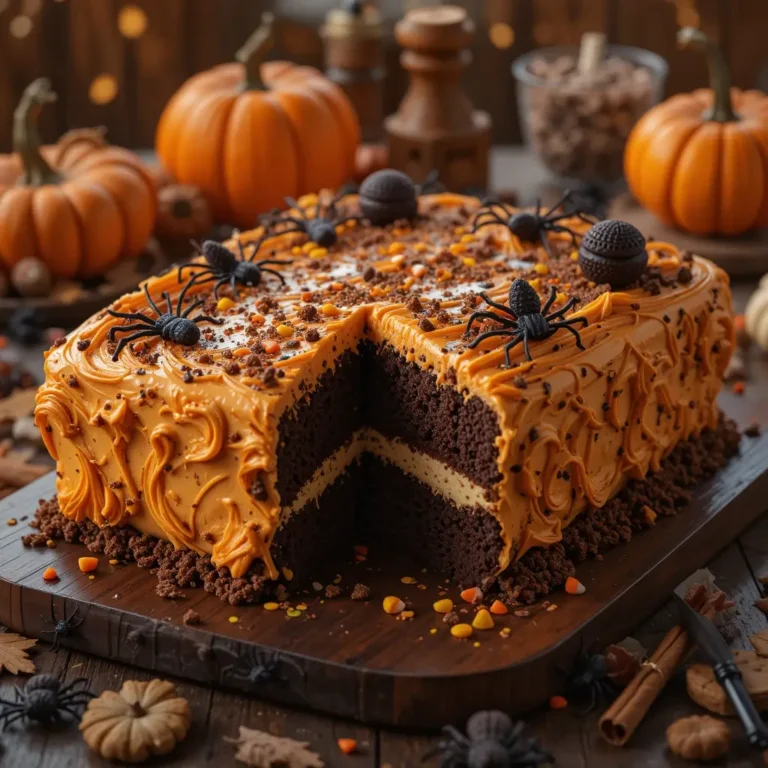
Get ready to fall head over heels for these adorable Little Debbie Halloween cakes that combine nostalgic charm with irresistible sweetness! These spooky treats feature moist chocolate cake layers wrapped in rich orange and black icing, creating the perfect bite-sized Halloween magic.
What makes these cakes truly special is their incredible simplicity – you can whip up a batch in under an hour using pantry staples.
Just like our popular funfetti cupcakes that readers rave about, these Halloween treats are guaranteed crowd-pleasers that’ll have your family asking for seconds. Get ready to create some deliciously spooky memories!
Table of Contents
What Are Little Debbie Halloween Cakes?
Ever wondered why these adorable treats captured our hearts every October? Little Debbie Halloween cakes are miniature masterpieces that transform ordinary chocolate cake into festive fall magic! These pocket-sized delights feature tender chocolate cake wrapped in vibrant orange icing with spooky black decorations.
They say the way to a man’s heart is through his stomach, and these nostalgic treats prove that theory right every time. Ready to bring some Halloween joy to your kitchen?
Why You’ll Love This Little Debbie Halloween Cakes Recipe
Nostalgic Halloween Magic in Every Bite
These homemade Little Debbie Halloween cakes deliver that unmistakable childhood nostalgia we all crave during spooky season. The combination of moist chocolate cake and creamy orange icing creates a flavor explosion that transports you straight back to trick-or-treating adventures.
Budget-Friendly Halloween Treats
Making these cakes at home saves you serious money compared to store-bought versions. With basic ingredients like cocoa powder, flour, and food coloring, you can create dozens of these treats for a fraction of the retail cost.
Customizable Spooky Decorations
The beauty lies in the creative freedom – use black icing to create spider webs, pumpkin faces, or ghostly designs. Unlike our classic chocolate chip cookies, these cakes become your Halloween canvas for edible art.
Ready to dive into some homemade Halloween magic? Let’s get baking!
How to Make Little Debbie Halloween Cakes
Quick Overview
These Little Debbie Halloween cakes are surprisingly simple to make at home. The recipe combines a tender chocolate cake base with sweet orange icing and spooky black decorations.
Prep Time: 30 minutes
Baking Time: 25 minutes
Decorating Time: 20 minutes
Total Time: 1 hour 15 minutes
Yield: 24 individual cakes
Key Ingredients for Little Debbie Halloween Cakes
For the Chocolate Cake:
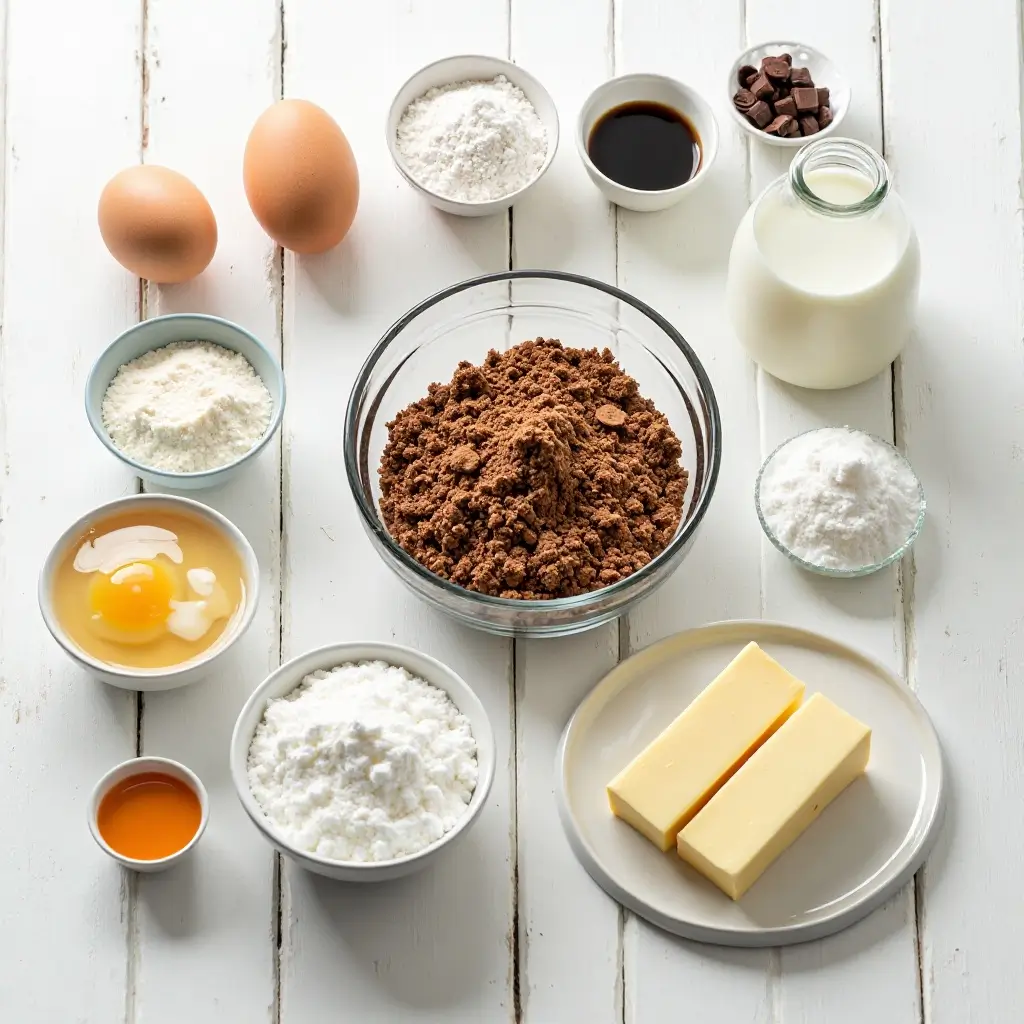
- 2 cups all-purpose flour
- 1¾ cups granulated sugar
- ¾ cup unsweetened cocoa powder
- 2 teaspoons baking soda
- 1 teaspoon baking powder
- 1 teaspoon salt
- 2 large eggs
- 1 cup buttermilk
- 1 cup strong black coffee (cooled)
- ½ cup vegetable oil
- 1 teaspoon vanilla extract
For the Orange Icing:
- 4 cups powdered sugar
- ½ cup unsalted butter (softened)
- 4-5 tablespoons milk
- 1 teaspoon vanilla extract
- Orange food coloring
- Black food coloring (for decorations)
Step-by-Step Instructions
Making the Chocolate Cake Base
- Preheat and Prepare: Preheat your oven to 350°F (175°C). Grease a 9×13 inch baking pan and dust with cocoa powder.
- Mix Dry Ingredients: In a large bowl, whisk together flour, sugar, cocoa powder, baking soda, baking powder, and salt until well combined.
- Combine Wet Ingredients: In another bowl, beat eggs, then add buttermilk, cooled coffee, vegetable oil, and vanilla extract. Mix until smooth.
- Create the Batter: Pour the wet ingredients into the dry ingredients. Stir until just combined – don’t overmix as this can make the cake tough.
- Bake the Cake: Pour batter into prepared pan and bake for 22-25 minutes, or until a toothpick inserted in center comes out clean.
- Cool Completely: Allow cake to cool in pan for 10 minutes, then turn out onto a wire rack to cool completely before cutting.
Preparing the Orange Icing
- Make the Base: Beat softened butter until light and fluffy, about 3 minutes.
- Add Sugar Gradually: Slowly add powdered sugar, one cup at a time, beating well after each addition.
- Perfect the Consistency: Add milk and vanilla extract. Beat until smooth and spreadable.
- Create Orange Color: Add orange food coloring gradually until you achieve the perfect Halloween orange shade.
Assembly and Decoration
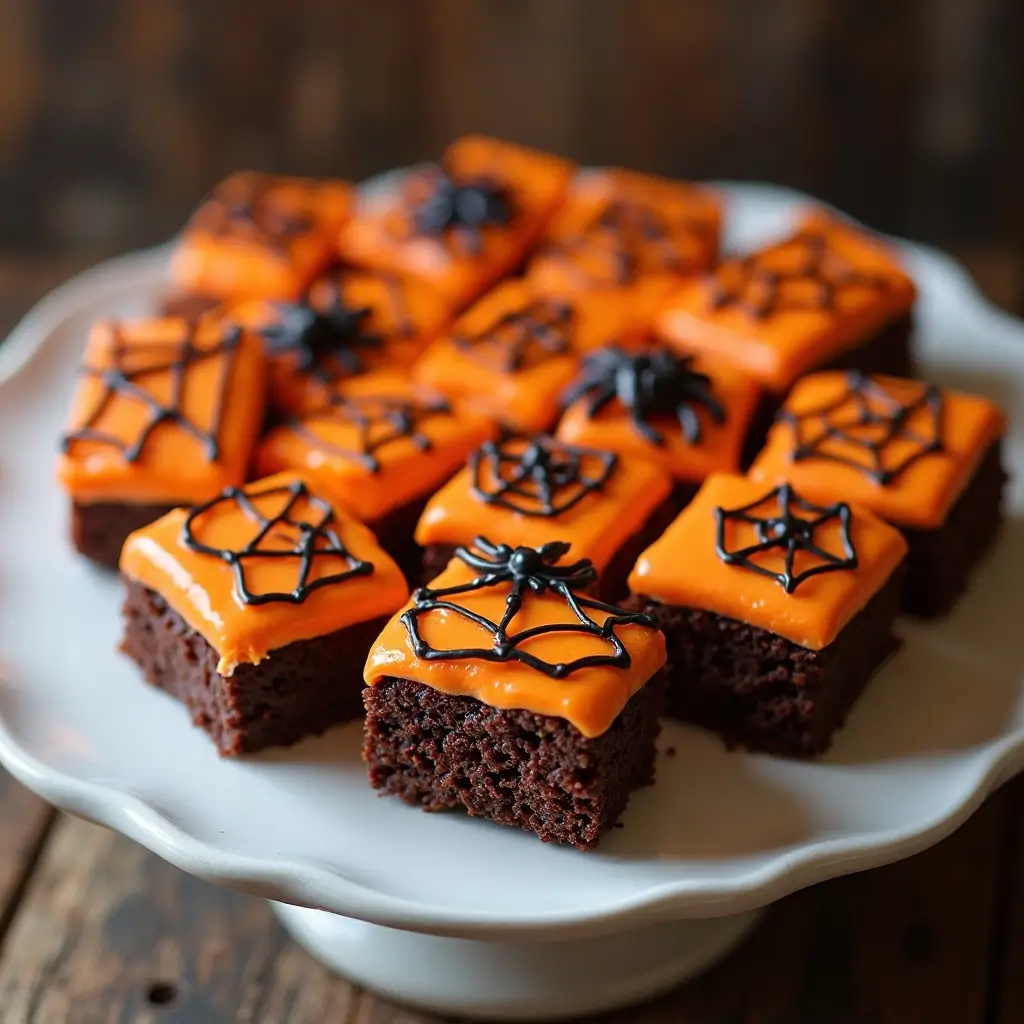
- Cut Individual Cakes: Using a sharp knife, cut the cooled cake into 24 rectangular pieces, approximately 2×3 inches each.
- Apply Orange Icing: Spread a generous layer of orange icing on top of each cake piece, smoothing with an offset spatula.
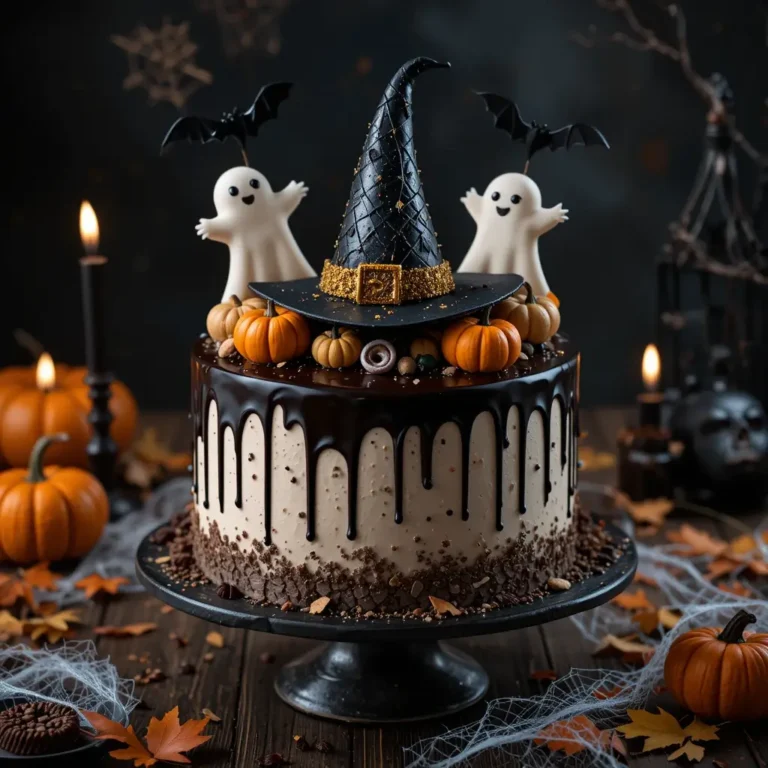
- Add Spooky Decorations: Use black icing in a piping bag or squeeze bottle to create Halloween designs like spider webs, pumpkin faces, or spooky swirls.
- Set the Icing: Allow cakes to sit at room temperature for 15-20 minutes until icing sets before serving.
What to Serve Little Debbie Halloween Cakes With
These Halloween treats pair beautifully with hot apple cider or spiced chai tea for the ultimate fall experience. For Halloween parties, arrange them alongside pumpkin-shaped cookies and candy corn for a festive dessert table. The cakes also complement vanilla ice cream perfectly – try serving them slightly warmed with a scoop of cinnamon ice cream for an elevated dessert. For adult gatherings, pair with coffee or even a pumpkin spice latte for that perfect autumn flavor combination.
Top Tips for Perfecting Little Debbie Halloween Cakes
Achieving the Perfect Cake Texture
Use room temperature ingredients for the smoothest batter. The coffee in this recipe enhances the chocolate flavor without making it taste like coffee – don’t skip it! If you don’t have buttermilk, make your own by adding 1 tablespoon of lemon juice to 1 cup of regular milk.
Icing Success Secrets
For the smoothest icing, sift your powdered sugar before adding it to prevent lumps. If your icing is too thick, add milk one teaspoon at a time. Too thin? Add more powdered sugar gradually. The key to vibrant orange color is adding gel food coloring slowly – liquid coloring can thin the icing too much.
Decoration Pro Tips
Let the orange icing set for 5-10 minutes before adding black decorations – this prevents bleeding. Use a toothpick to create texture in the icing for a more authentic look. For clean lines, use a piping bag with a small round tip rather than squeezing directly from a bottle.
Storage and Make-Ahead Options
These cakes actually taste better the next day as flavors meld together. Store unfrosted cake wrapped tightly for up to 3 days before decorating. The icing can be made 2 days ahead and stored covered in the refrigerator – just bring to room temperature and re-whip before using.
Storing and Reheating Tips
Room Temperature Storage: Store finished cakes in an airtight container at room temperature for up to 5 days. Place parchment paper between layers to prevent sticking.
Refrigerator Storage: These cakes keep well in the refrigerator for up to one week. Allow them to come to room temperature for 15 minutes before serving for the best taste and texture.
Freezing Instructions: Wrap individual cakes in plastic wrap, then place in freezer-safe containers. They’ll keep frozen for up to 3 months. Thaw overnight in the refrigerator, then bring to room temperature before serving.
Reheating Notes: These cakes are best served at room temperature. If you prefer them slightly warm, microwave for 5-10 seconds, but be careful not to melt the icing.
Nutrition Information
| Nutrient | Per Cake (1 serving) |
|---|---|
| Calories | 285 |
| Total Fat | 8g |
| Saturated Fat | 4g |
| Cholesterol | 35mg |
| Sodium | 220mg |
| Total Carbs | 52g |
| Dietary Fiber | 2g |
| Sugars | 45g |
| Protein | 4g |
Nutritional values are approximate and may vary based on specific ingredients used.
Frequently Asked Questions
Can I make these cakes gluten-free?
Yes! Substitute the all-purpose flour with a 1:1 gluten-free flour blend. The texture will be slightly different but still delicious.
How far in advance can I make these Halloween cakes?
You can bake the cake base up to 3 days ahead. Store wrapped at room temperature, then ice and decorate the day you plan to serve them.
What if I don’t have orange food coloring?
Mix red and yellow food coloring to create orange, or use natural alternatives like carrot juice powder for a more subtle color.
Can I use a different icing flavor?
Absolutely! Try cream cheese icing, vanilla buttercream, or even peanut butter icing for variety. The orange color works with any base flavor.
Why is my icing too runny?
This usually happens when butter is too warm or you’ve added too much liquid. Chill the icing for 15 minutes, then re-whip, adding powdered sugar if needed.
Can I make mini versions of these cakes?
Yes! Use a mini muffin pan and reduce baking time to 12-15 minutes. You’ll get about 48 mini cakes perfect for parties.
How do I get clean cake cuts?
Use a sharp, thin knife and clean it between cuts. Chilling the cake for 30 minutes before cutting also helps achieve cleaner edges.
Can I add filling between cake layers?
For a more authentic Little Debbie experience, split each cake horizontally and add a thin layer of vanilla cream filling or marshmallow fluff.
These homemade Little Debbie Halloween cakes bring back all those childhood memories while giving you complete control over ingredients and decorations. Whether you’re planning a Halloween party, looking for a fun family baking project, or just craving some nostalgic sweetness, this recipe delivers every time. The combination of rich chocolate cake and vibrant orange icing creates the perfect Halloween treat that’s sure to become a seasonal tradition in your home.
Happy Halloween baking!