5 Ingredient Red Velvet Cake Mix Brownies
Bake fudgy red velvet cake mix brownies! Get our easy recipe for rich, chocolatey bars with a hint of tang, perfect for a quick dessert.
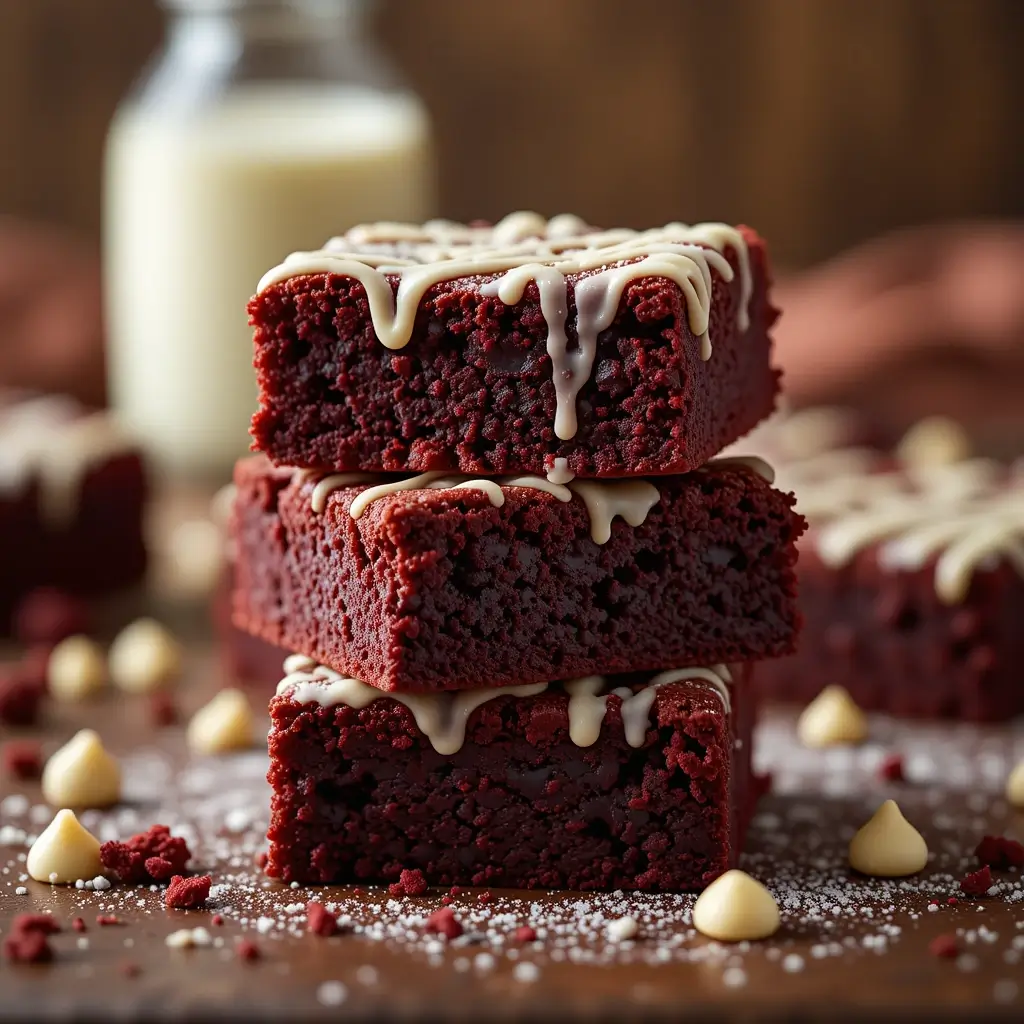
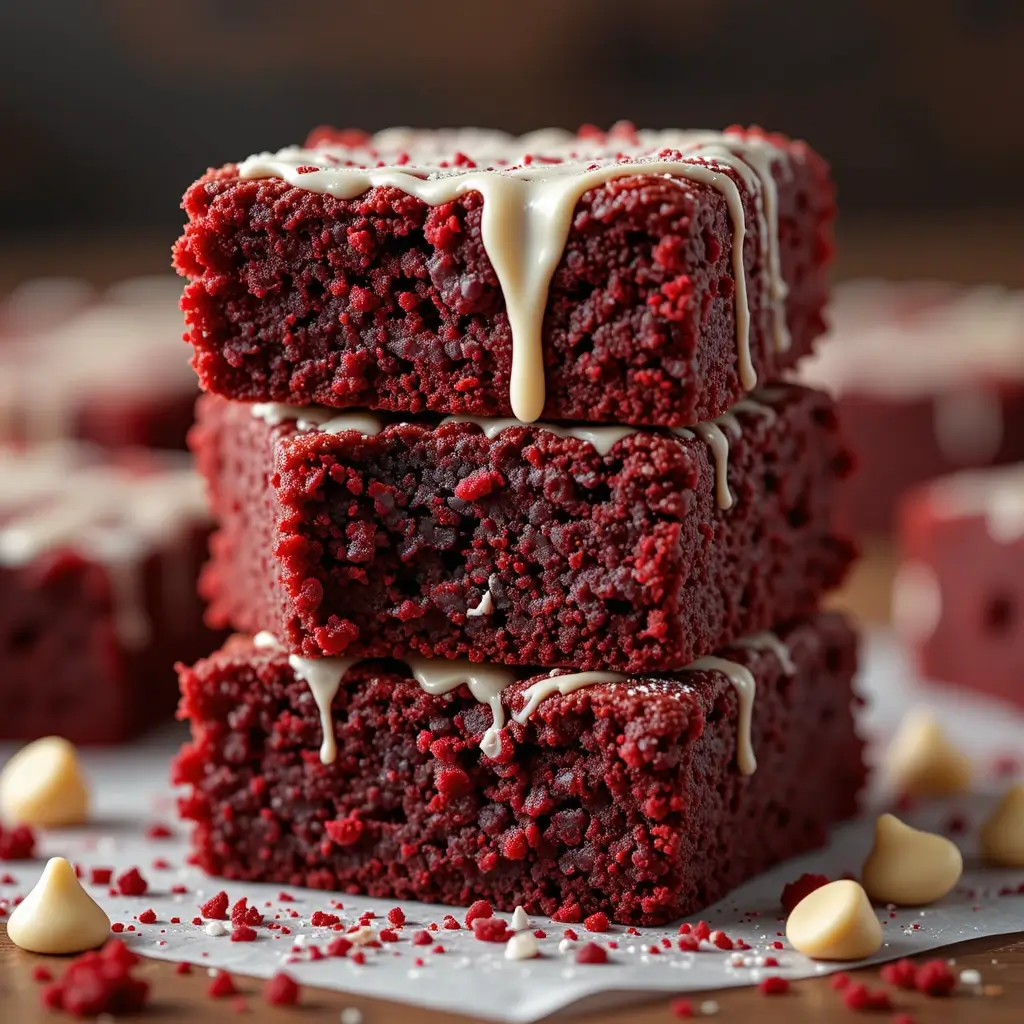
Imagine biting into a perfectly fudgy brownie with that signature red velvet flavor – rich, slightly tangy, and absolutely irresistible. These red velvet cake mix brownies combine the beloved taste of classic red velvet cake with the dense, chewy texture of brownies.
Here’s a fun fact: red velvet’s distinctive flavor comes from a subtle cocoa taste enhanced by buttermilk and vinegar, creating that unique tang we all crave. This recipe transforms an ordinary cake mix into extraordinary brownies in just 30 minutes, making it perfect for busy weeknights or last-minute dessert emergencies.
Unlike our popular chocolate chip cookie bars that require multiple steps, these brownies use just five simple ingredients. Get ready to fall in love with the easiest red velvet dessert you’ll ever make!
Table of Contents
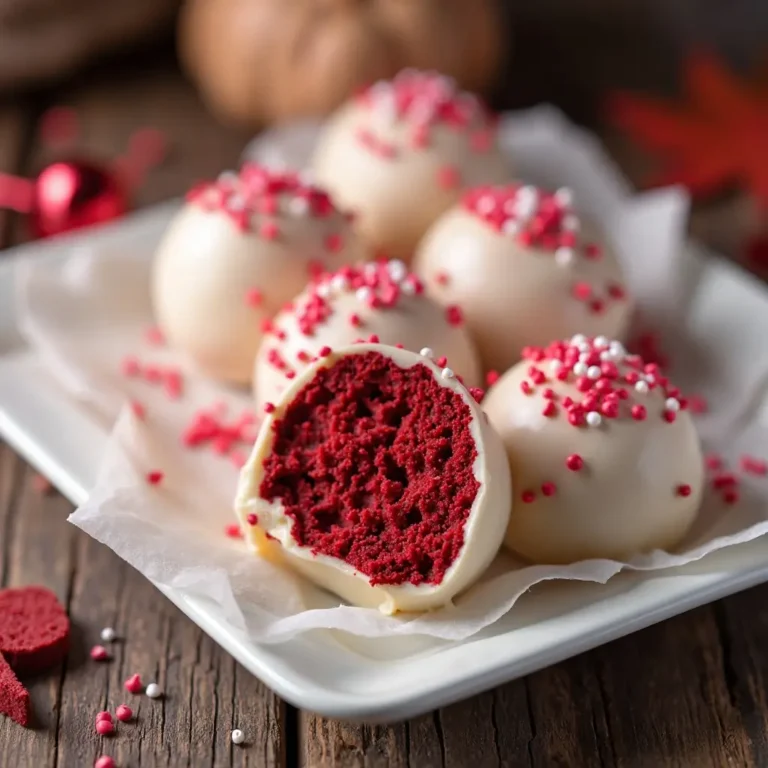
What is Red Velvet Cake Mix Brownies?
Ever wondered why we call them “red velvet cake mix brownies“? It’s quite simple – we’re taking the convenience of boxed red velvet cake mix and transforming it into dense, fudgy brownies instead of fluffy cake! Think of it as the best of both worlds meeting in one delicious treat.
Why reinvent the wheel when you can simply give it a delicious makeover? This clever hack proves that sometimes the most brilliant ideas are hiding in plain sight. As they say, “the way to a man’s heart is through his stomach,” and these brownies definitely pave that path with their rich, velvety goodness. Ready to surprise everyone with this simple yet genius dessert? Let’s dive in!
Why You’ll Love This Red Velvet Cake Mix Brownies:
The Ultimate Flavor Experience
These red velvet cake mix brownies deliver that iconic red velvet taste with minimal effort. The subtle chocolate notes blend perfectly with the tangy undertones, creating a sophisticated flavor profile that’s both familiar and exciting. Each bite offers a perfect balance of sweetness with just a hint of cocoa richness.
Budget-Friendly Home Baking
Making these brownies at home costs a fraction of what you’d pay at a bakery. A single box of cake mix yields 16 generous servings, making it an economical choice for feeding a crowd or satisfying your family’s sweet tooth without breaking the bank.
Customizable and Versatile
The beauty lies in the endless topping possibilities – from cream cheese frosting swirls to white chocolate chips or chopped pecans. Unlike our traditional fudge brownies that have a set flavor profile, these red velvet beauties serve as a canvas for your creativity. Ready to create your own signature version? Let’s get baking and discover your new favorite treat!
How to Make Red Velvet Cake Mix Brownies:
Quick Overview
These red velvet cake mix brownies are incredibly easy to make and deliver restaurant-quality results every time. The secret lies in using melted butter instead of oil, which creates that perfect fudgy texture we all love. With just 10 minutes of prep time and 20 minutes in the oven, you’ll have warm, gooey brownies ready to enjoy.
Total Time: 30 minutes
- Prep Time: 10 minutes
- Bake Time: 20 minutes
- Servings: 16 brownies
- Difficulty: Beginner-friendly
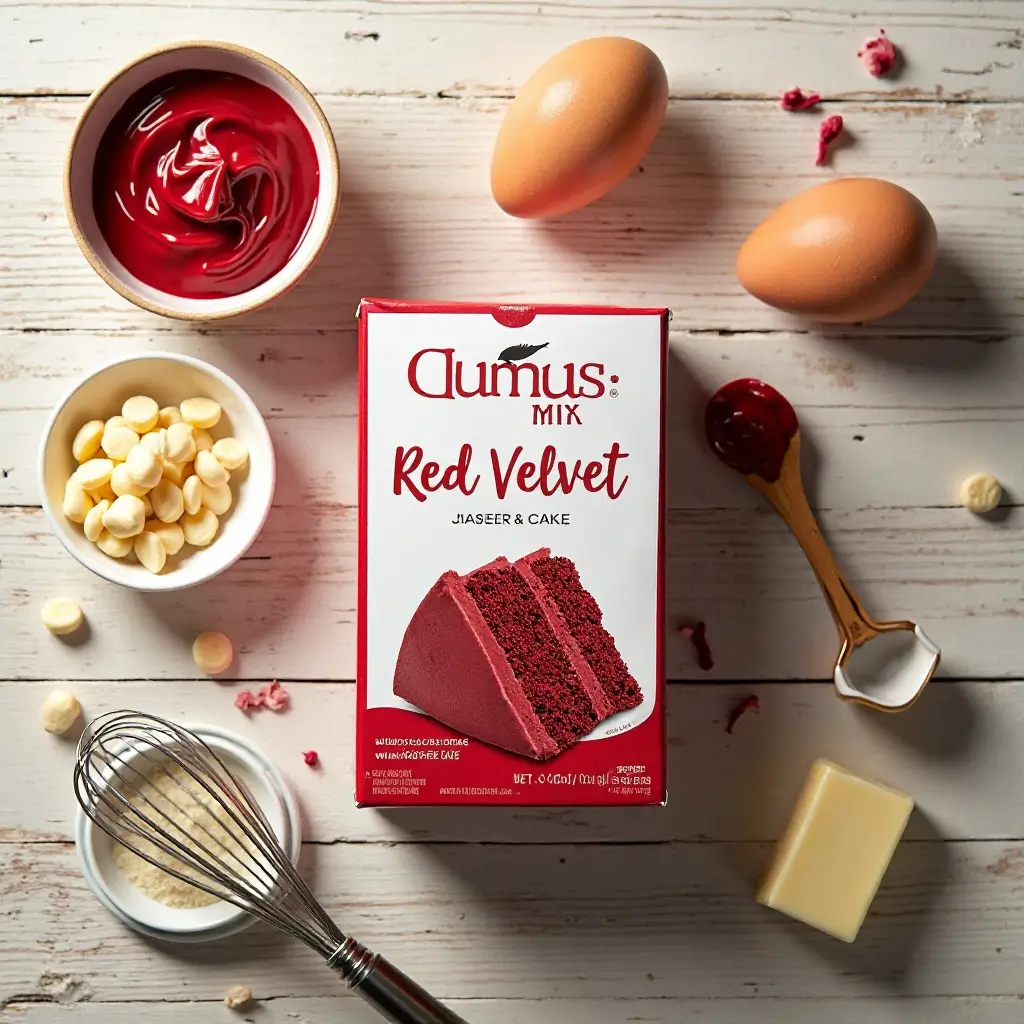
Key Ingredients for Red Velvet Cake Mix Brownies:
- 1 box (15.25 oz) red velvet cake mix
- 1/2 cup melted butter (1 stick)
- 2 large eggs
- 1/4 cup water
- 1/2 cup white chocolate chips (optional)
Step-by-Step Instructions:
Step 1: Prepare Your Pan Preheat your oven to 350°F (175°C). Line an 8×8 inch baking pan with parchment paper, leaving some overhang for easy removal. Lightly grease the parchment with cooking spray.
Step 2: Mix the Wet Ingredients In a large mixing bowl, whisk together the melted butter, eggs, and water until well combined. The mixture should be smooth with no visible egg streaks.
Step 3: Add the Cake Mix Gradually fold in the red velvet cake mix using a wooden spoon or rubber spatula. Mix just until combined – don’t overmix as this can make the brownies tough. The batter will be thick and slightly sticky.
Step 4: Add Mix-ins (Optional) If using white chocolate chips or other add-ins, gently fold them into the batter until evenly distributed.
Step 5: Bake to Perfection Spread the batter evenly in your prepared pan. Bake for 18-22 minutes, or until a toothpick inserted in the center comes out with a few moist crumbs. Don’t overbake – slightly underdone is better than dry!
Step 6: Cool and Cut Let the brownies cool completely in the pan before lifting out using the parchment paper overhang. Cut into 16 squares using a sharp knife.
What to Serve Red Velvet Cake Mix Brownies With:
These versatile brownies pair beautifully with various accompaniments. Serve them warm with a scoop of vanilla ice cream and a drizzle of chocolate sauce for an indulgent dessert. For a more elegant presentation, dust with powdered sugar and serve alongside fresh berries and whipped cream. Coffee lovers will appreciate these brownies with a hot cup of coffee or a cold glass of milk. During holidays, consider serving them with cream cheese frosting on the side for dipping, or crumble them over vanilla pudding for a delightful trifle.
Top Tips for Perfecting Red Velvet Cake Mix Brownies:
Don’t Overmix the Batter Overmixing develops the gluten in the flour, resulting in tough, chewy brownies instead of tender ones. Mix just until the ingredients are combined.
Use Room Temperature Ingredients Let your eggs come to room temperature for about 30 minutes before mixing. This helps create a smoother batter and more even texture.
Line Your Pan Properly Always use parchment paper with overhang for easy removal. This prevents sticking and makes cutting clean squares much easier.
Check for Doneness Carefully The toothpick test is crucial – look for moist crumbs, not wet batter. The center should still be slightly soft as it will continue cooking from residual heat.
Ingredient Substitutions
- Replace water with strong coffee for deeper flavor
- Substitute buttermilk for water for extra tanginess
- Use vegetable oil instead of butter for slightly more tender texture
- Add 1 tsp vanilla extract for enhanced flavor
Storing and Reheating Tips:
Room Temperature Storage Store cooled brownies in an airtight container at room temperature for up to 5 days. Place parchment paper between layers to prevent sticking.
Refrigerator Storage For longer storage, refrigerate brownies for up to 1 week. Bring to room temperature before serving for the best texture and flavor.
Freezer Storage These brownies freeze beautifully for up to 3 months. Wrap individual squares in plastic wrap, then place in a freezer-safe container. Thaw at room temperature for 2-3 hours.
Reheating Instructions To enjoy warm brownies, microwave individual pieces for 10-15 seconds or warm in a 300°F oven for 5 minutes. Avoid overheating as this can dry them out.
Nutritional Information
| Nutrient | Per Serving (1 brownie) |
|---|---|
| Calories | 165 |
| Total Fat | 6g |
| Saturated Fat | 4g |
| Cholesterol | 35mg |
| Sodium | 220mg |
| Total Carbs | 28g |
| Dietary Fiber | 1g |
| Sugars | 20g |
| Protein | 2g |
Nutritional values are approximate and may vary based on specific ingredients used.
Frequently Asked Questions
Can I use a different cake mix flavor?
Absolutely! This recipe works with any cake mix flavor. Try chocolate, vanilla, or even funfetti for variety. The baking time and method remain the same.
Why are my brownies too cake-like?
This usually happens when too much liquid is added or the oven temperature is too low. Stick to the exact measurements and ensure your oven is properly preheated.
Can I make these brownies gluten-free?
Yes! Simply substitute with your favorite gluten-free red velvet cake mix. The rest of the recipe remains unchanged.
How do I know when the brownies are done?
Insert a toothpick in the center – it should come out with a few moist crumbs. If it comes out clean, they may be overbaked.
Can I double this recipe?
Yes! Use a 9×13 inch pan and increase baking time to 25-30 minutes. Check for doneness with the toothpick test.
What’s the best way to get clean cuts?
Use a sharp knife and wipe it clean between cuts. Chilling the brownies for 30 minutes before cutting also helps achieve cleaner edges.
Can I add frosting to these brownies?
Definitely! Cream cheese frosting pairs perfectly with red velvet. Let the brownies cool completely before frosting to prevent melting.
Creative Variations and Add-ins
Transform your basic red velvet cake mix brownies into gourmet treats with these creative additions:
White Chocolate Swirl: Drop spoonfuls of melted white chocolate on top of the batter and swirl with a knife for a marbled effect.
Cream Cheese Squares: Drop dollops of sweetened cream cheese mixture on top before baking for cheesecake-style brownies.
Nutty Crunch: Add chopped pecans, walnuts, or almonds for extra texture and flavor.
Cookie Crumble Top: Sprinkle crushed chocolate sandwich cookies on top before baking for a cookies-and-cream twist.
Final Thoughts
These red velvet cake mix brownies prove that some of the best recipes are also the simplest. With just five ingredients and 30 minutes, you can create a dessert that rivals any bakery treat. Whether you’re a beginner baker or a seasoned pro looking for a quick fix, this recipe delivers consistent, delicious results every time.
The beauty of this recipe lies not just in its simplicity, but in its versatility. Make them for birthday parties, potluck dinners, or just because you’re craving something sweet. They’re perfect for meal prep too – make a batch on Sunday and enjoy them throughout the week.
Remember, baking should be fun and stress-free. This recipe embodies that philosophy perfectly. So grab that box of cake mix from your pantry and treat yourself to these incredible red velvet cake mix brownies. Your taste buds will thank you!