Chocolate Cake Decoration That Will Wow Your Guests
Discover delicious chocolate cake decoration ideas! These easy techniques are perfect for creating stunning, professional-looking desserts at home.
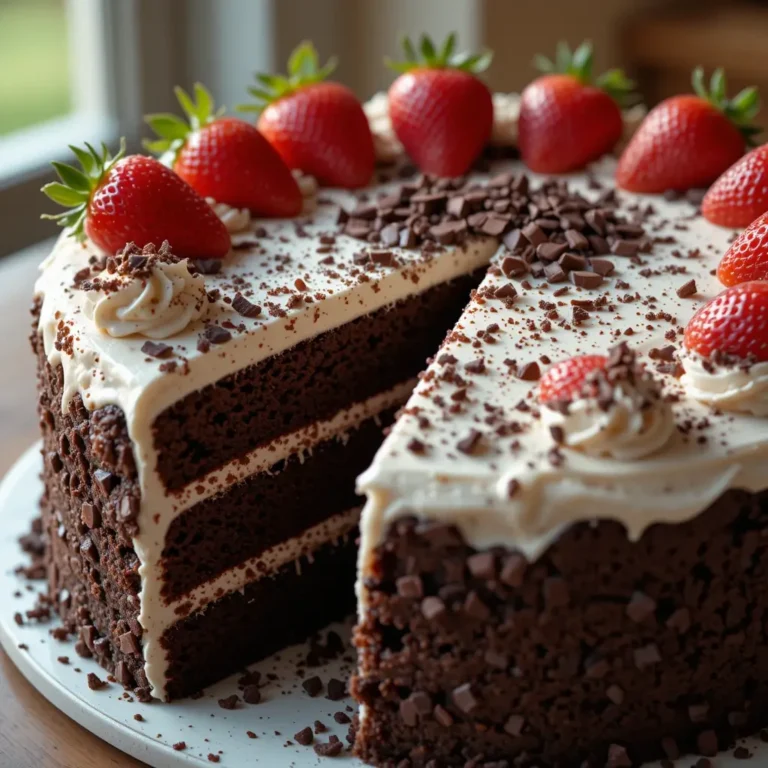
Picture this: a rich, moist chocolate cake transformed into a masterpiece that looks like it came straight from a high-end bakery. This chocolate cake decoration guide will show you exactly how to create Instagram-worthy desserts that taste as incredible as they look.
With simple techniques and everyday ingredients, you’ll master the art of cake decorating in no time. Just like our popular vanilla buttercream flowers tutorial, this method is beginner-friendly yet produces professional results that will have your family and friends begging for the recipe!
What is Chocolate Cake Decoration?
Ever wondered why some cakes look like edible works of art while others look, well, homemade? Chocolate cake decoration is the magical process of transforming a simple chocolate cake into a stunning centerpiece that’s almost too beautiful to eat.
Think silky ganache drips, delicate chocolate shards, and elegant piping that makes every slice a celebration. As they say, “the way to a man’s heart is through his stomach,” but the way to everyone’s heart is through their eyes first! Ready to become the cake artist you never knew you could be?
Why You’ll Love This Chocolate Cake Decoration
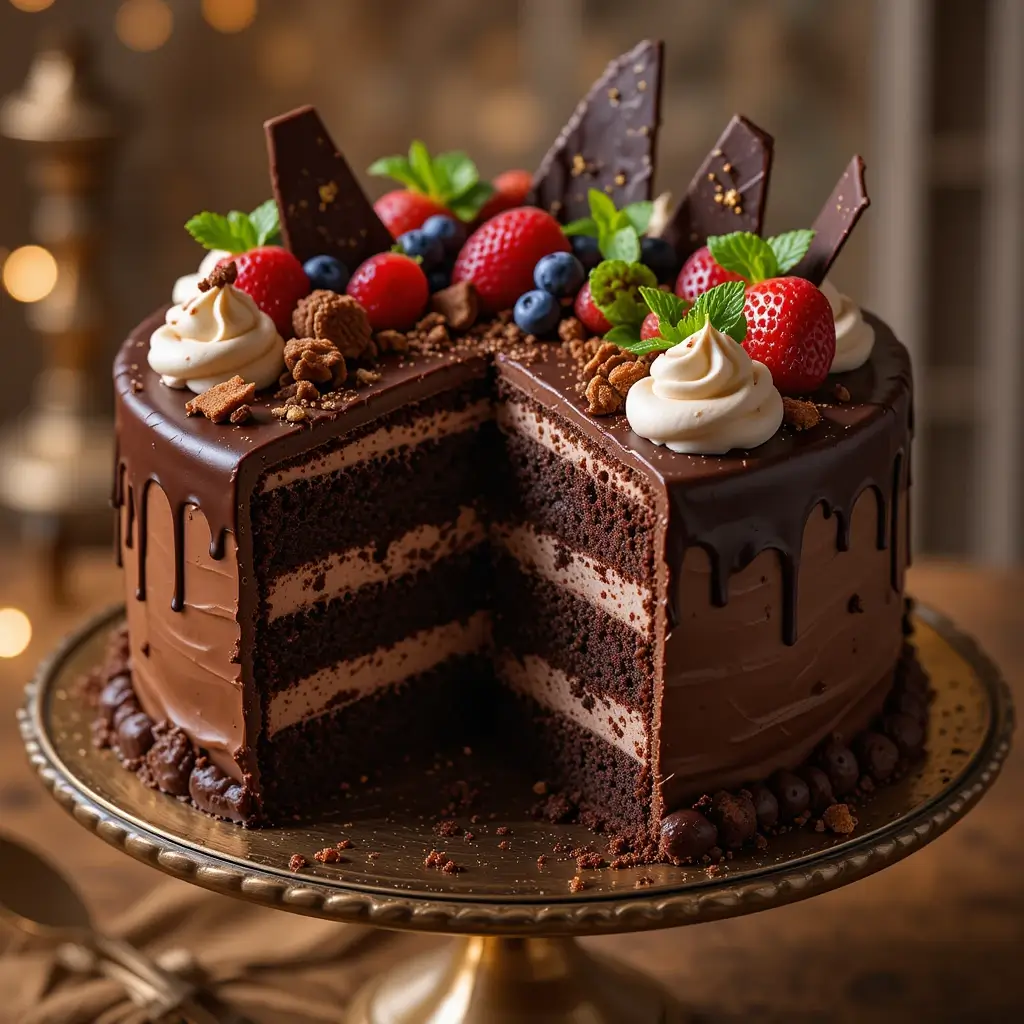
Impressive Visual Impact
This chocolate cake decoration technique creates show-stopping results that rival professional bakeries. The combination of glossy ganache, textured chocolate elements, and artistic piping transforms any basic chocolate cake into a celebration-worthy masterpiece.
Budget-Friendly Luxury
Making decorated chocolate cakes at home costs a fraction of what you’d pay at a bakery. With ingredients you likely already have in your pantry, you can create expensive-looking desserts that impress without breaking the bank.
Versatile Flavor Combinations
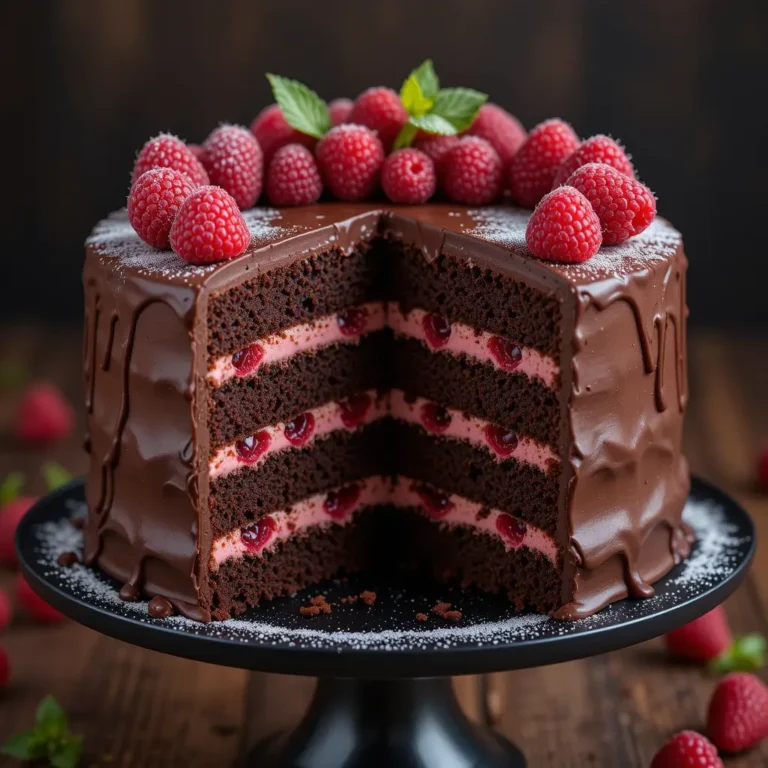
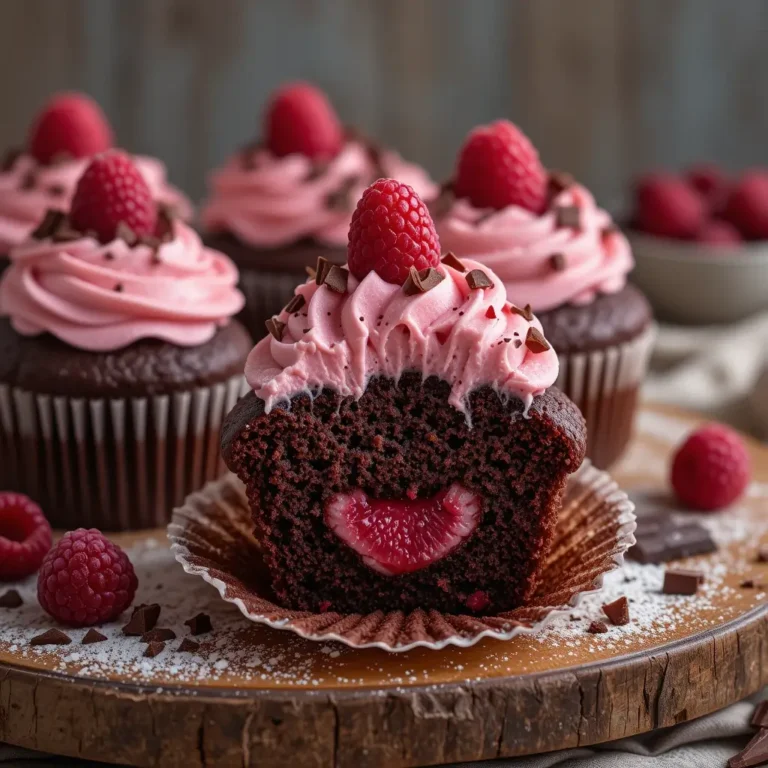
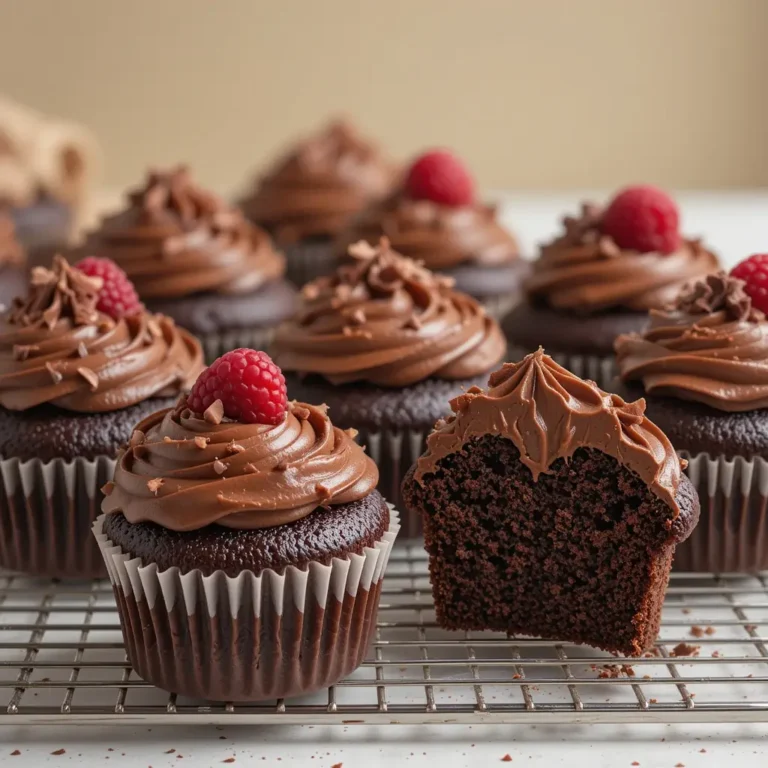
The beauty of chocolate cake decoration lies in its adaptability. Rich chocolate ganache pairs perfectly with fresh berries, salted caramel, or mint elements. Each decoration can be customized to match any occasion or personal preference.
Similar to our beloved red velvet layering techniques, this chocolate decoration method works beautifully for birthdays, anniversaries, or any time you want to create something truly special. Why not give it a try this weekend?
How to Make Chocolate Cake Decoration
Quick Overview
This chocolate cake decoration is surprisingly achievable and incredibly rewarding.
What makes it special:
- Creates professional bakery-quality appearance
- Uses simple, accessible ingredients
- Combines multiple texturing techniques
- Perfect for special occasions
Time Requirements:
- Prep time: 45 minutes
- Decorating time: 1 hour
- Chilling time: 30 minutes
- Total time: 2 hours 15 minutes
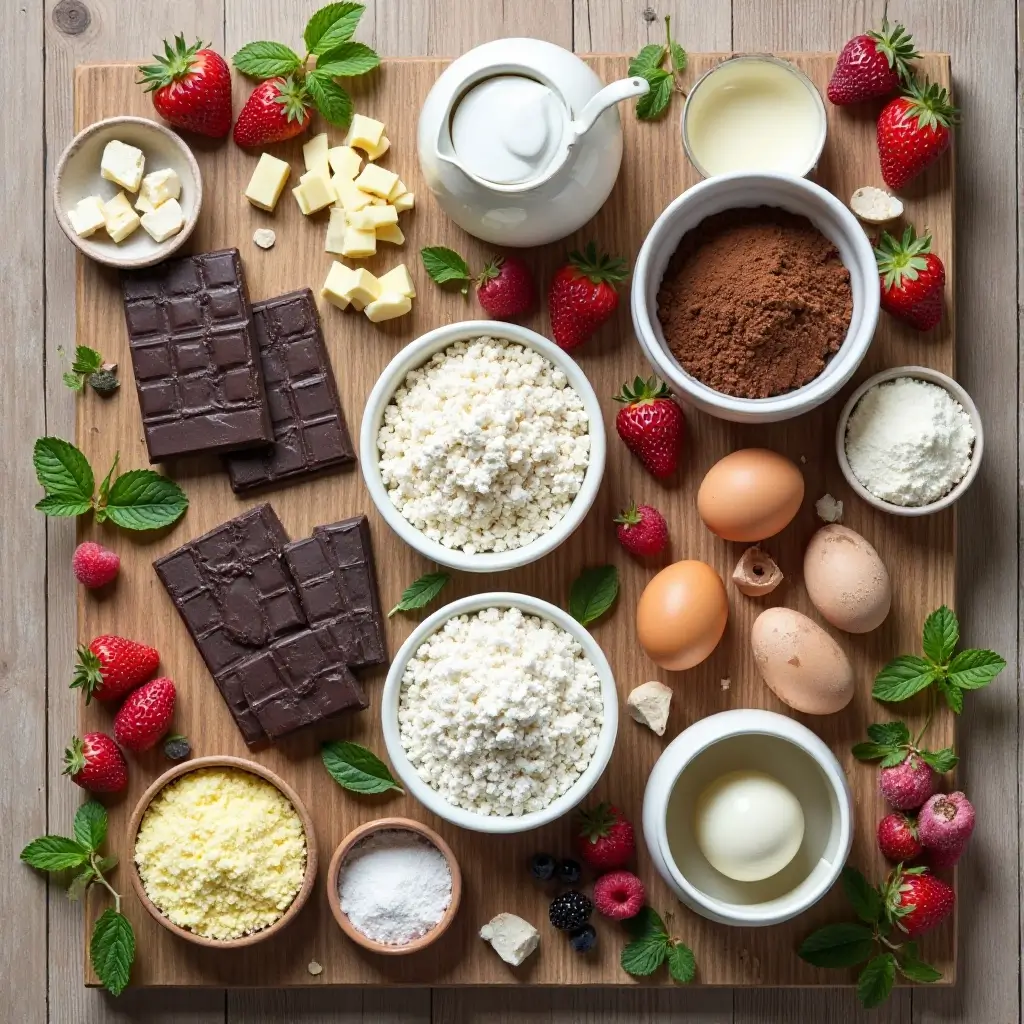
Key Ingredients for Chocolate Cake Decoration
For the Chocolate Ganache:
- 1 cup heavy cream
- 8 oz dark chocolate (70% cocoa), finely chopped
- 2 tablespoons butter, room temperature
- 1 tablespoon corn syrup (for extra shine)
For Chocolate Decorations:
- 6 oz white chocolate, melted
- 4 oz milk chocolate, melted
- 2 tablespoons coconut oil
- Food coloring (optional)
For Assembly and Finishing:
- 1 prepared 9-inch chocolate cake (cooled completely)
- 1/2 cup chocolate buttercream
- Fresh berries for garnish
- Edible gold dust (optional)
- Mint leaves for color contrast
Step-by-Step Instructions
Step 1: Prepare the Ganache Heat heavy cream in a small saucepan until it just begins to simmer. Remove from heat and pour over chopped chocolate in a bowl. Let sit for 2 minutes, then stir from center outward until smooth. Add butter and corn syrup, mixing until glossy.
Step 2: Create Chocolate Shards Melt white and milk chocolate separately with coconut oil. Pour onto parchment-lined baking sheets in thin layers. Before completely set, use a knife to score irregular shard shapes. Refrigerate for 15 minutes until firm.
Step 3: Level and Prepare Cake Using a serrated knife, level your cake layers if needed. Place bottom layer on serving plate and spread a thin layer of chocolate buttercream on top.
Step 4: Apply Base Ganache Pour slightly warm ganache over the entire cake, allowing it to drip down the sides naturally. Use an offset spatula to smooth the top, letting excess create beautiful drips.
Step 5: Add Textural Elements While ganache is still slightly tacky, gently press chocolate shards around the sides of the cake at varying angles. Create depth by overlapping some pieces.
Step 6: Create Piped Details Using remaining buttercream in a piping bag with a star tip, pipe decorative rosettes or borders around the base and top edge of the cake.
Step 7: Final Garnish Arrange fresh berries on top, dust lightly with edible gold if desired, and add mint leaves for a pop of color.
What to Serve Chocolate Cake Decoration With
Perfect Beverage Pairings:
- Rich espresso or French press coffee
- Full-bodied red wine like Cabernet Sauvignon
- Creamy milk or vanilla-flavored milk alternatives
- Port wine for an elegant dessert course
Complementary Sides:
- Vanilla bean ice cream
- Fresh whipped cream with a hint of liqueur
- Seasonal fruit compote
- Salted caramel sauce for drizzling
Top Tips for Perfecting Chocolate Cake Decoration
Temperature Control is Key Work with ganache when it’s the consistency of thick honey. Too hot and it will run off the cake; too cool and it won’t flow smoothly. If it becomes too thick, gently rewarm it.
Quality Chocolate Matters Invest in good-quality chocolate for both ganache and decorative elements. Higher cocoa content creates richer flavor and better texture for decorating.
Plan Your Design Sketch your decoration plan before starting. This helps you visualize placement of shards, piping, and garnishes for the most attractive final result.
Make Components Ahead Chocolate decorations can be made up to 3 days in advance and stored in an airtight container. This breaks up the work and reduces stress.
Storing and Reheating Tips
Storage Guidelines: Store decorated chocolate cake in refrigerator for up to 5 days. Cover loosely with plastic wrap, ensuring it doesn’t touch the decorations.
Freezing Instructions: Freeze undecorated cake layers for up to 3 months. Wrap tightly in plastic wrap and aluminum foil. Thaw completely before decorating.
Serving Temperature: Remove from refrigerator 30 minutes before serving for best texture and flavor. The ganache will soften slightly, making each bite perfectly creamy.
Leftover Management: Individual slices keep well wrapped in refrigerator for 3-4 days. The decorations may lose some crispness but flavor remains excellent.
Nutrition Information
| Nutrient | Per Slice (1/12 cake) |
|---|---|
| Calories | 485 |
| Total Fat | 28g |
| Saturated Fat | 17g |
| Cholesterol | 95mg |
| Sodium | 320mg |
| Total Carbs | 58g |
| Dietary Fiber | 4g |
| Sugars | 45g |
| Protein | 7g |
Frequently Asked Questions
Can I make chocolate cake decoration without special tools?
Absolutely! While piping bags and offset spatulas make the job easier, you can create beautiful decorations using zip-lock bags with corners cut off and regular kitchen knives for spreading.
How far in advance can I decorate my chocolate cake?
You can fully decorate your chocolate cake up to 2 days ahead. Store in refrigerator and add fresh garnishes like berries just before serving for best appearance.
What if my ganache is too thick to pour?
Gently reheat your ganache in 10-second microwave intervals, stirring between each, until it reaches the right consistency. You can also add a tablespoon of warm cream to thin it out.
Can I use different types of chocolate for decoration?
Yes! Mix white, milk, and dark chocolate for varied colors and flavors. Semi-sweet chocolate chips work in a pinch, though they may not melt as smoothly as bar chocolate.
How do I prevent chocolate shards from breaking?
Add a small amount of coconut oil or shortening when melting chocolate for decorations. This keeps them more flexible and less likely to crack when handling.
What’s the best way to transport a decorated chocolate cake?
Keep the cake chilled until transport time, use a sturdy cake carrier, and avoid sudden temperature changes. Remove delicate decorations and reapply at destination if necessary.
Pro Decorating Techniques for Next-Level Results
Creating Texture Variety Combine smooth ganache with textured elements like chopped nuts, cookie crumbs, or coconut flakes pressed into the sides before the ganache sets completely.
Color Contrast Magic Use white chocolate decorations against dark ganache, or vice versa, to create striking visual interest. Dust with cocoa powder or powdered sugar for additional contrast.
Seasonal Adaptations Customize your decoration for holidays – add orange zest and candied orange peel for fall, peppermint pieces for winter, or fresh flower petals for spring celebrations.
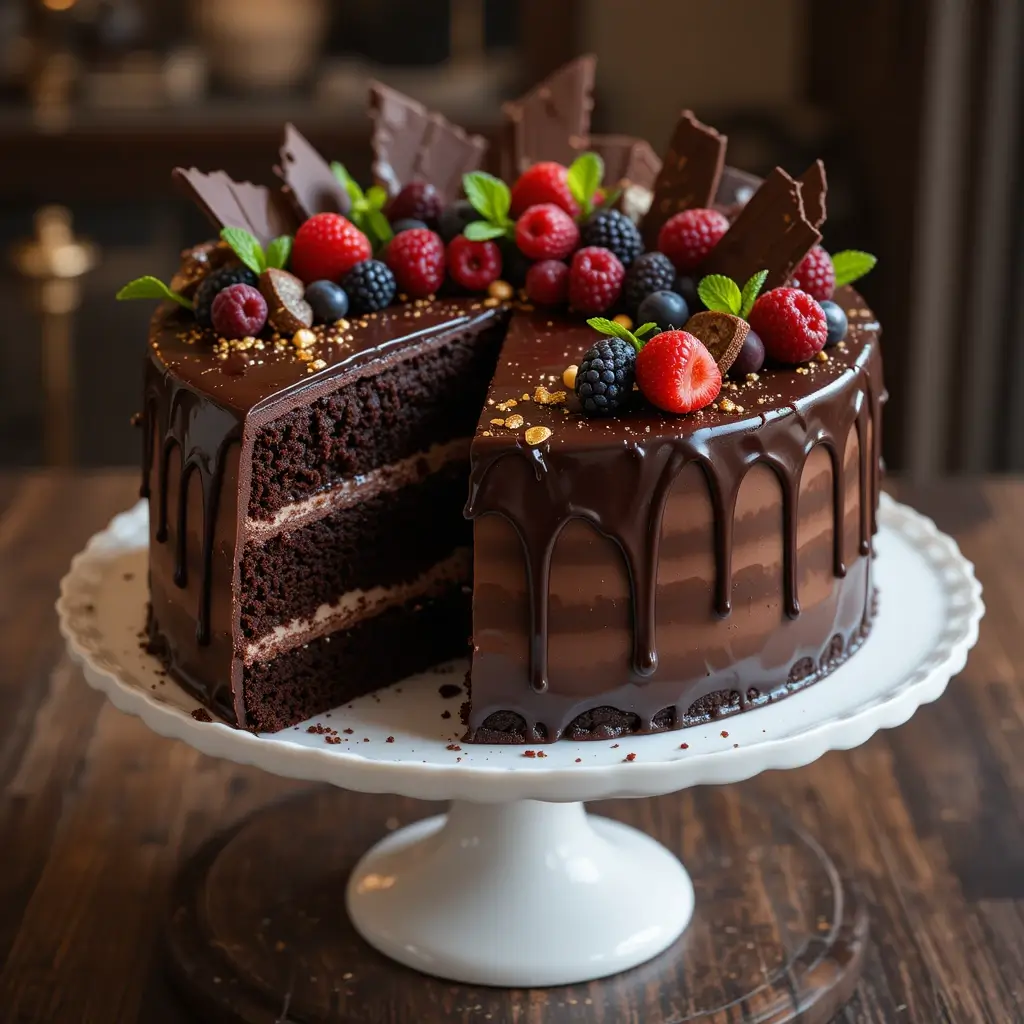
The Ultimate Chocolate Cake Dressage for Pinterest Perfection
Transform your decorated chocolate cake into a stunning centerpiece with this elegant finishing technique that guarantees social media success.
Dressage Ingredients:
- 2 oz tempered dark chocolate
- 1 tablespoon edible gold leaf
- 6 fresh raspberries
- 3 fresh mint sprigs
- 1/4 cup chocolate soil (crushed chocolate cookies)
- Edible flowers (violas or pansies)
Step-by-Step Dressage Instructions:
- Create the Chocolate Sail: Pour tempered chocolate onto acetate sheet in a flowing, organic shape. Before setting, gently curve the acetate to create a elegant chocolate sail. Refrigerate until firm.
- Prepare the Base: Dust your finished cake lightly with cocoa powder using a fine mesh sieve for a velvety finish.
- Strategic Placement: Insert the chocolate sail vertically into the center-back of the cake, creating height and drama.
- Golden Accents: Using a small brush, carefully apply tiny pieces of edible gold leaf to the chocolate sail and selected areas of the cake surface.
- Fresh Element Cluster: Arrange raspberries and mint in an asymmetrical cluster at the base of the chocolate sail, creating natural color contrast.
- Textural Ground: Sprinkle chocolate soil around one side of the cake base, creating the illusion of rich earth.
- Final Flourish: Place 2-3 edible flowers at different heights using small dots of ganache as “glue” to secure them.
This Pinterest-perfect presentation elevates your chocolate cake decoration from beautiful to absolutely breathtaking, creating a dessert that’s guaranteed to stop scrollers in their tracks and earn countless saves and shares!