Easy Dairy Queen Halloween Cakes
Learn how to make amazing Dairy Queen Halloween Cakes at home! Get our easy recipe for spooky DQ ice cream cake designs
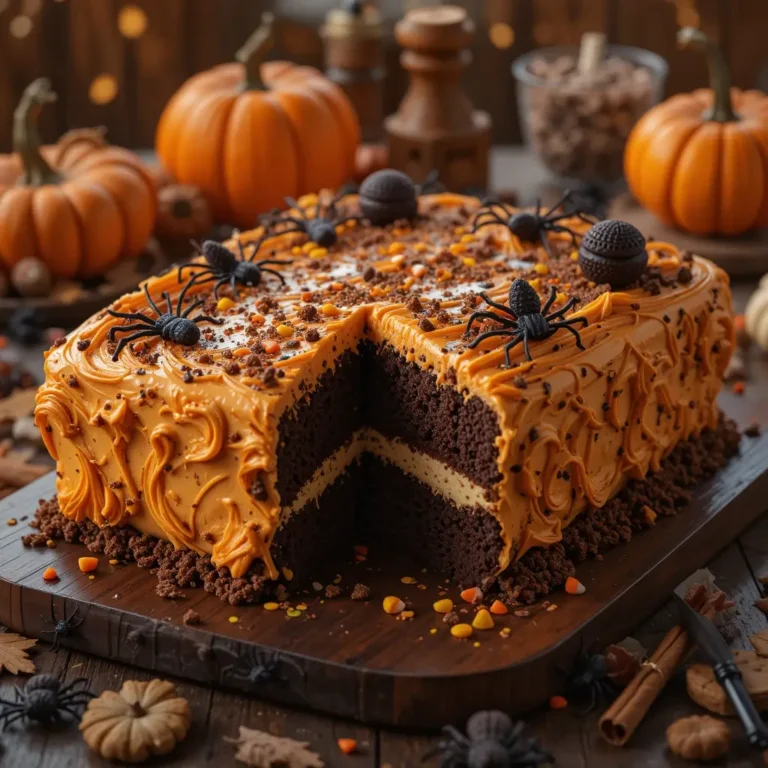
Nothing says Halloween quite like a perfectly spooky cake that combines creamy ice cream layers with festive decorations. Dairy Queen Halloween cakes have become the ultimate crowd-pleaser for autumn celebrations, offering that perfect blend of rich flavors and frightfully fun designs.
These delightfully chilling treats are surprisingly simple to recreate at home, taking just minutes to assemble while delivering maximum impact for your Halloween party guests.
Table of Contents
What Are Dairy Queen Halloween Cakes?
Ever wondered why these frozen delights steal the spotlight at every Halloween gathering? Dairy Queen Halloween cakes are essentially ice cream cakes featuring spooky seasonal decorations, creamy vanilla and chocolate layers, and that signature fudge crunch layer that makes every bite heavenly.
They’re called “Halloween cakes” because of their festive orange and black color schemes, ghost designs, and pumpkin motifs that capture the essence of the season. After all, the way to anyone’s heart during Halloween is through their sweet tooth! Ready to create your own spine-tingling masterpiece at home?
Why You’ll Love This Dairy Queen Halloween Cake Recipe
Rich, Creamy Layers That Melt in Your Mouth These cakes feature multiple ice cream layers that create the perfect texture contrast – smooth vanilla ice cream paired with rich chocolate, separated by that iconic chocolate fudge crunch layer. The combination delivers an explosion of flavors that rivals any store-bought version.
Budget-Friendly Halloween Centerpiece Making your own Dairy Queen-style Halloween cake at home saves you significantly compared to purchasing from the store. You’ll spend roughly half the cost while getting double the satisfaction of creating something spectacular with your own hands. Plus, you can customize the size perfectly for your party needs.
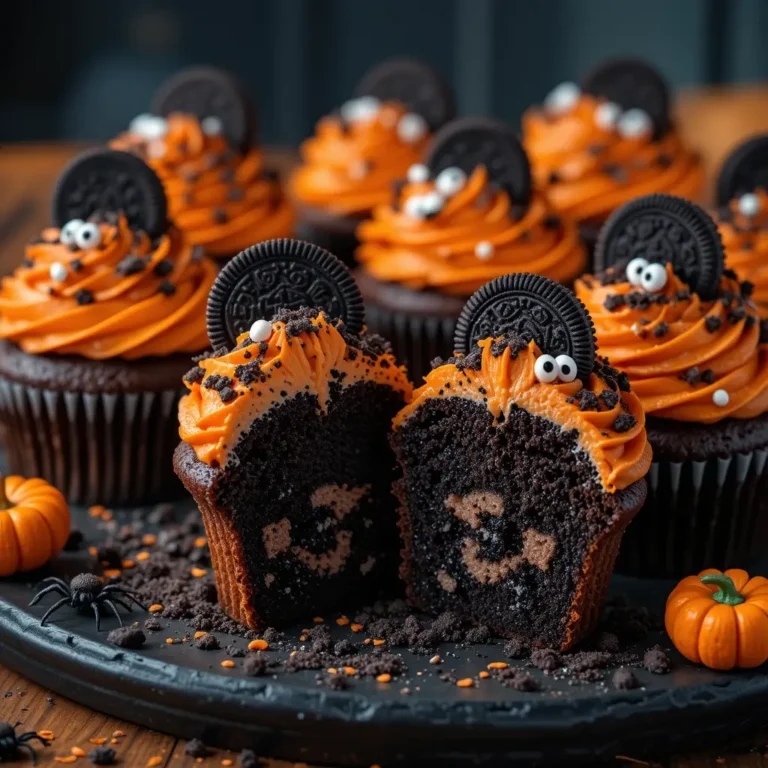
Customizable Spooky Decorations The beauty lies in the endless decoration possibilities – from classic orange and black icing designs to creative ghost figures, pumpkin faces, or even zombie themes. Unlike our classic birthday ice cream cake recipe, these Halloween versions let you embrace your dark, creative side while still delivering that crowd-pleasing taste everyone expects.
Ready to transform your kitchen into a Halloween cake laboratory? Let’s dive into this frightfully delicious adventure!
How to Make Dairy Queen Halloween Cakes
Quick Overview
This homemade version captures all the magic of Dairy Queen’s famous Halloween cakes with layers of creamy ice cream, rich fudge, and spooky decorations. The process is surprisingly straightforward, requiring no special equipment beyond standard kitchen tools.
Prep Time: 30 minutes
Freeze Time: 4-6 hours
Total Time: 4.5-6.5 hours
Serves: 8-12 people
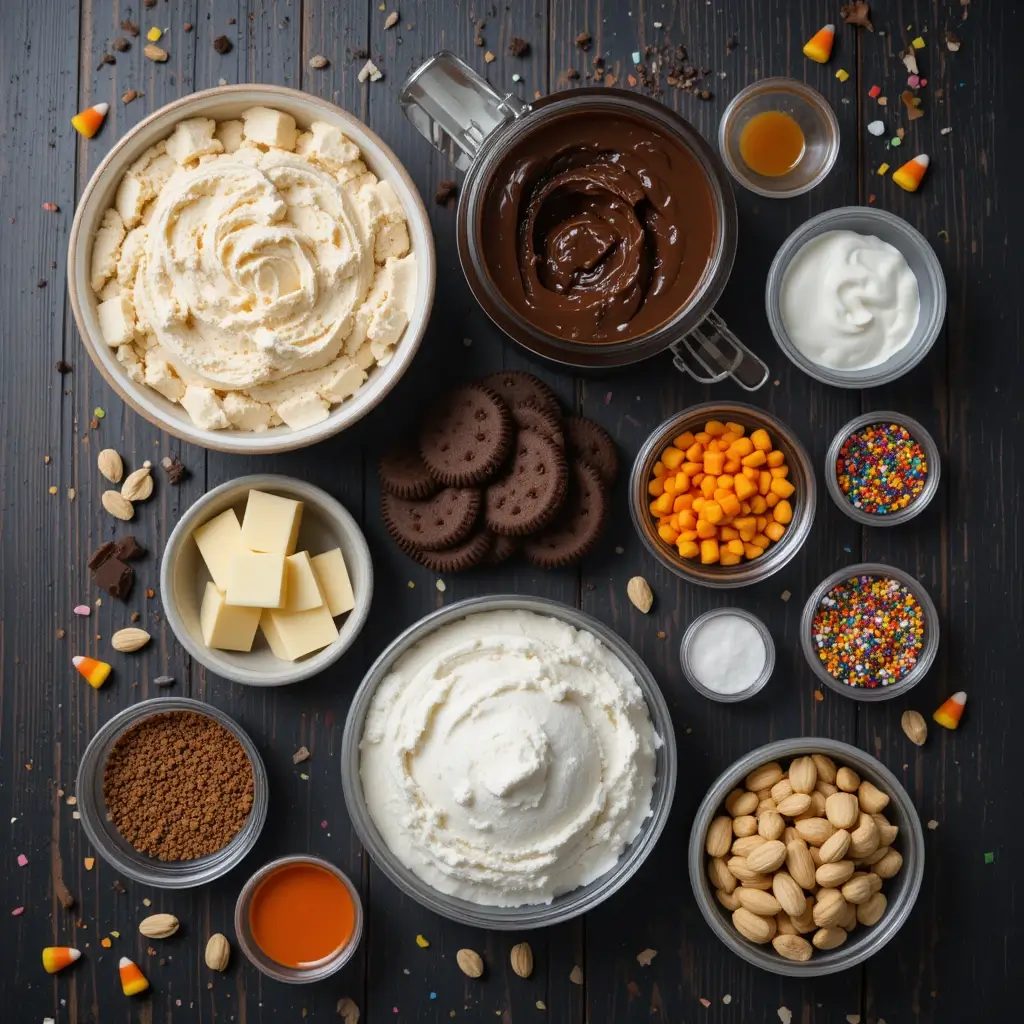
Key Ingredients for Dairy Queen Halloween Cakes
Ice Cream Base:
- 1 half-gallon vanilla ice cream, softened
- 1 half-gallon chocolate ice cream, softened
- 2 cups chocolate cookie crumbs (Oreos work perfectly)
- 1/2 cup melted butter
Fudge Layer:
- 1 cup hot fudge sauce
- 1/4 cup chopped peanuts (optional)
Decorating Supplies:
- 2 cups heavy whipping cream
- 1/4 cup powdered sugar
- Orange food coloring
- Black food coloring
- Halloween-themed sprinkles
- Candy decorations (candy corn, chocolate chips for eyes)
Step-by-Step Instructions
Prepare the Base Layer
Start by lining a 9×13 inch pan with plastic wrap, leaving extra hanging over the sides for easy removal later. Mix the chocolate cookie crumbs with melted butter until evenly moistened. Press this mixture firmly into the bottom of your prepared pan, creating an even crust layer. This will be your foundation.
Create the First Ice Cream Layer
Remove your vanilla ice cream from the freezer about 10-15 minutes before use to soften slightly. Spread the softened vanilla ice cream evenly over the cookie crust, smoothing with an offset spatula. Work quickly to prevent melting. Place the pan in the freezer for 1 hour to firm up.
Add the Signature Fudge Layer
Warm your hot fudge sauce slightly so it spreads easily but isn’t hot enough to melt the ice cream. Remove the pan from the freezer and quickly spread the fudge sauce over the vanilla layer. Sprinkle chopped peanuts if using. Return to freezer for another 30 minutes.
Layer the Chocolate Ice Cream
Soften your chocolate ice cream following the same method as the vanilla. Carefully spread it over the fudge layer, creating an even top surface. This layer should be slightly thicker than the vanilla layer for the authentic Dairy Queen look. Freeze for 2-3 hours until completely solid.
Prepare the Whipped Cream Frosting
In a large bowl, whip the heavy cream with powdered sugar until stiff peaks form. Divide the whipped cream into separate bowls and tint with orange and black food coloring. Keep some white for contrast and detail work.
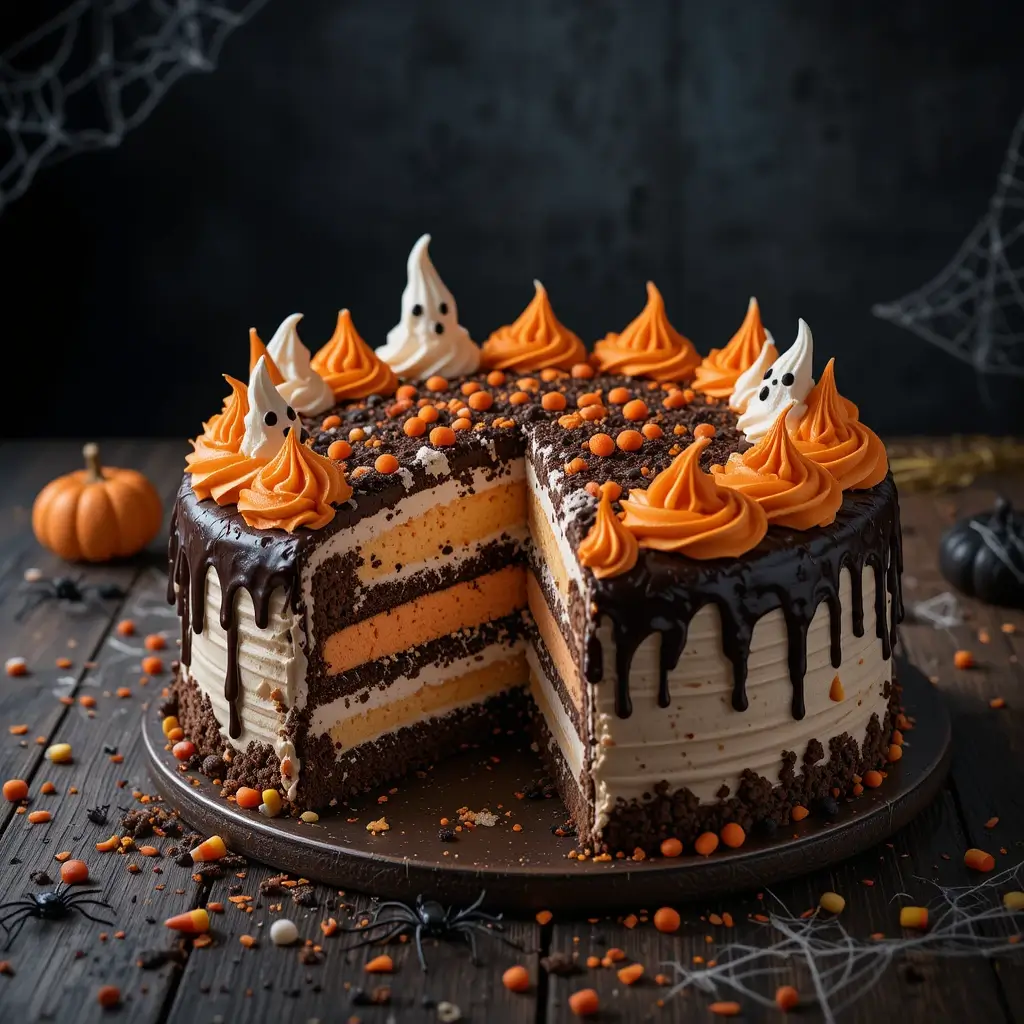
Decorate Your Halloween Masterpiece
Remove the cake from the pan using the plastic wrap overhang and place on your serving platter. Using piping bags or zip-top bags with corners cut off, create your spooky designs. Try ghost figures with white cream and black dots for eyes, pumpkin faces with orange cream, or spooky messages across the top.
What to Serve Dairy Queen Halloween Cakes With
Warm Beverages for Temperature Contrast Pair your frozen cake with hot apple cider, spiced hot chocolate, or Halloween-themed coffee drinks. The temperature contrast enhances both the warm drink’s spices and the cake’s creamy coldness.
Crunchy Halloween Treats Serve alongside candy corn, chocolate-covered pretzels shaped like spiders, or caramel apples for varied textures that complement the smooth ice cream layers.
Spooky Themed Sides Consider Halloween cookies, pumpkin-flavored treats, or even a cheese and crackers board with orange cheddar and black pepper crackers to balance the sweetness.
Top Tips for Perfecting Dairy Queen Halloween Cakes
Timing Your Ice Cream Softening
The key to smooth, even layers is properly softened ice cream. Remove it from the freezer 10-15 minutes before use – it should be soft enough to spread but not melted. If it gets too soft, return it to the freezer for 10 minutes.
Creating Clean Layers
Use an offset spatula dipped in warm water and dried between each use to create perfectly smooth layers. Work in sections, spreading from center outward for even distribution.
Decoration Success Secrets
Chill your piping bags and tips in the freezer for 15 minutes before decorating. This prevents the whipped cream from melting too quickly and gives you better control over your designs.
Color Mixing Tips
Add food coloring gradually to achieve the perfect Halloween hues. For deep orange, combine red and yellow coloring. For true black, use gel food coloring rather than liquid for better color saturation without thinning the cream.
Storing and Reheating Tips
Proper Storage Methods Cover your finished cake tightly with plastic wrap and aluminum foil to prevent freezer burn. When stored properly, your Halloween cake stays fresh for up to 2 weeks in the freezer. For best texture, consume within the first week.
Serving Temperature Guidelines Remove the cake from freezer 10-15 minutes before serving for easier slicing. Use a sharp knife dipped in warm water between cuts for clean slices. If the cake becomes too soft during serving, return it to the freezer for 15 minutes.
Make-Ahead Strategy This cake is perfect for advance preparation. You can make the base layers up to a week ahead, then add decorations the day before your party. Store decorated cakes in cake boxes or large containers to protect the design elements.
Nutritional Information
| Nutrient | Per Slice (1/12 cake) |
|---|---|
| Calories | 385 |
| Total Fat | 22g |
| Saturated Fat | 14g |
| Cholesterol | 75mg |
| Sodium | 180mg |
| Total Carbs | 45g |
| Sugars | 38g |
| Protein | 6g |
Frequently Asked Questions
Can I make this cake without an ice cream maker?
Absolutely! This recipe uses store-bought ice cream, so no ice cream maker is needed. Simply purchase your favorite high-quality vanilla and chocolate ice cream brands for the best results.
How far in advance can I make this cake?
You can prepare the entire cake up to one week in advance. The flavors actually improve after a day or two as they meld together. Just add final decorative touches the day of serving.
What’s the best way to cut frozen ice cream cake?
Use a large, sharp knife dipped in warm water. Clean and re-warm the knife between each slice. Let the cake sit at room temperature for 10-15 minutes before cutting for easier slicing.
Can I substitute different ice cream flavors?
Definitely! Try cookies and cream instead of vanilla, or mint chocolate chip for a unique twist. The key is maintaining the contrast between light and dark flavors for the classic layered look.
How do I prevent the cake from melting during decoration?
Work in a cool kitchen and keep the cake frozen until the moment you’re ready to decorate. Use chilled tools and work quickly, returning the cake to the freezer if it starts getting too soft.
What if I don’t have food coloring for Halloween colors?
You can create natural orange using carrot juice or pumpkin puree mixed into your whipped cream. For chocolate “dirt” effects, use cocoa powder dusted over white cream.
Pro Tips for Halloween Cake Success
Creating Professional-Looking Decorations Use squeeze bottles instead of piping bags for more control when creating intricate designs. You can find these at craft stores or use clean ketchup bottles. This method works especially well for writing spooky messages or creating spider web patterns.
Flavor Enhancement Tricks Add a tablespoon of vanilla extract to your whipped cream for extra flavor depth. For chocolate layers, consider mixing in a small amount of espresso powder to intensify the chocolate taste without adding coffee flavor.
Party Planning Integration Plan your cake creation around your party timeline. Start the base layers three days before your event, add middle layers two days prior, and complete decorations the day before. This spreads out the work and ensures optimal flavor development.
Kid-Friendly Decoration Ideas Let children help with the decorating process by providing them with Halloween-themed cookie cutters to press shapes into the whipped cream, or give them small candies to place as decorative elements. This makes the cake creation a fun family activity.
This homemade version of Dairy Queen Halloween cakes brings all the joy of the original with the satisfaction of creating something special in your own kitchen. Whether you’re hosting a Halloween party or just want to surprise your family with a spooky treat, this recipe delivers professional-looking results that taste even better than the store-bought version.
The combination of creamy textures, rich flavors, and endless decoration possibilities makes this cake a guaranteed crowd-pleaser that’ll have everyone asking for your secret recipe!