Easy Halloween Cake Pops Recipe in 30 Minutes
Create frightfully fun Halloween cake pops! Get our easy recipe and spooky decorating tips to make delicious, festive treats for any party.
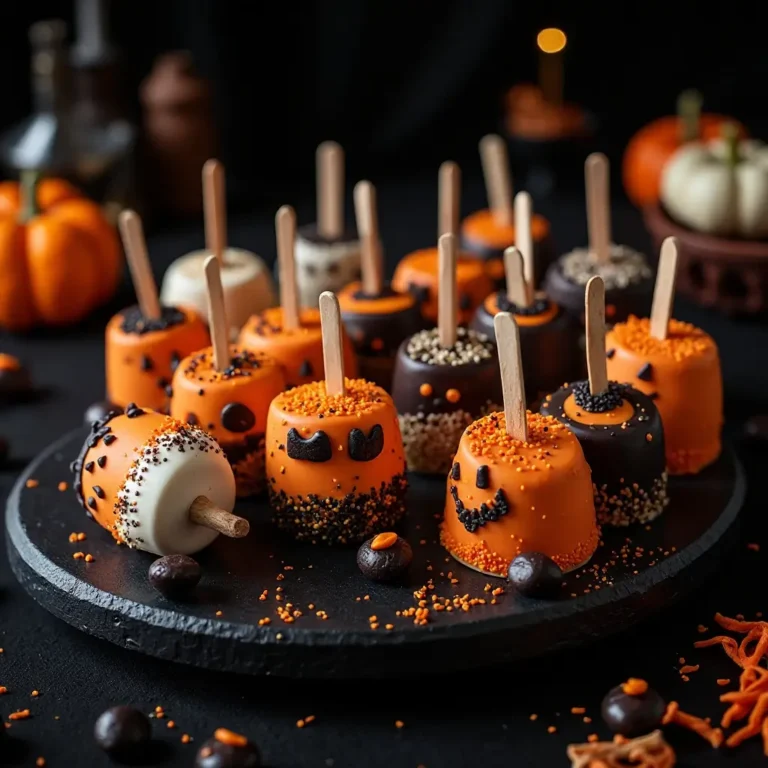
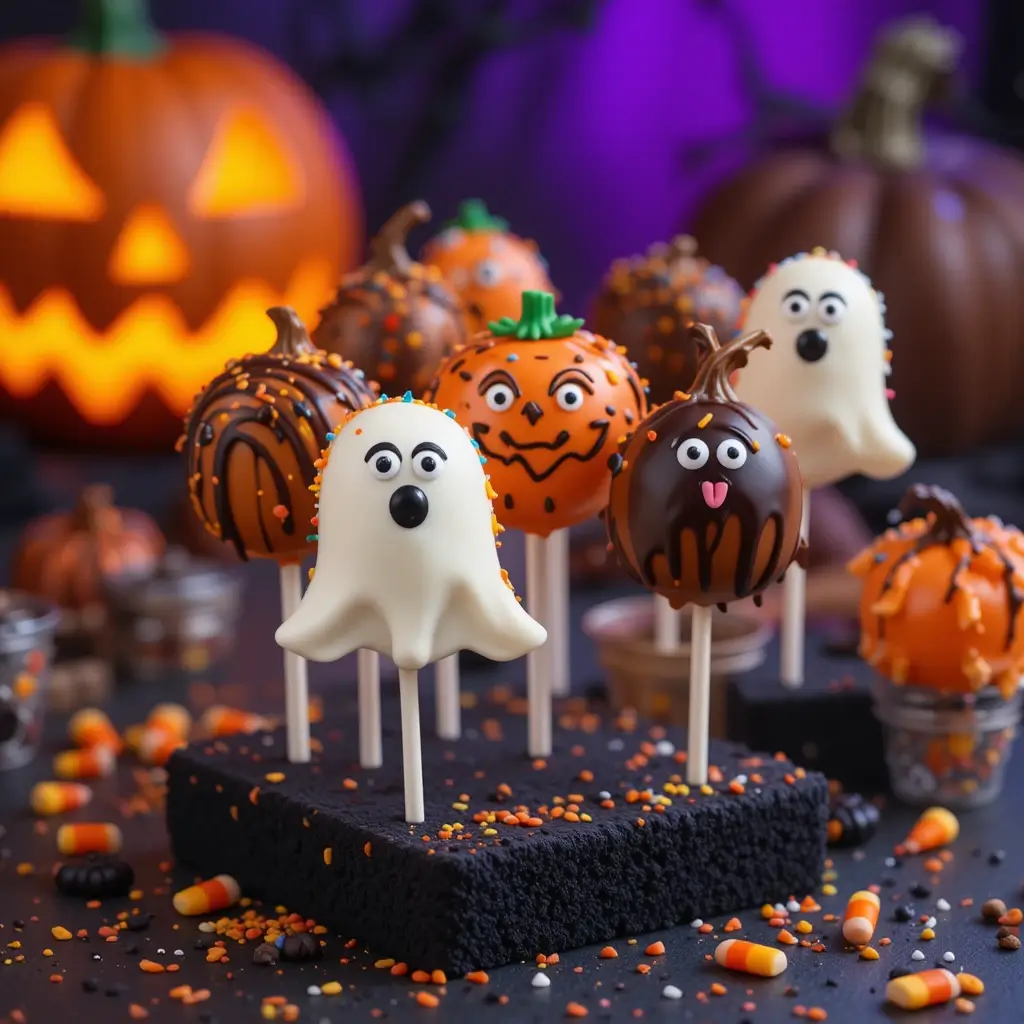
These spooky Halloween cake pops are the perfect bite-sized treats that combine rich, moist cake with smooth chocolate coating in delightfully creepy designs! Did you know cake pops were invented by accident when a baker’s cake fell apart?
These little monsters are special because they’re incredibly simple to make, require just 30 minutes of active prep time, and are absolutely family-friendly – kids love decorating them! Unlike our popular chocolate cupcakes that require individual baking, these cake pops use crumbled cake mixed with frosting for foolproof results every time.
Get ready to create the most adorable spooky treats that’ll be the hit of your Halloween celebration!
What Are Halloween Cake Pops?
Ever wondered why we call them “pops” when they’re basically cake on a stick? Halloween cake pops are essentially bite-sized balls of cake mixed with frosting, dipped in chocolate, and decorated with spooky
Halloween themes like ghosts, pumpkins, and monsters. Legend says they got their name because they literally “pop” in your mouth with flavor! As they say, “the way to a man’s heart is through his stomach,” and these little treats certainly prove that point. Ready to create some magic in your kitchen and wow your Halloween guests?
Why You’ll Love This Halloween Cake Pops Recipe
Perfect Party Treats: These Halloween cake pops are the ultimate crowd-pleaser, offering individual portions that are mess-free and easy to serve. Each pop delivers a perfect balance of moist cake and rich chocolate coating that melts beautifully on your tongue.
Budget-Friendly Halloween Magic: Making these spooky treats at home costs a fraction of what you’d spend at fancy bakeries or candy stores. You’ll save money while creating personalized decorations that match your Halloween theme perfectly.
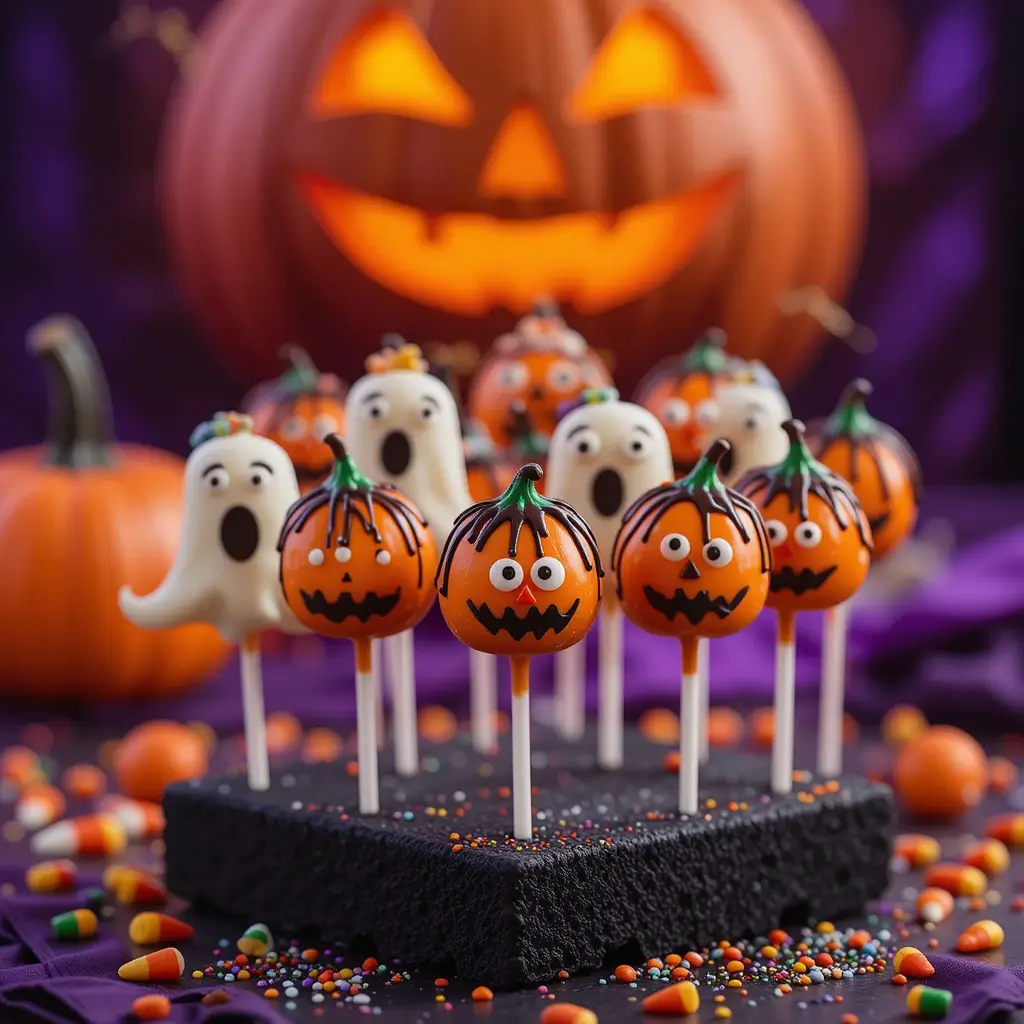
Endless Creative Possibilities: The beauty lies in the decorating process – orange and black chocolate melts, candy eyes, sprinkles, and edible markers let you create ghosts, jack-o’-lanterns, spiders, and witches. Unlike our simple sugar cookies that offer limited decoration options, these pops provide a 3D canvas for your creativity.
Ready to transform your kitchen into a Halloween treat factory? Let’s dive into this foolproof recipe that’ll have everyone asking for seconds!
How to Make Halloween Cake Pops
Quick Overview
This recipe delivers perfectly moist and flavorful cake pops with a smooth chocolate shell that’s ideal for Halloween decorating. The secret lies in the cake-to-frosting ratio that creates the perfect texture for molding.
Preparation Details:
- Prep Time: 30 minutes
- Chill Time: 2 hours
- Decorating Time: 45 minutes
- Total Time: 3 hours 15 minutes
- Yield: 24-30 cake pops
- Difficulty: Easy
Key Ingredients for Halloween Cake Pops
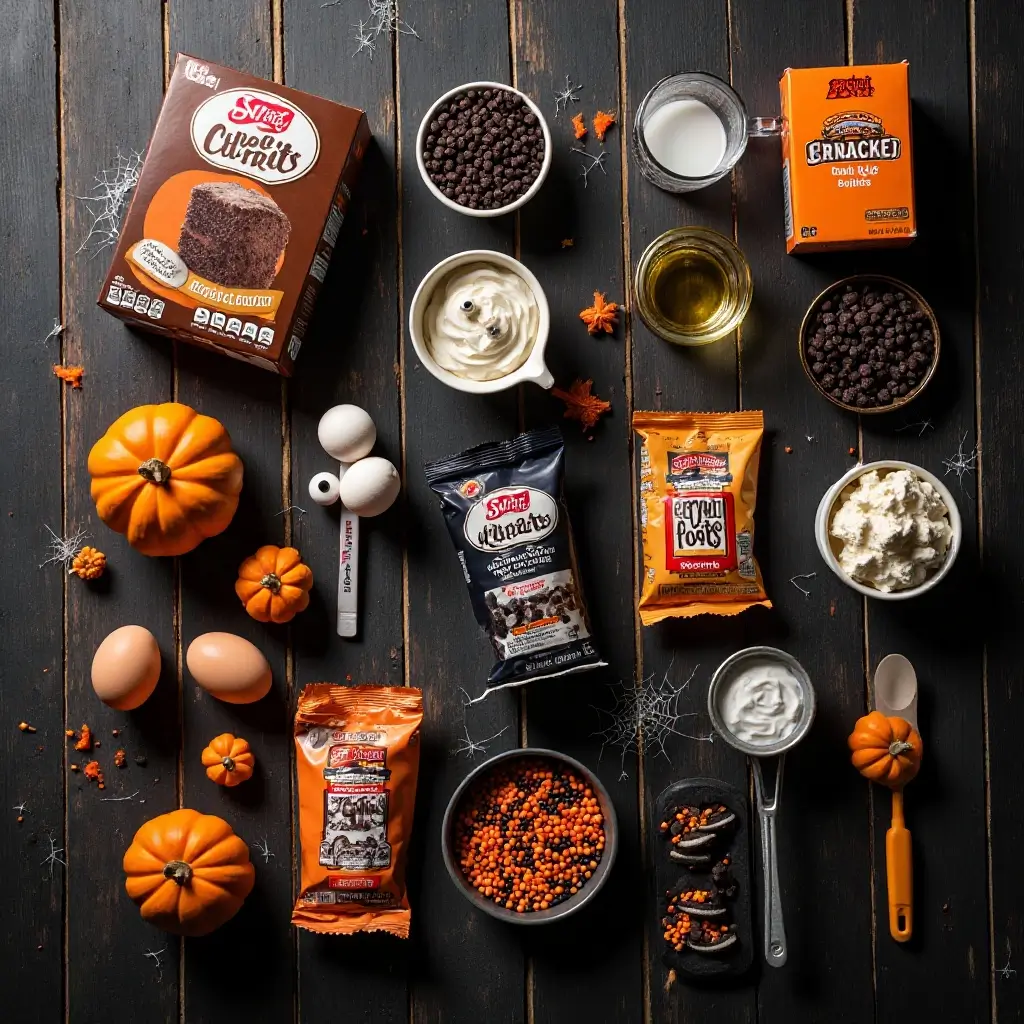
For the Cake Base:
- 1 box chocolate cake mix (plus ingredients called for on box: eggs, oil, water)
- 1/2 cup cream cheese frosting (store-bought or homemade)
For Assembly & Decoration:
- 2 lbs orange candy melts or white chocolate (for coating)
- 1 lb black candy melts
- 30 cake pop sticks
- 1/4 cup coconut oil (for thinning chocolate)
- Candy eyes (various sizes)
- Black edible marker or food coloring pen
- Orange and black sprinkles
- Mini chocolate chips
- Oreo cookie crumbs (for “dirt” effect)
Step-by-Step Instructions
Step 1: Bake and Cool the Cake Prepare the chocolate cake according to package directions in a 9×13 inch pan. Bake completely and let cool for at least 1 hour. The cake must be completely cool before proceeding to prevent melting the frosting.
Step 2: Crumble the Cake Break the cooled cake into fine crumbs using your hands or a food processor. You want uniform, fine crumbs without large chunks. This should yield about 4-5 cups of crumbs.
Step 3: Mix with Frosting Add cream cheese frosting gradually, starting with 1/4 cup and mixing thoroughly. The mixture should hold together when squeezed but not be overly wet or sticky. Add more frosting 1 tablespoon at a time if needed.
Step 4: Form the Balls Roll the mixture into 1.5-inch balls using your palms. Place on a parchment-lined baking sheet. You should get 24-30 balls depending on size.
Step 5: Chill the Balls Refrigerate the formed balls for at least 2 hours or freeze for 30 minutes. This step is crucial for preventing the pops from falling off the sticks.
Step 6: Prepare the Chocolate Melt orange candy melts in a microwave-safe bowl in 30-second intervals, stirring between each interval. Add 1 teaspoon coconut oil if the chocolate seems too thick. Repeat with black chocolate in a separate bowl.
Step 7: Insert Sticks Dip each cake pop stick about 1/2 inch into melted chocolate, then insert into a chilled cake ball. The chocolate acts as “glue” to secure the stick.
Step 8: Dip and Coat Dip each cake pop into melted chocolate, allowing excess to drip off. Gently tap the stick against the bowl’s edge to remove excess coating. Place in a cake pop stand or styrofoam block to set.
Step 9: Decorate While the chocolate is still wet, add your Halloween decorations. Create ghost faces with candy eyes and black marker, pumpkin faces with black chocolate drizzle, or monster faces with various candies.
Step 10: Final Setting Allow decorated cake pops to set completely at room temperature for 15-20 minutes before serving or storing.
What to Serve Halloween Cake Pops With
These delightful treats pair wonderfully with warm apple cider or hot chocolate for a cozy Halloween evening. Serve them alongside other Halloween finger foods like pumpkin-shaped sandwiches, orange cheese and crackers, or spooky veggie trays.
For Halloween parties, create a dessert table featuring these cake pops with Halloween cupcakes, candy corn bark, and pumpkin cookies. The variety of textures and flavors will keep guests satisfied throughout your spooky celebration.
Consider serving them with vanilla ice cream for an extra indulgent Halloween dessert, or pack them in clear cellophane bags tied with orange and black ribbons as party favors.
Top Tips for Perfecting Halloween Cake Pops
Achieving the Right Consistency: The cake and frosting mixture should feel like Play-Doh – moldable but not sticky. If it’s too dry, add frosting 1 teaspoon at a time. If too wet, add more cake crumbs.
Temperature Control: Always work with chilled cake balls and properly melted chocolate. If your chocolate gets too thick, add coconut oil rather than regular oil, which can cause the coating to seize.
Decoration Timing: Add decorations while the chocolate coating is still slightly wet but not completely liquid. This ensures decorations stick properly without sliding off.
Preventing Cracks: Avoid temperature shock by bringing chilled cake balls to room temperature for 5-10 minutes before dipping. This prevents the chocolate from cracking due to temperature differences.
Stick Security: Always dip the stick in chocolate before inserting into the cake ball. This creates a strong bond and prevents pops from sliding off during dipping.
Storing and Reheating Tips
Room Temperature Storage: Finished cake pops can be stored at room temperature for up to 3 days in an airtight container. Place parchment paper between layers to prevent sticking.
Refrigerator Storage: Store in the refrigerator for up to 1 week. Bring to room temperature 15-20 minutes before serving for best texture and flavor.
Freezing Instructions: Cake pops freeze beautifully for up to 3 months. Wrap individually in plastic wrap, then place in freezer bags. Thaw at room temperature for 30-45 minutes before serving.
Make-Ahead Tips: Prepare cake balls up to 1 week in advance and store in the refrigerator. Dip and decorate on the day you plan to serve for freshest results.
Nutritional Information
| Nutrient | Per Cake Pop (approx) |
|---|---|
| Calories | 185 |
| Total Fat | 8g |
| Saturated Fat | 5g |
| Carbohydrates | 28g |
| Sugar | 24g |
| Protein | 2g |
| Fiber | 1g |
| Sodium | 95mg |
Nutritional values are approximate and may vary based on specific ingredients used.
Frequently Asked Questions
Can I make Halloween cake pops without a cake pop maker?
Absolutely! This recipe uses the traditional method of crumbling baked cake and mixing with frosting. No special equipment needed beyond basic kitchen tools and cake pop sticks.
How far in advance can I make Halloween cake pops?
You can make the cake balls up to 1 week ahead and store them in the refrigerator. Dip and decorate them 1-2 days before your event for best appearance and taste.
What’s the best way to melt chocolate for cake pops?
Use the microwave method with 30-second intervals, stirring between each heating. Alternatively, use a double boiler for more control. Add a small amount of coconut oil if the chocolate becomes too thick.
Why do my cake pops fall off the sticks?
This usually happens when the cake balls aren’t chilled enough or you skip dipping the stick in chocolate first. Always chill balls for at least 2 hours and use the chocolate “glue” method.
Can I use homemade cake instead of box mix?
Yes! Any chocolate cake recipe works. Just ensure it’s completely cooled and measure about 4-5 cups of crumbs for this recipe.
How do I fix cracked chocolate coating?
Cracks typically occur from temperature differences. Let chilled cake balls come closer to room temperature before dipping, and ensure your chocolate isn’t too hot.
What decorating alternatives work for Halloween themes?
Try crushed Oreos for “dirt,” pretzel pieces for “branches,” mini marshmallows for “ghosts,” or colored coconut for “grass.” Get creative with household baking ingredients!
Creative Variations and Additional Tips
Spooky Shape Ideas: Instead of round balls, try forming some pops into oval “ghost” shapes or slightly flattened “pumpkin” shapes before chilling. This adds visual interest to your Halloween display.
Flavor Variations: Experiment with different cake flavors like funfetti for “monster” pops, red velvet for “bloody” themes, or vanilla for classic ghosts. Each flavor offers unique decorating opportunities.
Advanced Decorating Techniques: Use melted chocolate in squeeze bottles for detailed designs, create marble effects by swirling two chocolate colors together, or roll pops in colored sugar immediately after dipping for textured finishes.
Packaging Ideas: Present your Halloween cake pops in small mason jars filled with candy corn, create a “graveyard” display using chocolate cookie crumbs as soil, or arrange them in a Halloween-themed cake pop stand for dramatic presentation.
These Halloween cake pops bring together the perfect combination of delicious flavor, creative fun, and spooky presentation that makes them ideal for any Halloween celebration. Whether you’re hosting a party, sending treats to school, or simply enjoying a fun family activity, this recipe delivers consistent, impressive results that everyone will love!