Halloween Cake Topper Step-by-Step
Find the perfect Halloween cake topper! Explore spooky, DIY, and unique ideas to decorate your Halloween treats. Make your cake stand out!
Transform your ordinary cake into a spine-tingling masterpiece with these easy Halloween cake topper! These creepy-cute decorations are perfect for adding that extra “boo-tiful” touch to your Halloween celebrations.
Whether you’re hosting a monster mash or simply want to surprise your little ghouls and goblins, these handmade toppers will have everyone screaming for more cake.
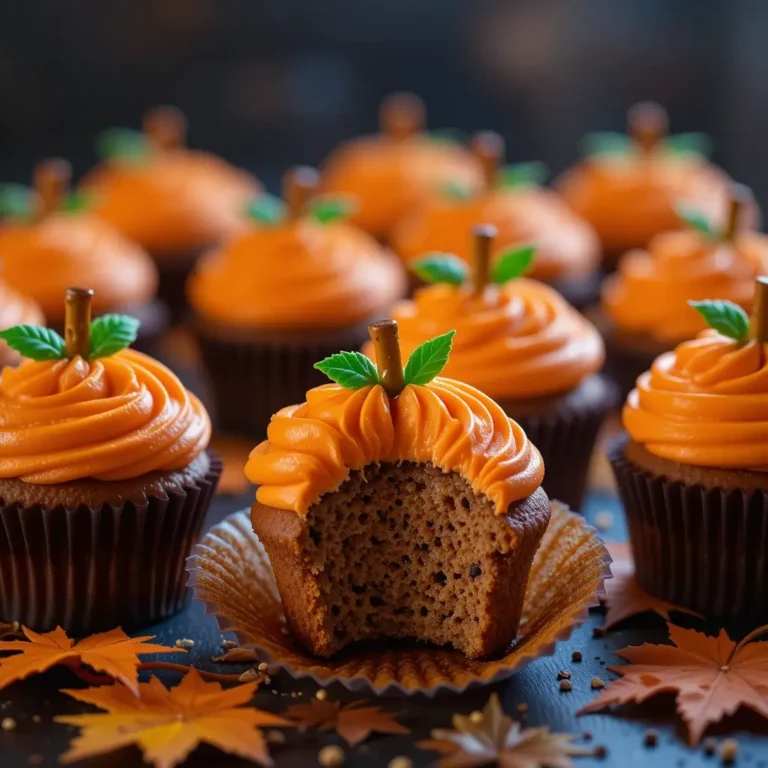
Just like our popular pumpkin spice cupcakes, these Halloween cake topper are simple to make and guaranteed crowd-pleasers.
Table of Contents
What is a Halloween Cake Topper?
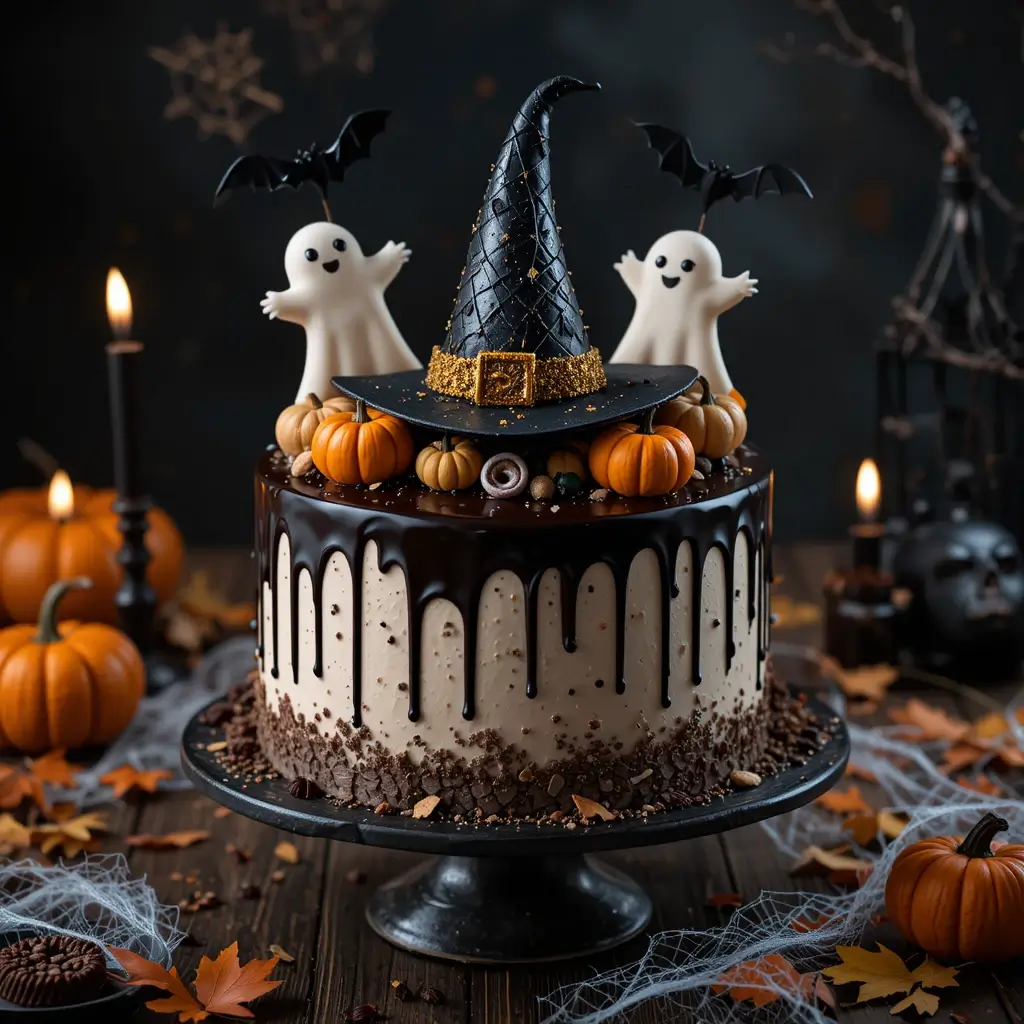
Ever wondered why we go absolutely batty over Halloween cake topper? These spooky little decorations are the perfect way to crown your Halloween desserts with personality! From miniature ghosts to tiny pumpkins, they’re like the cherry on top – but way more fun and frightfully delicious.
As they say, “the way to a man’s heart is through his stomach,” and these adorable toppers will steal hearts faster than a vampire on Halloween night! Ready to create some magic in your kitchen?
Why You’ll Love This Halloween Cake Topper
Affordable Halloween Magic at Home Creating your own Halloween cake topper saves you tons of money compared to store-bought alternatives. You’ll spend just a fraction of the cost while having complete control over colors, designs, and themes that match your party perfectly.
Endless Creative Possibilities From classic orange pumpkins to glittery black cats, these toppers let your imagination run wild. You can customize them with metallic paints, edible glitter, or even LED lights for an extra spooky glow. The rich textures and vibrant colors will make your cake the centerpiece everyone remembers.
Family-Friendly Fun Activity Unlike our elaborate Halloween fondant figures, these simple toppers are perfect for making with kids. Everyone can join in the creative process, making memories while crafting these delightful decorations. Why not gather the family and start your own Halloween topper tradition today?
How to Make Halloween Cake Topper
Quick Overview
These Halloween cake topper are surprisingly simple to create and incredibly satisfying to make. The combination of modeling chocolate, fondant, or even paper creates stunning results with minimal effort.
Key Features:
- Beginner-friendly technique
- Customizable designs and colors
- Professional-looking results
- Rich, detailed textures
Total Time: 45-60 minutes (including drying time) Active Prep Time: 30 minutes Difficulty Level: Easy
Key Ingredients for Halloween Cake Topper
For Fondant Toppers:
- 8 oz white fondant
- Orange, black, and purple gel food coloring
- 2 tbsp corn syrup (for shine)
- Edible pearl dust or luster dust
- Small amount of tylose powder (for hardening)
For Chocolate Toppers:
- 6 oz modeling chocolate (white or dark)
- Candy melts in Halloween colors
- Edible markers or food coloring pens
- Small paintbrushes
For Paper/Mixed Media Toppers:
- Cardstock paper in Halloween colors
- Food-safe skewers or toothpicks
- Double-sided tape
- Scissors and craft knife
- Laminating sheets (optional, for durability)
Step-by-Step Instructions
Step 1: Prepare Your Workspace Set up a clean, flat surface with parchment paper. Gather all your tools including rolling pins, cookie cutters, and sculpting tools. Having everything organized makes the process much smoother.
Step 2: Color Your Fondant Divide your white fondant into portions. Knead orange coloring into one portion for pumpkins, black for bats and cats, and purple for witchy elements. Work the color in gradually until you achieve the desired shade.
Step 3: Roll and Cut Base Shapes Roll each colored fondant to about 1/4 inch thickness. Use cookie cutters or templates to cut out your base shapes – pumpkins, ghosts, bats, or whatever Halloween figures you’ve chosen.
Step 4: Add Details and Texture Use sculpting tools to add facial features, texture lines on pumpkins, or wing details on bats. For chocolate toppers, use melted candy melts to pipe on details or “glue” pieces together.
Step 5: Create Dimension Layer different elements to create depth. Add small fondant pieces for pumpkin stems, ghost arms, or bat ears. Use a small amount of water or corn syrup to attach pieces securely.
Step 6: Apply Finishing Touches Brush with pearl dust for shimmer, add edible marker details, or use small amounts of contrasting colors for highlights. Let your creativity shine through in these final details.
Step 7: Insert Support Stakes For taller toppers, insert food-safe skewers or lollipop sticks while the material is still soft. This ensures they’ll stand upright on your cake without toppling over.
Step 8: Allow to Dry Let your finished toppers dry for at least 2-4 hours, or overnight for best results. This helps them hold their shape and makes them easier to handle when decorating your cake.
What to Serve Halloween Cake Topper With
These spooky toppers work beautifully with various cake flavors and desserts:
Classic Pairings:
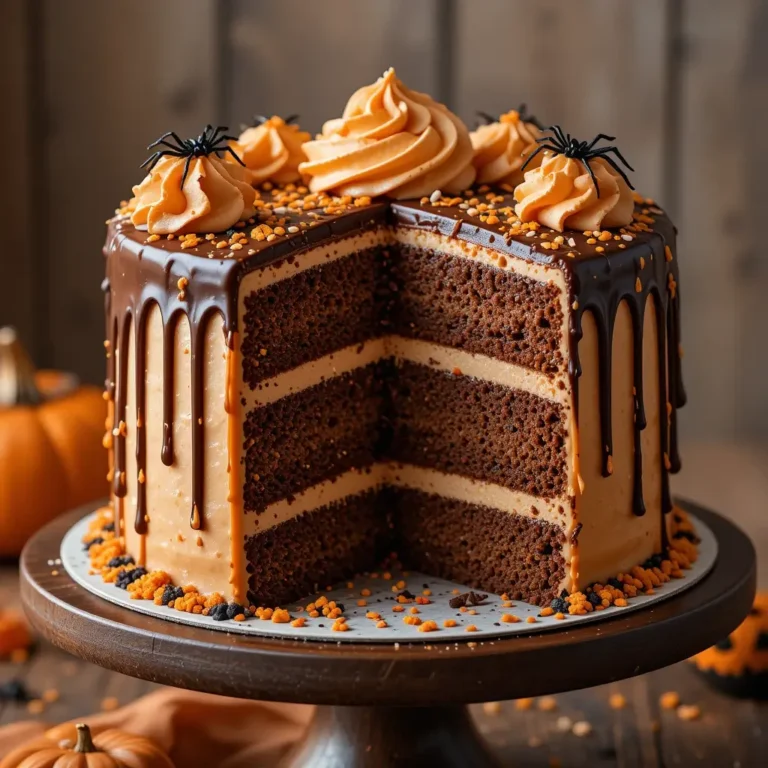
- Chocolate devil’s food cake with orange buttercream
- Vanilla cake with black chocolate ganache
- Red velvet cake for a “bloody” Halloween effect
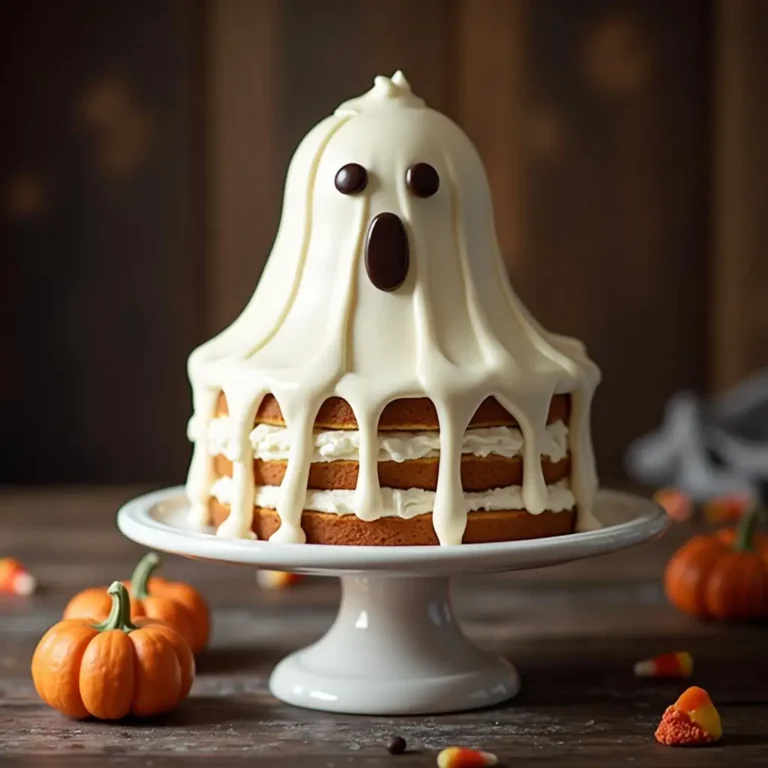
- Pumpkin spice cake with cream cheese frosting
Creative Combinations:
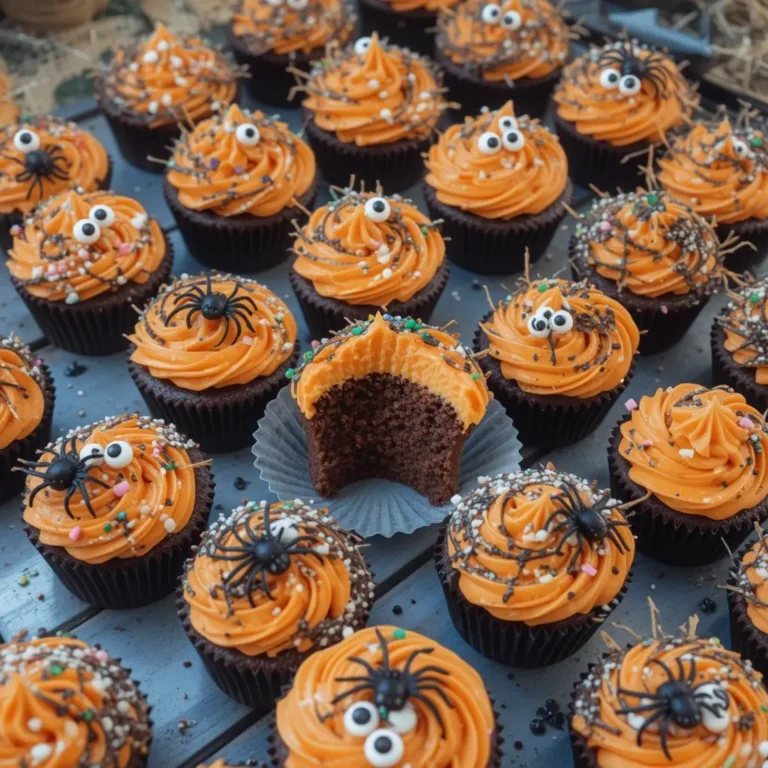
- Individual cupcakes for a haunted cupcake garden
- Cheesecake for an elegant Halloween dessert
- Brownies for quick and easy Halloween treats
- Ice cream cakes for Halloween birthday parties
Top Tips for Perfecting Halloween Cake Topper
Color Mixing Mastery Start with small amounts of food coloring and build up gradually. Gel colors work better than liquid for vibrant hues without affecting texture. For deep black, add a tiny amount of cocoa powder along with black coloring.
Texture Techniques Use household items for interesting textures – forks for fur, mesh for fabric effects, or sponges for stippled surfaces. These simple tools can create professional-looking results.
Timing is Everything Work with fondant when it’s slightly warm and pliable, but not sticky. If it gets too soft, add a pinch of tylose powder. For paper toppers, laminate them for durability if making ahead.
Storage Solutions Keep finished toppers in a cool, dry place away from direct sunlight. Use foam padding in storage containers to prevent breakage.
Storing and Reheating Tips
Short-Term Storage (1-3 days): Store fondant or chocolate toppers in airtight containers at room temperature. Avoid refrigeration as it can cause condensation and color bleeding.
Long-Term Storage (up to 2 weeks): Wrap individual toppers in tissue paper and store in rigid containers. Keep them in a cool, dry pantry away from heat sources.
Paper Topper Care: Laminated paper toppers can last months when stored flat in protective sleeves. Keep them away from moisture and direct sunlight to prevent fading.
Revival Tips: If fondant toppers become slightly soft, dust with cornstarch and let them air dry. For chocolate toppers that lose their shine, gently buff with a soft brush.
Frequently Asked Questions
How far in advance can I make Halloween cake toppers? You can make fondant and chocolate toppers up to 2 weeks ahead when stored properly. Paper toppers can be made months in advance if laminated and stored correctly.
Can I make these toppers without special tools? Absolutely! Use kitchen knives for cutting, spoons for shaping, and household items like forks or mesh for texturing. Cookie cutters can substitute for specialty cutters.
Are these toppers safe for children to eat? Fondant and chocolate toppers are completely edible and safe. For paper toppers, always remove them before serving cake to children.
How do I fix cracks in fondant toppers? Brush a tiny amount of water on the crack and gently smooth it together. For larger breaks, use a small piece of matching fondant as “glue.”
Can I use regular food coloring instead of gel? Gel coloring works best as it won’t make your fondant sticky. If using liquid coloring, add extra tylose powder to maintain proper consistency.
What’s the best way to attach toppers to cakes? Insert skewers or toothpicks into sturdy toppers. For delicate ones, place them directly on firmer frosting or use a small dab of frosting as “glue.”
Nutrition Information
| Nutrient | Per Topper (Fondant) | Per Topper (Chocolate) |
|---|---|---|
| Calories | 25-35 | 45-55 |
| Total Fat | 0g | 3g |
| Carbohydrates | 8g | 5g |
| Sugars | 7g | 4g |
| Protein | 0g | 1g |
| Sodium | 1mg | 2mg |
Nutritional values are approximate and vary based on size and ingredients used
Additional Creative Ideas and Pro Tips
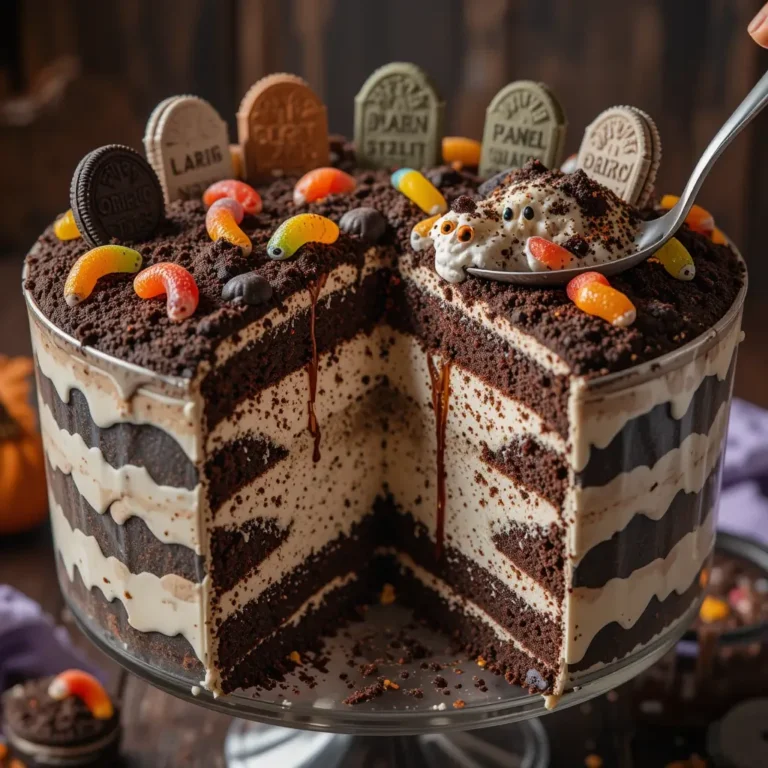
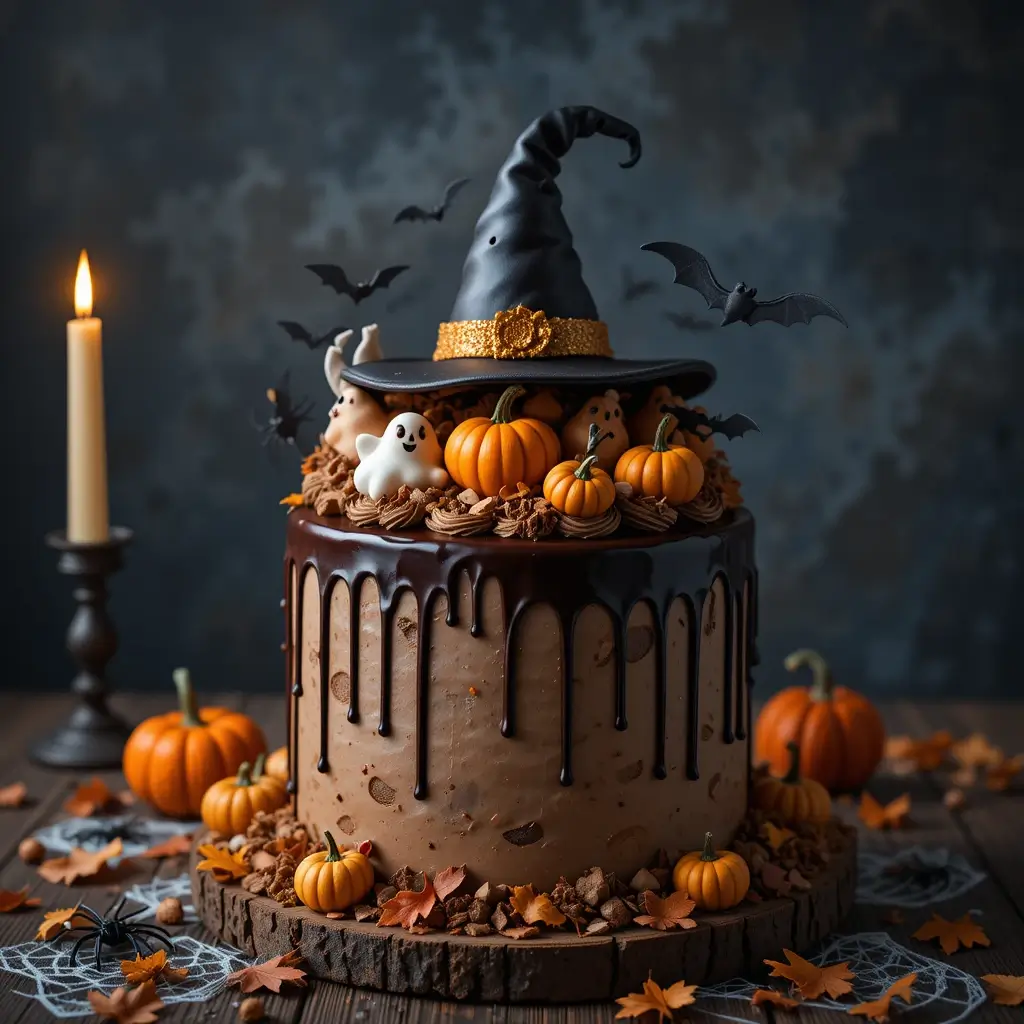
Theme Variations: Create themed sets like “Haunted Graveyard” with tombstones and skeleton hands, or “Witch’s Kitchen” with tiny cauldrons and broomsticks. Consistency in your theme creates a more polished look.
Advanced Techniques: Try marbling different colored fondants for unique effects, or use edible ink stamps for intricate details. Airbrushing can create stunning gradient effects on larger toppers.
Seasonal Adaptability: Many of these techniques work for other holidays too. The same basic methods can create Christmas trees, Easter bunnies, or birthday themes, making this a versatile skill to master.
Photography Tips for Social Media: Photograph your finished toppers with dramatic lighting and dark backgrounds to enhance the Halloween mood. Use props like fake spider webs or autumn leaves for context in your photos.
Make It Educational: Turn topper-making into a fun learning experience by researching Halloween traditions from different cultures or practicing math skills through measuring and scaling recipes.
Remember, the key to successful Halloween cake topper is having fun with the process. Don’t worry about perfection – sometimes the slightly wonky ghost or lopsided pumpkin has the most character and charm!