Easy Marble Cake Pops
Ready to bake a new party favorite? Learn how to make an amazing marble cake pop. This simple recipe provides solutions for a easy dessert.
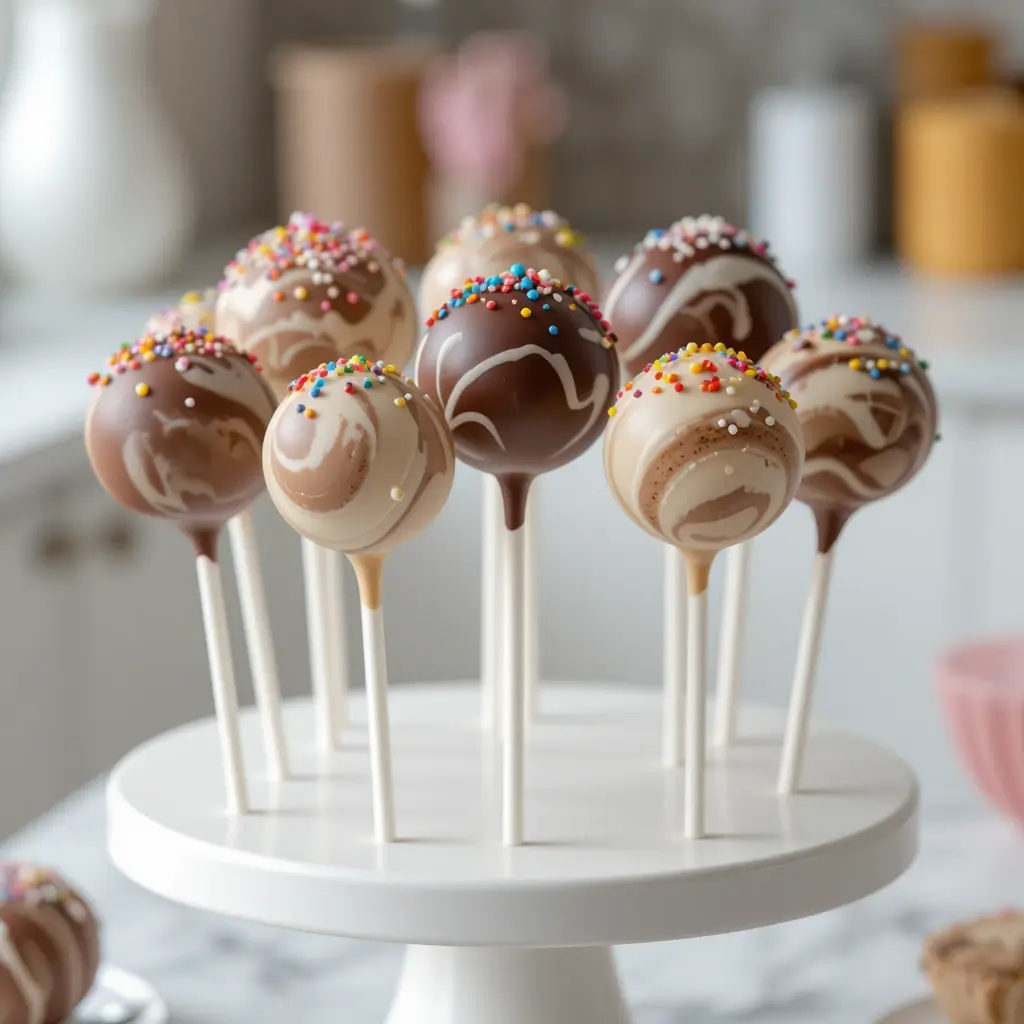
Picture this: bite-sized balls of heaven swirled with rich chocolate and vanilla flavors, perfectly balanced on a stick and coated in smooth, creamy chocolate. These marble cake pops are the perfect blend of elegance and comfort food that’ll have your family begging for more.
Here’s a fun fact: cake pops were actually invented by accident when a baker’s cake fell apart, leading to one of the most beloved treats today! What makes these marble beauties special is their stunning visual appeal combined with incredible flavor.
They’re surprisingly simple to make, require no special baking skills, and come together in under two hours. Unlike our popular chocolate chip cookies that require precise timing, these forgiving treats are perfect for beginners and experienced bakers alike.
What is Marble Cake Pops?
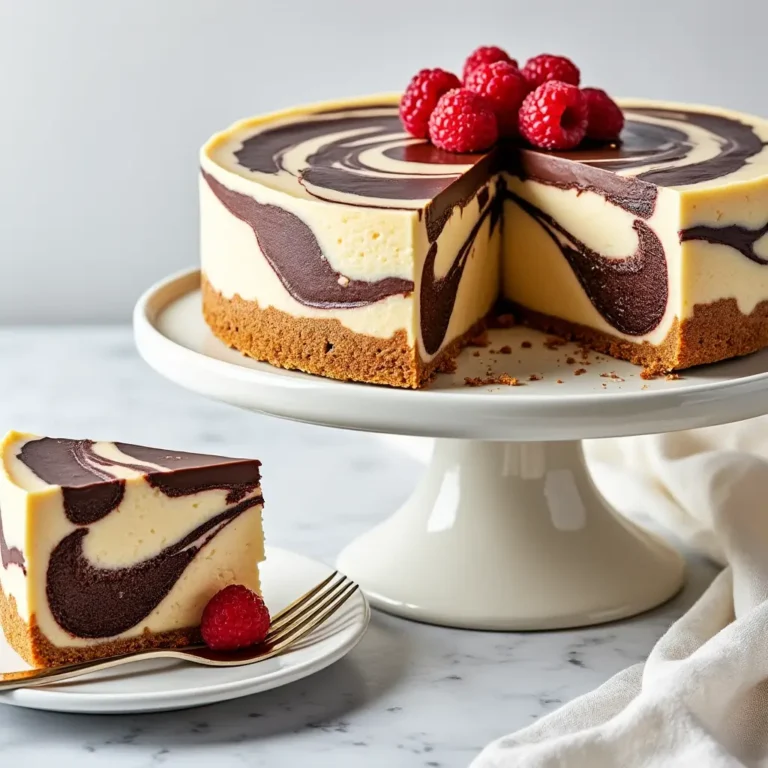
Ever wondered why we call them “marble” cake pops? Well, it’s quite simple really! The beautiful swirled pattern resembles the elegant veining you’d find in real marble stone. Some say the technique was borrowed from marble pound cake, while others claim it’s just a happy accident that stuck around.
As they say, “the way to a man’s heart is through his stomach,” and these little beauties certainly know how to make hearts skip a beat! Ready to create some edible art in your kitchen?
Why You’ll Love This Marble Cake Pops Recipe
Rich, Decadent Flavor in Every Bite
These marble cake pops deliver the perfect balance of rich chocolate and creamy vanilla in each bite. The contrast between the two flavors creates a symphony of taste that’s neither too sweet nor too bland. The moist, tender cake combined with smooth cream cheese frosting creates a texture that melts beautifully in your mouth.
Budget-Friendly Homemade Treat
Making these at home costs a fraction of what you’d pay at fancy bakeries or coffee shops. With basic pantry ingredients, you can create dozens of professional-looking treats that rival expensive store-bought versions. Plus, you control the quality of ingredients and can customize them to your family’s preferences.
Stunning Visual Appeal
The marble effect isn’t just beautiful – it’s also incredibly forgiving for beginners. Unlike our intricate sugar cookies that require perfect piping skills, the swirled pattern in these cake pops looks intentionally artistic even when imperfect. They’re perfect for parties, gifts, or special occasions when you want to impress without stress.
Ready to transform simple ingredients into Instagram-worthy treats? Let’s dive into this foolproof recipe!
How to Make Marble Cake Pops
Quick Overview
These marble cake pops are surprisingly easy to master, combining the rich flavors of chocolate and vanilla in perfect harmony. The secret lies in the simple marbling technique that creates stunning visual appeal with minimal effort.
Prep Time: 45 minutes
Chill Time: 2 hours
Dipping Time: 30 minutes
Total Time: 3 hours 15 minutes
Yield: 24-30 cake pops
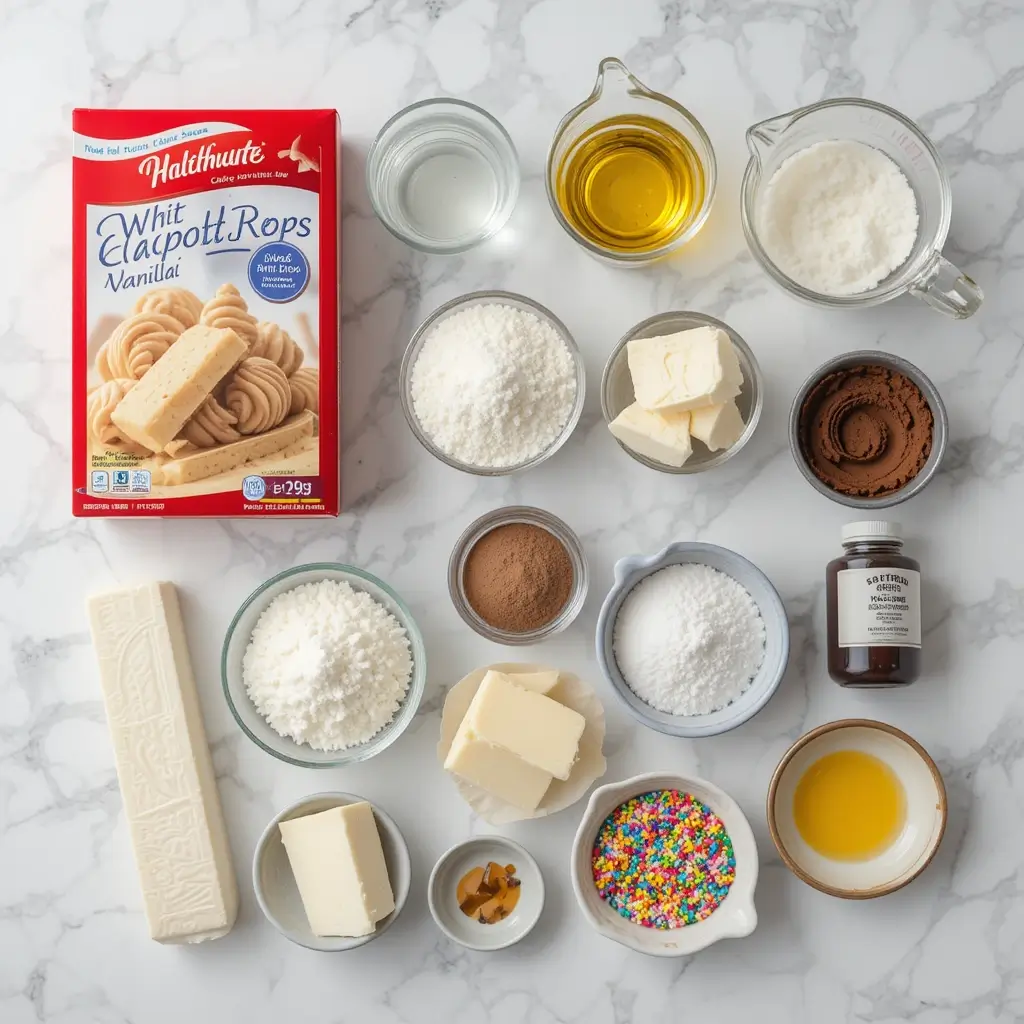
Key Ingredients for Marble Cake Pops
For the Cake:
- 1 box vanilla cake mix (15.25 oz)
- 3 large eggs
- 1/3 cup vegetable oil
- 1 cup water
- 2 tablespoons unsweetened cocoa powder
- 2 tablespoons hot water
For the Frosting:
- 8 oz cream cheese, softened
- 1/4 cup unsalted butter, softened
- 2 cups powdered sugar
- 1 teaspoon vanilla extract
For Assembly:
- 30 cake pop sticks
- 2 lbs white chocolate melting wafers
- 2 tablespoons coconut oil or shortening
- Food coloring (optional)
- Sprinkles or decorations (optional)
Step-by-Step Instructions
Step 1: Prepare the Marble Cake Preheat your oven to 350°F (175°C) and grease a 9×13 inch baking pan. In a large bowl, combine cake mix, eggs, oil, and water according to package directions. Mix until smooth and well combined.
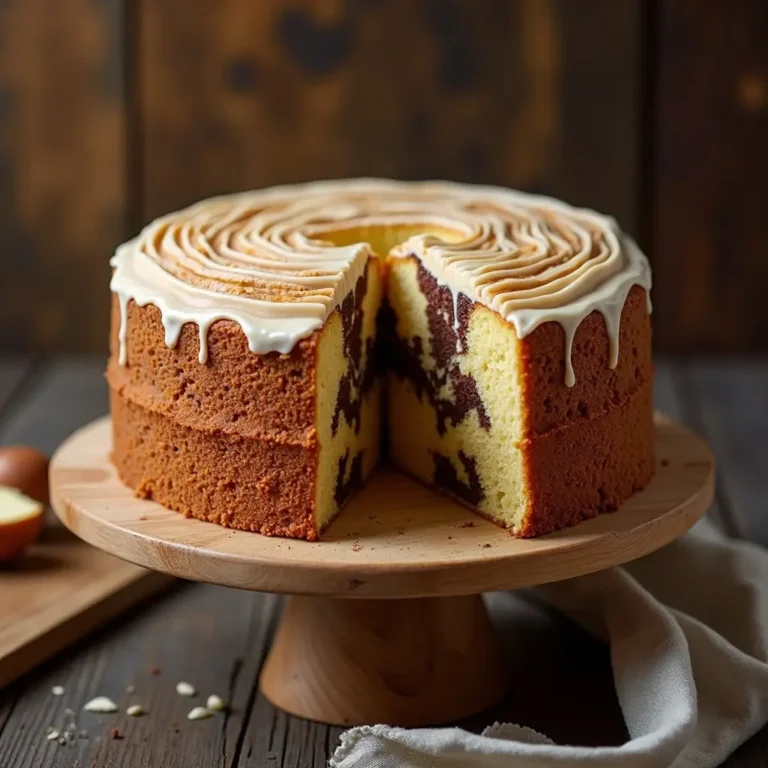
Step 2: Create the Marble Effect Divide the batter in half. In a small bowl, mix cocoa powder with hot water to create a smooth paste. Fold this chocolate mixture into one half of the batter until evenly combined. Pour the vanilla batter into your prepared pan, then drop spoonfuls of chocolate batter on top. Use a knife to gently swirl the batters together, creating a marble pattern.
Step 3: Bake and Cool Bake for 28-32 minutes or until a toothpick inserted in the center comes out clean. Allow the cake to cool completely in the pan, about 1 hour.
Step 4: Make the Frosting Beat cream cheese and butter until light and fluffy, about 3 minutes. Gradually add powdered sugar and vanilla, beating until smooth and well combined.
Step 5: Crumble and Mix Once cooled, crumble the entire cake into fine crumbs using your hands or a food processor. Add the frosting gradually, mixing until the mixture holds together when squeezed but isn’t too wet.
Step 6: Shape the Pops Roll the mixture into 1.5-inch balls and place on a parchment-lined baking sheet. Refrigerate for at least 2 hours or until firm.
Step 7: Prepare for Dipping Melt chocolate wafers with coconut oil in a microwave-safe bowl in 30-second intervals, stirring between each interval until smooth.
Step 8: Insert Sticks Dip each stick about 1/2 inch into melted chocolate, then insert into a cake ball. This helps secure the stick. Return to refrigerator for 10 minutes.
Step 9: Dip and Decorate Dip each cake pop into the chocolate, allowing excess to drip off. Tap gently to remove excess coating. Add sprinkles or decorations immediately if desired. Place in a cake pop stand or styrofoam block to set for 15 minutes.
What to Serve Marble Cake Pops With
These versatile treats pair beautifully with various beverages and desserts. Serve alongside hot coffee or espresso for an elegant afternoon treat. They’re perfect with cold milk for kids’ parties or hot chocolate during winter gatherings.
For special occasions, create a dessert table featuring these cake pops alongside fresh berries and whipped cream. They also complement vanilla ice cream wonderfully, or serve with sparkling cider for celebrations.
Consider pairing with other bite-sized treats like mini cupcakes or chocolate-covered strawberries for variety at parties.
Top Tips for Perfecting Marble Cake Pops
Getting the Perfect Consistency
The cake-frosting mixture should hold together when squeezed but not be overly wet. Start with less frosting and add gradually – you can always add more, but you can’t take it away.
Achieving Beautiful Marble Patterns
Don’t overmix when creating the marble effect in your cake. Gentle swirls create more defined patterns than aggressive mixing.
Chocolate Coating Success
If your chocolate is too thick, add a bit more coconut oil. If it’s too thin, add more chocolate wafers. The coating should flow smoothly off a spoon.
Preventing Cracking
Ensure cake balls are completely chilled before dipping. Cold cake pops are less likely to crack when meeting warm chocolate.
Stick Stability
Always dip sticks in chocolate before inserting. This creates a stronger bond and prevents cake pops from sliding off.
Storing and Reheating Tips
Room Temperature Storage: Store finished cake pops in an airtight container for up to 3 days. Keep them in a cool, dry place away from direct sunlight.
Refrigeration: For longer storage, refrigerate cake pops for up to one week. Place in airtight containers with parchment paper between layers to prevent sticking.
Freezing: Freeze cake pops for up to 3 months. Wrap individually in plastic wrap, then store in freezer bags. Thaw at room temperature for 30 minutes before serving.
Make-Ahead Tips: You can prepare cake balls up to one week in advance and store them in the refrigerator before dipping. The finished cake pops actually taste better after sitting for a day as flavors meld together.
Frequently Asked Questions
Why are my cake pops cracking when I dip them?
Cracking usually occurs when there’s a temperature difference between the cake balls and chocolate. Ensure your cake balls are thoroughly chilled and your chocolate isn’t too hot.
Can I use homemade cake instead of box mix?
Absolutely! Any vanilla or chocolate cake recipe works. Just ensure it’s completely cooled before crumbling.
How do I fix cake pop mixture that’s too wet?
Add more cake crumbs gradually until the mixture holds together without being sticky. You can also refrigerate the mixture for 30 minutes to firm up.
Can I make these without cream cheese frosting?
Yes! You can substitute with buttercream frosting, but cream cheese frosting provides better binding and tangy flavor balance.
What’s the best way to color the chocolate coating?
Use oil-based food coloring specifically designed for chocolate. Water-based coloring will cause the chocolate to seize.
How far in advance can I make these?
Cake pops can be made up to one week in advance when stored properly in the refrigerator.
Nutrition Information
| Nutrient | Per Cake Pop |
|---|---|
| Calories | 185 |
| Total Fat | 8g |
| Saturated Fat | 5g |
| Cholesterol | 25mg |
| Sodium | 125mg |
| Total Carbs | 28g |
| Dietary Fiber | 1g |
| Sugars | 24g |
| Protein | 3g |
Nutritional values are approximate and may vary based on ingredients used.
Pro Baker Secrets for Next-Level Results
Flavor Variations: Try adding almond extract to the vanilla portion or espresso powder to the chocolate for more complex flavors.
Texture Enhancement: Add a tablespoon of sour cream to your frosting for extra tang and moisture.
Professional Finish: Use a cake pop drying stand or create one using a styrofoam block for perfectly shaped pops.
Color Coordination: Match your chocolate coating to party themes by using colored melting wafers or adding food coloring.
Gift Presentation: Package individual cake pops in clear cellophane bags tied with ribbons for beautiful homemade gifts.
These marble cake pops prove that impressive desserts don’t require professional training or expensive equipment. With basic ingredients and a little patience, you’ll create treats that look like they came from a high-end bakery. The combination of visual appeal, incredible taste, and simple technique makes this recipe a true winner for any occasion.
Whether you’re planning a birthday party, looking for a fun weekend project with kids, or need an impressive dessert for guests, these marble cake pops deliver every time. The best part? Each pop is perfectly portioned, eliminating the temptation to cut “just one more slice” of cake!
Ready to start your cake pop adventure? Gather your ingredients and let’s create some edible magic together!