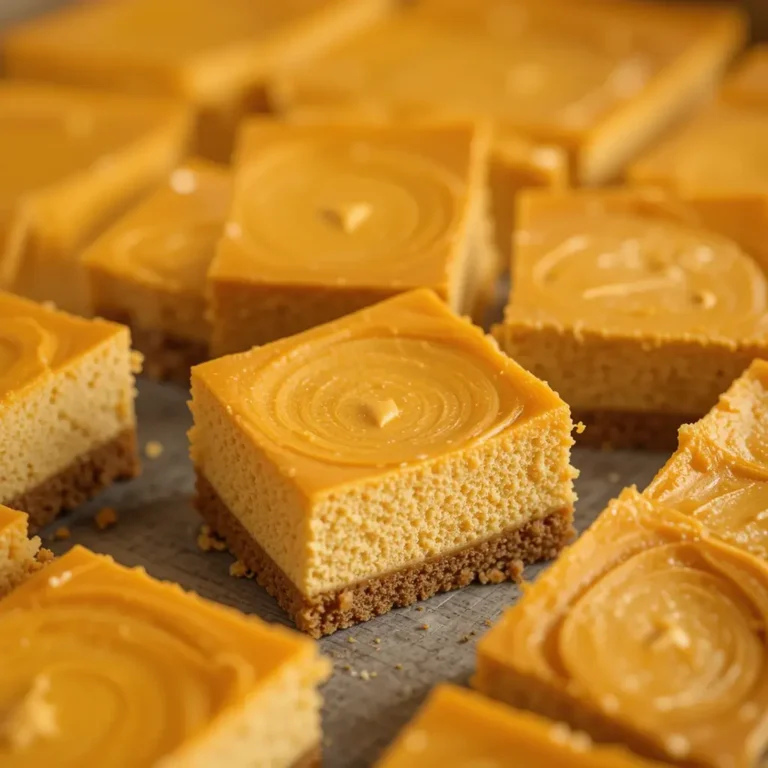
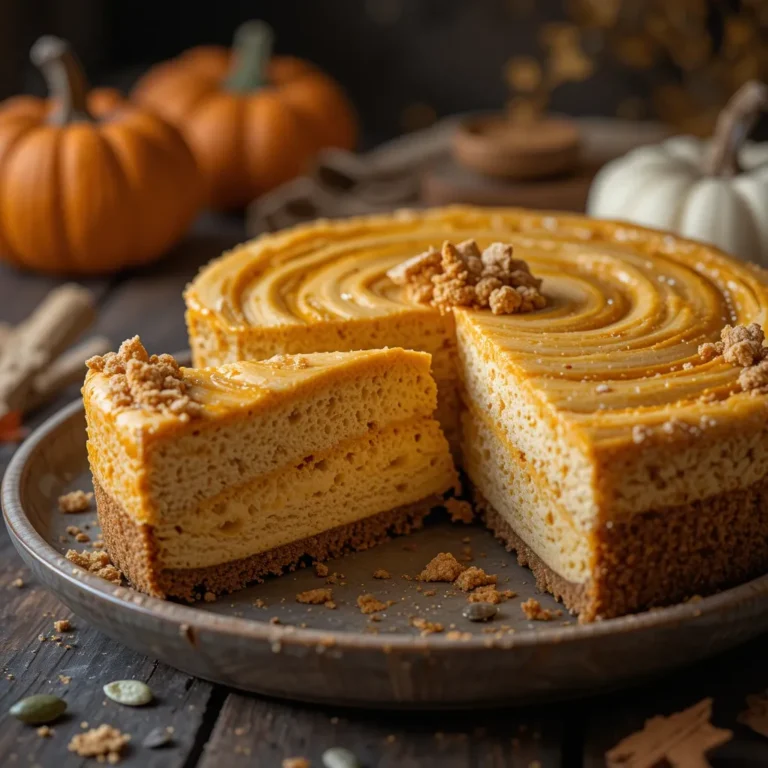
No-Bake Pumpkin Cheesecake Bars Ready in 20 Minutes
No-Bake Pumpkin Cheesecake Bars dessert must be refrigerated for several hours. The result is a firm texture suitable for clean slicing and serving.
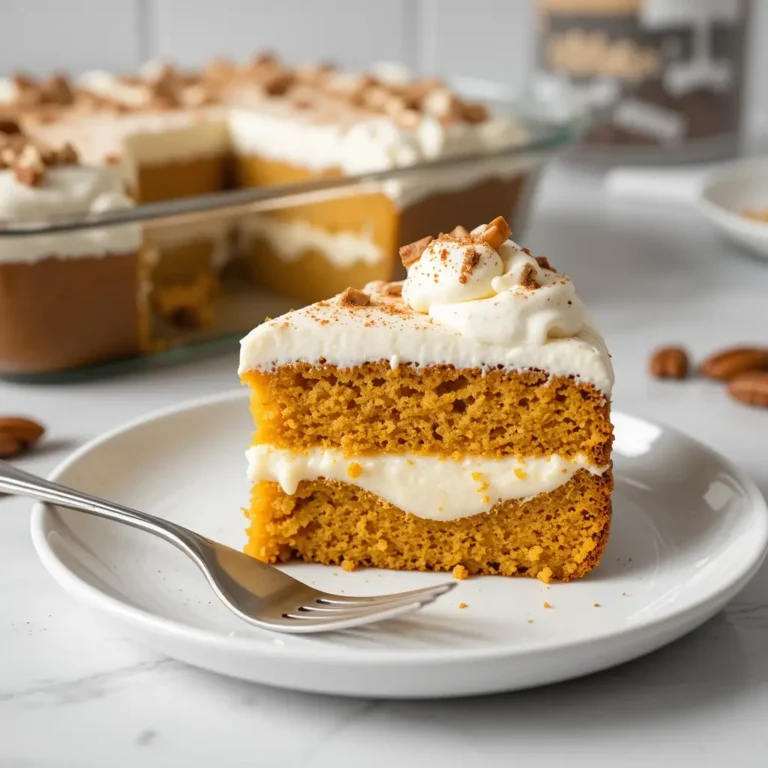
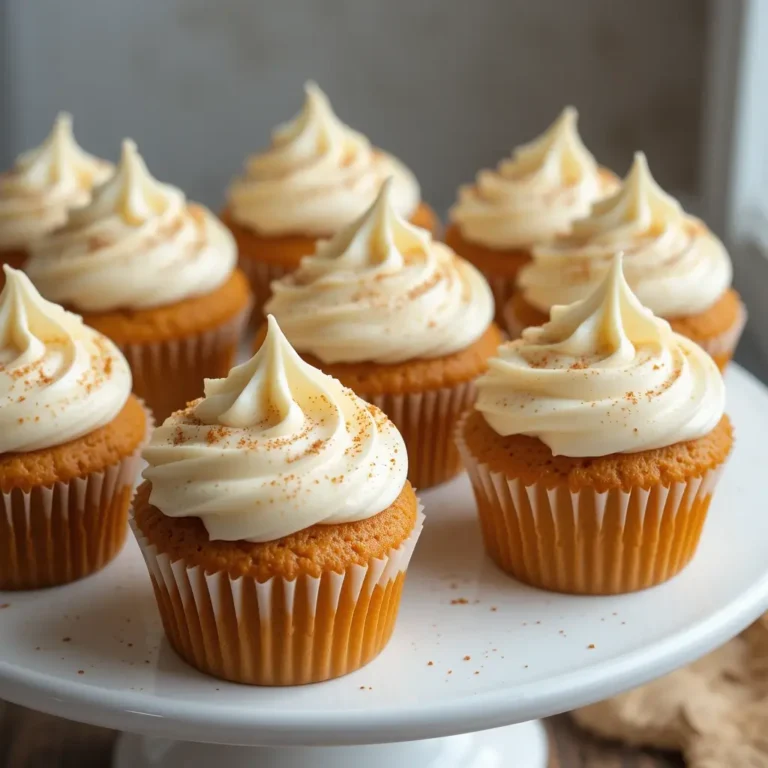
Get ready to fall in love with these incredibly creamy, spiced-to-perfection no-bake pumpkin cheesecake bars! These heavenly treats capture all the cozy flavors of autumn without ever turning on your oven.
Here’s a fun fact: cheesecake actually dates back to ancient Greece, but our modern no-bake version saves you hours of baking time while delivering that same luxurious texture everyone craves.
What makes these bars truly special is their foolproof preparation and rich, velvety filling that tastes like fall in every bite. Similar to our popular no-bake chocolate cheesecake bars, these require minimal effort but deliver maximum wow factor for your family and friends.
What are No-Bake Pumpkin Cheesecake Bars?
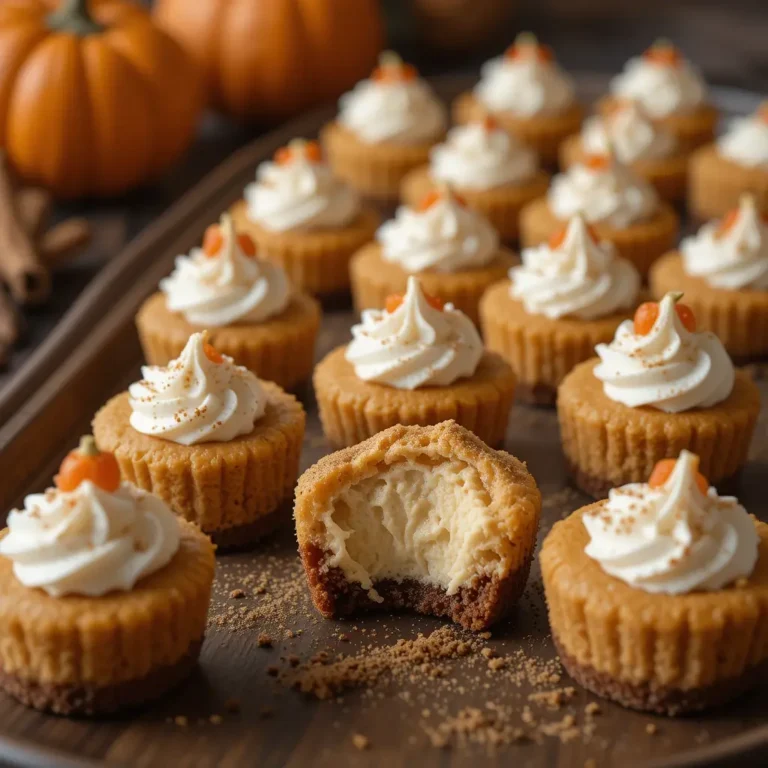
Ever wondered why we call them “bars” when they’re basically squares of pure heaven? These delightful treats get their name from being cut into neat rectangular portions, making them perfect for sharing at gatherings or sneaking a quick bite from the fridge.
The beauty lies in their simplicity – no fancy equipment, no precise oven temperatures, just mix, chill, and enjoy! As they say, “the way to a man’s heart is through his stomach,” and these bars are definitely the express route. Trust me, once you try this foolproof recipe, you’ll never want to make traditional baked cheesecake again!
Why You’ll Love This No-Bake Pumpkin Cheesecake Bars:
The Perfect Fall Flavor Combination
These bars deliver an incredible burst of warm autumn spices combined with rich, creamy cheesecake filling that melts in your mouth. The pumpkin puree adds natural sweetness and that gorgeous orange color that screams fall festivities.
Budget-Friendly Alternative to Store-Bought
Making these at home costs a fraction of what you’d pay for similar desserts at bakeries or grocery stores. You’ll spend roughly $8-10 to make an entire pan that serves 12-16 people, compared to $20+ for store-bought equivalents.
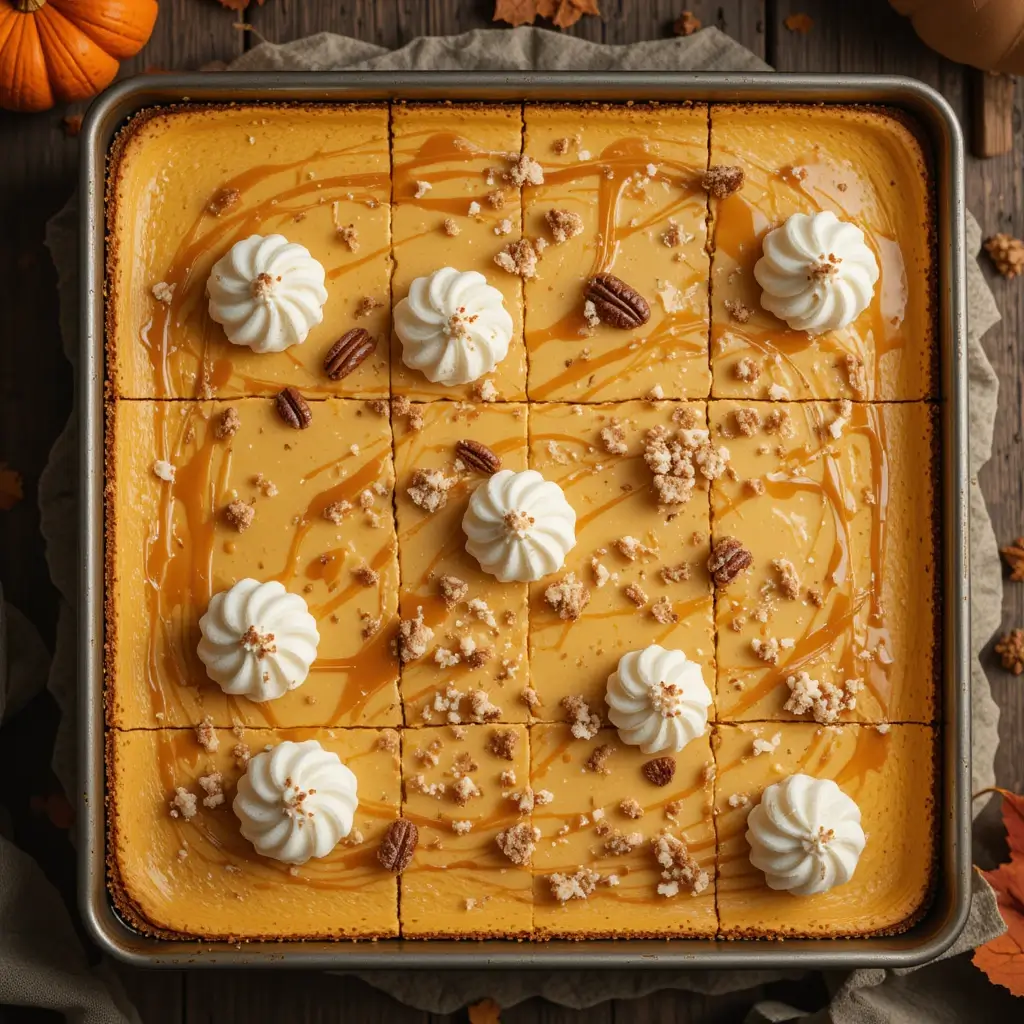
Customizable Toppings and Mix-ins
The beauty of these bars lies in their versatility. Top them with whipped cream, crushed pecans, caramel drizzle, or even mini chocolate chips. You can also fold in extras like mini marshmallows or cinnamon chips into the filling itself.
Just like our beloved no-bake strawberry cheesecake bars, these pumpkin versions are endlessly adaptable to your taste preferences. Ready to create your own fall masterpiece? Let’s dive into this simple yet impressive recipe!
How to Make No-Bake Pumpkin Cheesecake Bars:
Quick Overview
These bars are incredibly easy to make and require no baking skills whatsoever. The rich, creamy texture comes from cream cheese and heavy cream, while the graham cracker crust provides the perfect crunchy base.
Total Time Breakdown:
- Prep Time: 20 minutes
- Chill Time: 4 hours minimum
- Total Time: 4 hours 20 minutes
- Servings: 12-16 bars
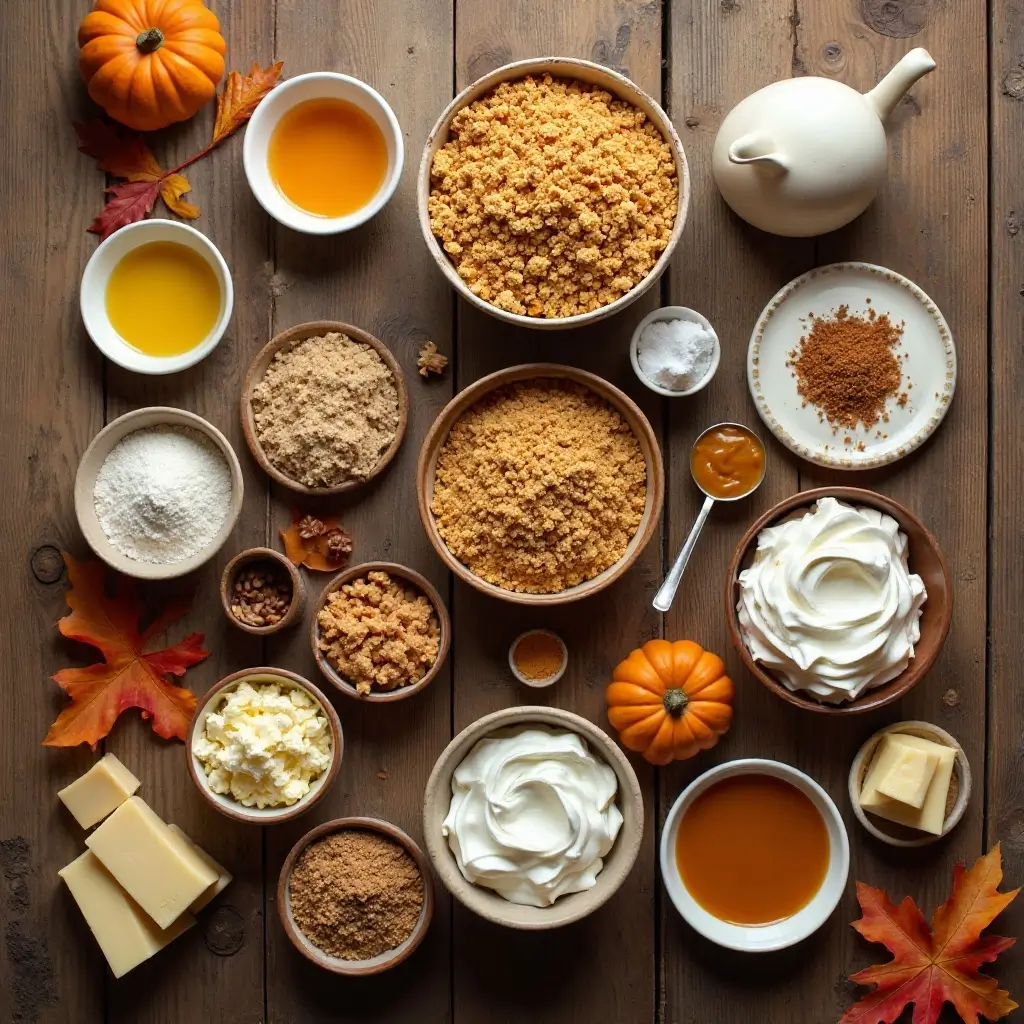
Key Ingredients for No-Bake Pumpkin Cheesecake Bars:
For the Crust:
- 1½ cups graham cracker crumbs
- ⅓ cup melted butter
- ¼ cup granulated sugar
- ½ teaspoon ground cinnamon
For the Pumpkin Cheesecake Filling:
- 16 oz cream cheese (room temperature)
- 1 cup pumpkin puree
- ¾ cup powdered sugar
- 1 teaspoon vanilla extract
- 1 teaspoon ground cinnamon
- ½ teaspoon ground nutmeg
- ¼ teaspoon ground ginger
- ⅛ teaspoon ground cloves
- 1½ cups heavy whipping cream
- 2 packets unflavored gelatin
- 3 tablespoons warm water
For Topping (Optional):
- Whipped cream
- Crushed pecans
- Caramel sauce
- Extra cinnamon for dusting
Step-by-Step Instructions:
Step 1: Prepare Your Pan Line a 9×13 inch baking dish with parchment paper, leaving some overhang for easy removal. Lightly grease the parchment with cooking spray.
Step 2: Make the Crust In a medium bowl, combine graham cracker crumbs, melted butter, sugar, and cinnamon. Mix until the mixture holds together when squeezed. Press firmly into the bottom of your prepared pan using the bottom of a measuring cup. Refrigerate while making the filling.
Step 3: Prepare the Gelatin Sprinkle gelatin over warm water in a small bowl. Let it bloom for 5 minutes, then microwave for 15-20 seconds until completely dissolved. Set aside to cool slightly.
Step 4: Beat the Cream Cheese Using an electric mixer, beat room temperature cream cheese until smooth and fluffy, about 2-3 minutes. Scrape down sides as needed.
Step 5: Add Pumpkin and Spices Beat in pumpkin puree, powdered sugar, vanilla, and all the spices until well combined. The mixture should be smooth with no lumps.
Step 6: Incorporate Gelatin Slowly drizzle the cooled gelatin mixture into the pumpkin mixture while beating on low speed. This helps the bars set properly.
Step 7: Whip the Cream In a separate clean bowl, whip heavy cream to stiff peaks. Be careful not to overwhip.
Step 8: Fold and Combine Gently fold one-third of the whipped cream into the pumpkin mixture to lighten it. Then carefully fold in the remaining whipped cream until just combined.
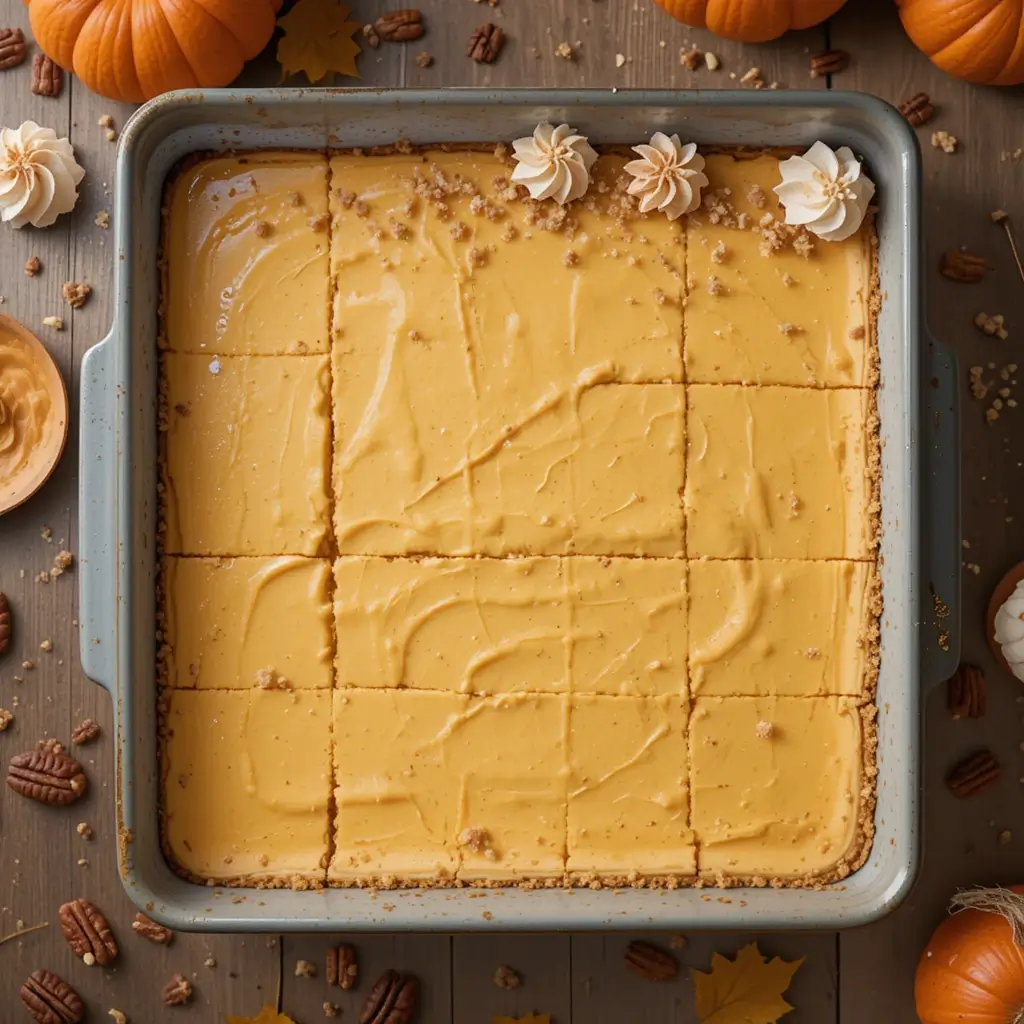
Step 9: Assemble and Chill Pour the filling over the prepared crust and smooth the top with an offset spatula. Cover with plastic wrap and refrigerate for at least 4 hours or overnight.
Step 10: Serve Use the parchment overhang to lift the bars from the pan. Cut into squares using a sharp knife wiped clean between cuts.
What to Serve No-Bake Pumpkin Cheesecake Bars With:
These versatile bars pair beautifully with various accompaniments. Serve them alongside hot coffee, spiced chai tea, or warm apple cider for the ultimate fall experience. They’re also delicious with a scoop of vanilla ice cream or a dollop of fresh whipped cream.
For special occasions, consider serving them with other autumn desserts like apple crisp or pecan pie to create a festive dessert table. The bars also complement savory fall dishes wonderfully – try serving them after a hearty meal of roasted turkey, butternut squash soup, or pumpkin ravioli.
Top Tips for Perfecting No-Bake Pumpkin Cheesecake Bars:
Use Room Temperature Cream Cheese: This is crucial for achieving a smooth, lump-free filling. Take it out of the fridge 2-3 hours before starting, or soften it quickly in the microwave for 30 seconds.
Don’t Skip the Gelatin: While some recipes omit it, gelatin helps these bars hold their shape perfectly when cut. Make sure it’s completely dissolved to avoid any grittiness.
Chill Adequately: Patience is key! Four hours minimum ensures proper setting. Overnight chilling gives the best texture and makes cutting much easier.
Sharp Knife for Clean Cuts: Wipe your knife clean between each cut for professional-looking bars. A thin, sharp knife works best.
Ingredient Substitutions: You can substitute Greek yogurt for half the cream cheese for a tangier flavor, or use coconut cream instead of heavy cream for a dairy-free version.
Storing and Reheating Tips:
These no-bake pumpkin cheesecake bars store beautifully and actually improve in flavor after a day or two. Keep them covered in the refrigerator for up to 5 days. The bars can be stored in an airtight container or covered tightly with plastic wrap.
For longer storage, these bars freeze wonderfully for up to 3 months. Wrap individual bars in plastic wrap, then place in a freezer-safe container. To thaw, simply move them to the refrigerator overnight.
Since these are served chilled, no reheating is necessary. In fact, they’re best enjoyed straight from the fridge when the texture is perfectly set and creamy.
Nutrition Information
| Nutrient | Per Serving (1 bar) |
|---|---|
| Calories | 285 |
| Total Fat | 18g |
| Saturated Fat | 11g |
| Cholesterol | 55mg |
| Sodium | 180mg |
| Total Carbs | 28g |
| Fiber | 1g |
| Sugar | 24g |
| Protein | 4g |
Based on 16 servings per recipe
Frequently Asked Questions
Can I make these bars without gelatin? While gelatin helps with structure, you can omit it if necessary. The bars will be softer and may not hold their shape as well when cut. Chill them extra long and serve them slightly frozen for best results.
What’s the best pumpkin puree to use? Use plain pumpkin puree, not pumpkin pie filling. Brands like Libby’s or organic store brands work perfectly. Make sure it’s smooth and not chunky.
How far ahead can I make these? These bars are perfect make-ahead desserts! You can prepare them up to 3 days in advance. They actually taste better after sitting overnight as the flavors meld together.
Can I use a different crust? Absolutely! Try crushed gingersnaps, vanilla wafers, or even chocolate cookies for the crust. Pecans or walnuts mixed into the crust add nice texture too.
Why are my bars too soft to cut? This usually means they need more chilling time or the gelatin wasn’t properly dissolved. Make sure to chill for at least 4 hours, preferably overnight.
Can I double this recipe? Yes! Use two 9×13 pans or one large sheet pan. The chilling time remains the same, but you might need to adjust mixing times slightly.
Additional Helpful Tips
Flavor Variations: Try adding a swirl of caramel or Nutella into the filling before chilling. You can also incorporate mini chocolate chips or chopped pecans for added texture.
Presentation Ideas: Dust the tops with cinnamon, drizzle with caramel sauce, or pipe decorative whipped cream rosettes along the edges for special occasions.
Make it Healthier: Substitute part of the cream cheese with Greek yogurt, use sugar-free powdered sugar, or try a nut-based crust for a lower-carb option.
Troubleshooting: If your filling seems too thick, add a tablespoon of milk. If it’s too thin, chill it for 30 minutes before adding to the crust.
Gift Idea: These bars make wonderful hostess gifts when placed in pretty containers with a decorative ribbon. Include the recipe card for an extra thoughtful touch!
These no-bake pumpkin cheesecake bars prove that the most impressive desserts often require the least effort. With their perfect balance of spices, creamy texture, and make-ahead convenience, they’re destined to become your new favorite fall treat!