Stunning Red Velvet Cake Jar – So Easy to Make
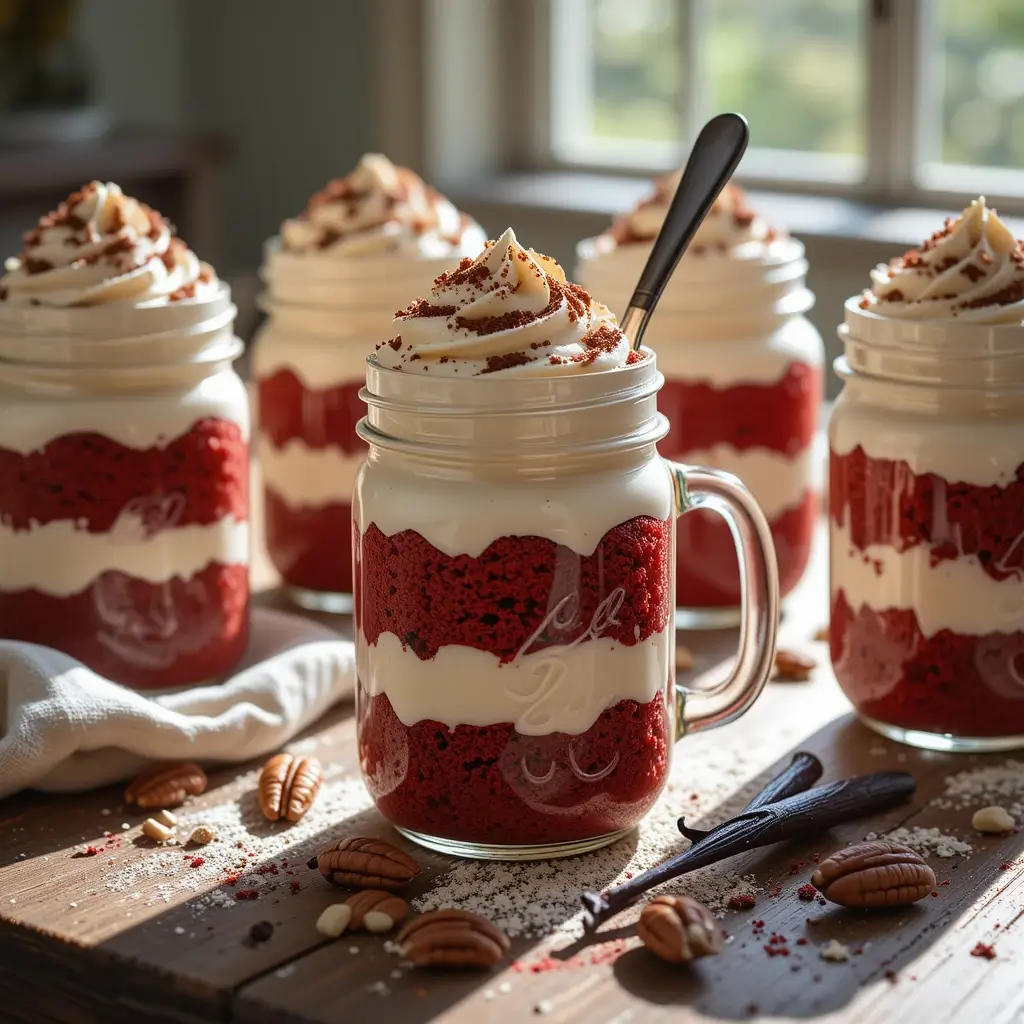
Picture this: layers of velvety red cake, creamy frosting, and pure indulgence all nestled in a charming mason jar. Red velvet cake jar are the perfect combination of classic Southern charm and modern convenience. These adorable individual desserts transform the beloved red velvet cake into portable, portion-controlled treats that are as Instagram-worthy as they are…
Picture this: layers of velvety red cake, creamy frosting, and pure indulgence all nestled in a charming mason jar. Red velvet cake jar are the perfect combination of classic Southern charm and modern convenience.
These adorable individual desserts transform the beloved red velvet cake into portable, portion-controlled treats that are as Instagram-worthy as they are delicious.
Much like our popular chocolate lava mug cakes, these jars offer the same satisfaction with minimal cleanup and maximum wow factor. Get ready to fall in love with dessert all over again!
Table of Contents
What is Red Velvet Cake Jar?
Ever wondered why we call it “red velvet cake jar“? It’s simply the classic red velvet cake reimagined in individual serving jars! Think of it as dessert’s answer to meal prep – all the rich, cocoa-kissed flavor and cream cheese frosting goodness of traditional red velvet cake, but conveniently layered in cute mason jars.
After all, they say the way to a man’s heart is through his stomach, and these jars are definitely a shortcut to anyone’s heart! Ready to jar up some sweetness?
Why You’ll Love This Red Velvet Cake Jar
The magic of red velvet cake jar lies in their perfect individual portions that eliminate the guesswork of cake cutting and serving. Making these beauties at home saves you significant money compared to buying gourmet individual desserts from bakeries – you’ll spend about $2 per jar versus $8-12 at specialty shops.
The layered presentation showcases the stunning contrast between the deep red cake, pristine white cream cheese frosting, and optional toppings like crushed pecans or chocolate shavings.
These jars offer incredible versatility in flavor combinations and presentation styles. The rich, slightly tangy cake pairs beautifully with the smooth, sweet frosting, creating a harmonious balance that’s neither too heavy nor too light. Similar to our popular tiramisu cups, these jars are perfect for entertaining, gifting, or treating yourself to a special dessert without the commitment of a whole cake.
The best part? You can customize each jar to individual preferences, making them ideal for parties where guests have different dietary needs or flavor preferences. Make these delightful jars your go-to dessert for any occasion!
How to Make Red Velvet Cake Jar
Quick Overview
Red velvet cake jars combine the beloved flavors of traditional red velvet cake with the convenience of individual servings. These treats feature:
- Rich, moist red velvet cake with subtle cocoa flavor
- Smooth, tangy cream cheese frosting
- Beautiful layered presentation
- Make-ahead convenience
- Total Time: 45 minutes active, 2 hours chilling
- Prep Time: 30 minutes
- Baking Time: 15 minutes
- Serves: 8 jars
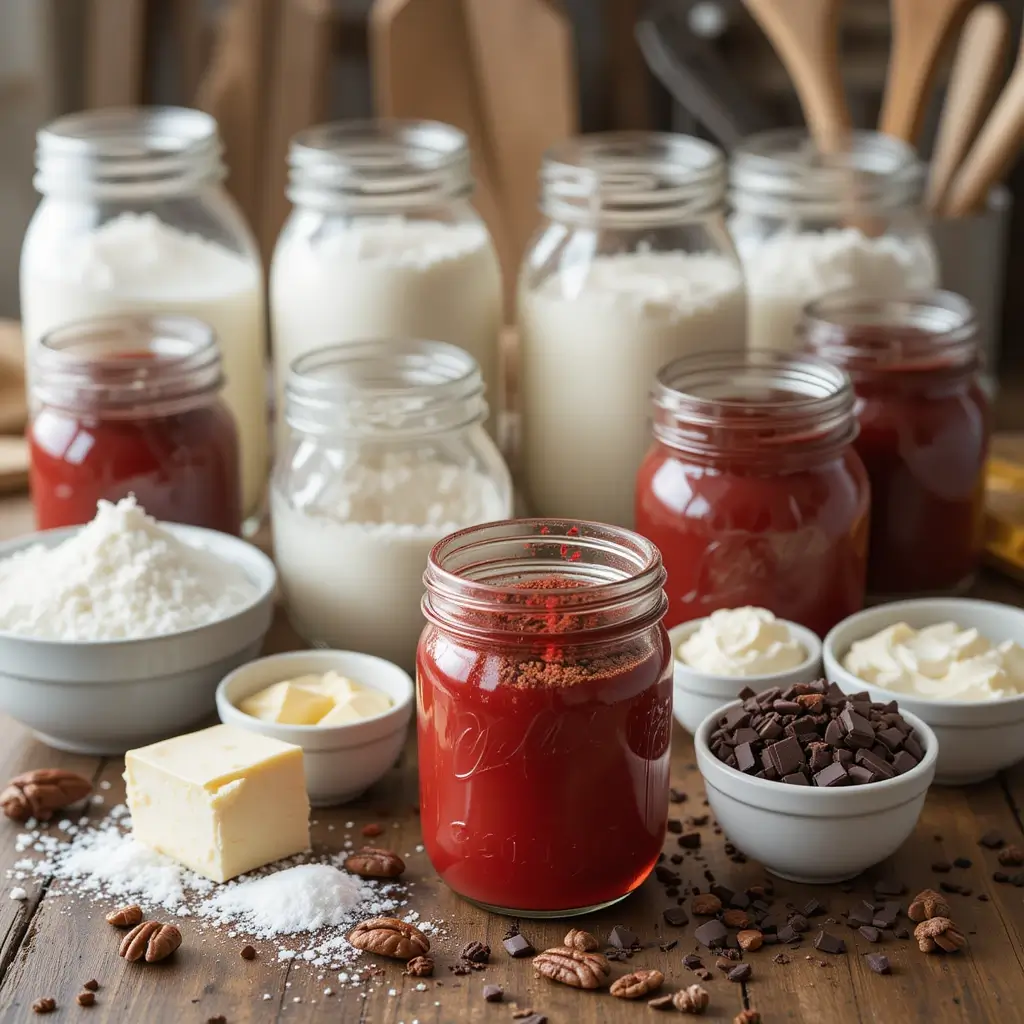
Key Ingredients for Red Velvet Cake Jar
For the Red Velvet Cake:
- 1½ cups all-purpose flour
- 1 cup granulated sugar
- ½ cup unsalted butter, softened
- 2 large eggs
- 1 cup buttermilk
- 2 tablespoons red food coloring
- 1 tablespoon cocoa powder
- 1 teaspoon vanilla extract
- 1 teaspoon baking soda
- 1 teaspoon white vinegar
- ½ teaspoon salt
For the Cream Cheese Frosting:
- 8 oz cream cheese, softened
- ½ cup unsalted butter, softened
- 3 cups powdered sugar
- 1 teaspoon vanilla extract
- Pinch of salt
For Assembly:
- 8 mason jars (8 oz size)
- Optional toppings: chopped pecans, chocolate shavings, or red velvet cake crumbs
Step-by-Step Instructions
Making the Red Velvet Cake
Step 1: Prepare Your Workspace Preheat your oven to 350°F (175°C). Line a 9×13 inch baking pan with parchment paper and lightly grease. This ensures easy removal and prevents sticking.
Step 2: Mix Dry Ingredients In a medium bowl, whisk together flour, cocoa powder, and salt. Set aside. This step ensures even distribution of the cocoa throughout the cake.
Step 3: Cream Butter and Sugar In a large mixing bowl, cream the softened butter and granulated sugar using an electric mixer on medium speed for 3-4 minutes until light and fluffy. This creates the cake’s tender texture.
Step 4: Add Eggs and Vanilla Beat in eggs one at a time, ensuring each is fully incorporated before adding the next. Mix in vanilla extract until combined.
Step 5: Prepare Buttermilk Mixture In a measuring cup, combine buttermilk and red food coloring. Stir until the color is evenly distributed throughout the buttermilk.
Step 6: Alternate Wet and Dry Ingredients Add the flour mixture to the butter mixture in three additions, alternating with the buttermilk mixture in two additions. Begin and end with the flour mixture. Mix just until combined – overmixing leads to tough cake.
Step 7: Activate Baking Soda In a small bowl, combine baking soda and white vinegar. It will foam immediately. Quickly fold this mixture into the batter until just combined.
Step 8: Bake the Cake Pour batter into the prepared pan and spread evenly. Bake for 25-30 minutes, or until a toothpick inserted in the center comes out clean. Cool completely in the pan.
Making the Cream Cheese Frosting
Step 9: Prepare Frosting Base In a large bowl, beat softened cream cheese and butter with an electric mixer until smooth and creamy, about 3-4 minutes.
Step 10: Add Sugar and Flavorings Gradually add powdered sugar, one cup at a time, beating well after each addition. Add vanilla extract and a pinch of salt. Beat until frosting is smooth and pipeable.
Assembling the Jars
Step 11: Crumble the Cake Once the cake is completely cool, crumble it into bite-sized pieces. You want chunks that are small enough to layer but large enough to maintain texture.
Step 12: Layer the Jars In each mason jar, create layers as follows:
- 2 tablespoons cake crumbles (bottom layer)
- 2 tablespoons cream cheese frosting
- 2 tablespoons cake crumbles (middle layer)
- 2 tablespoons cream cheese frosting
- Final layer of cake crumbles
- Top with a dollop of frosting
Step 13: Final Touches Smooth the top layer of frosting and add your chosen toppings. Seal jars with lids if making ahead, or serve immediately.
What to Serve Red Velvet Cake Jar With
Red velvet cake jars pair beautifully with several complementary items:
Hot Beverages: Serve alongside freshly brewed coffee, vanilla chai tea, or hot chocolate for a cozy dessert experience. The warmth balances the cool, creamy texture of the jars.
Fresh Fruits: Complement the rich flavors with fresh strawberries, raspberries, or sliced peaches. The fruit’s natural acidity cuts through the sweetness perfectly.
Dessert Wines: For adult gatherings, pair with dessert wines like Port, Moscato, or cream sherry. The wine’s sweetness enhances the cake’s flavors without overwhelming them.
Light Accompaniments: Serve with vanilla wafers, shortbread cookies, or graham crackers for added texture contrast and interactive eating.
Top Tips for Perfecting Red Velvet Cake Jar
Temperature Matters
Ensure all ingredients, especially cream cheese and butter, are at room temperature before mixing. This prevents lumpy frosting and ensures smooth incorporation. Take ingredients out 2-3 hours before baking.
Food Coloring Considerations
Use gel food coloring instead of liquid for more vibrant color without thinning the batter. Start with less than you think you need – you can always add more, but you can’t take it out.
Frosting Consistency
If your frosting is too thick, add 1 tablespoon of heavy cream at a time. If too thin, refrigerate for 15-20 minutes before using. The perfect consistency should hold its shape but spread easily.
Layer Strategy
Press cake layers gently into jars to create defined layers without compacting too much. This maintains texture while ensuring clean, visible layers.
Make-Ahead Success
Assemble jars up to 2 days ahead. The flavors actually improve as they meld together. Cover tightly and refrigerate until serving.
Storing and Reheating Tips
Refrigeration Storage
Store assembled red velvet cake jars in the refrigerator for up to 5 days. Cover each jar tightly with its lid or plastic wrap to prevent the cake from drying out and the frosting from absorbing refrigerator odors.
Freezing Instructions
These jars freeze beautifully for up to 3 months. Wrap each jar in plastic wrap before freezing to prevent freezer burn. Thaw overnight in the refrigerator before serving.
Serving Temperature
Remove jars from refrigeration 15-20 minutes before serving for optimal flavor and texture. The slight warming brings out the cake’s flavors while keeping the frosting perfectly creamy.
Component Storage
Store leftover cake (unfrosted) wrapped tightly at room temperature for 2 days or refrigerated for up to 1 week. Frosting can be stored separately in the refrigerator for up to 1 week or frozen for up to 3 months.
Nutritional Information
| Nutrient | Per Jar (Approximate) |
|---|---|
| Calories | 385 |
| Total Fat | 18g |
| Saturated Fat | 11g |
| Cholesterol | 85mg |
| Sodium | 290mg |
| Total Carbs | 55g |
| Dietary Fiber | 1g |
| Sugars | 48g |
| Protein | 5g |
| Vitamin A | 15% DV |
| Calcium | 8% DV |
| Iron | 6% DV |
Nutritional values are estimates and may vary based on specific ingredients used.
Creative Variations and Flavor Twists
Chocolate Lover’s Version
Add mini chocolate chips between layers or drizzle melted chocolate over the top frosting. You can also incorporate chocolate cake crumbs for a more decadent experience.
Seasonal Adaptations
During holidays, add themed decorations like crushed candy canes (Christmas), toasted coconut (Easter), or caramel drizzle (fall). These simple additions transform the basic recipe into festive treats.
Adult-Only Options
Brush cake layers with coffee liqueur or bourbon for sophisticated flavor depth. Add a tablespoon of your favorite liqueur to the frosting for extra complexity.
Healthier Alternatives
Substitute Greek yogurt for half the cream cheese in frosting, use sugar alternatives, or add pureed strawberries for natural sweetness and color enhancement.
Frequently Asked Questions
Can I make red velvet cake jars without food coloring?
Yes! While the signature red color won’t be present, the cake will still have the distinctive tangy flavor from buttermilk and slight cocoa taste. The dessert will be more of a “velvet cake jar” with a light brown color.
How far in advance can I prepare these jars?
Red velvet cake jars can be fully assembled up to 3 days before serving. In fact, allowing them to sit overnight helps the flavors meld beautifully. Store covered in the refrigerator.
What size jars work best for this recipe?
8-ounce mason jars are ideal as they provide perfect portion sizes and attractive presentation. 4-ounce jars work for smaller servings, while 12-ounce jars are great for sharing or larger appetites.
Can I use store-bought cake mix?
Absolutely! Use one box of red velvet cake mix prepared according to package directions. This shortcut still creates delicious results while saving time.
Why is my frosting too runny?
Runny frosting usually results from ingredients being too warm or adding liquid too quickly. Ensure cream cheese and butter are softened but not melted, and gradually add powdered sugar while beating continuously.
How do I prevent cake layers from getting soggy?
Ensure cake is completely cool before assembly, and don’t over-soak layers if adding any syrups. The cream cheese frosting actually helps maintain cake moisture without making it soggy.
Can I make these jars dairy-free?
Yes! Substitute dairy-free butter and cream cheese alternatives. Many brands now offer excellent dairy-free options that work perfectly in this recipe.
What’s the best way to transport these jars?
Secure lids tightly and transport in a cooler with ice packs. Place jars in a shallow box with towels between them to prevent shifting and potential breakage.
These red velvet cake jar represent the perfect marriage of classic flavors and modern convenience. They’re ideal for anyone looking to enjoy the beloved taste of red velvet cake in a fun, shareable format that’s as beautiful as it is delicious. Whether you’re planning a party, looking for a make-ahead dessert, or simply want to treat yourself to something special, these jars deliver on every level!