Red Velvet Cake Without Food Coloring – Delicious Recipe
Bake a delicious red velvet cake without food coloring! Get our easy recipe for a naturally colored, rich, and moist cake using natural ingredients.
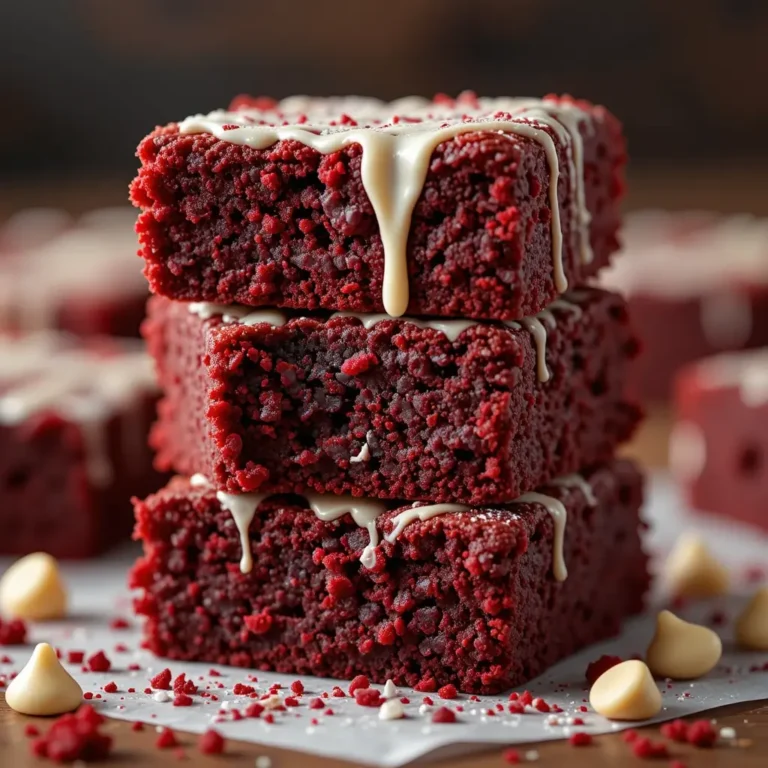
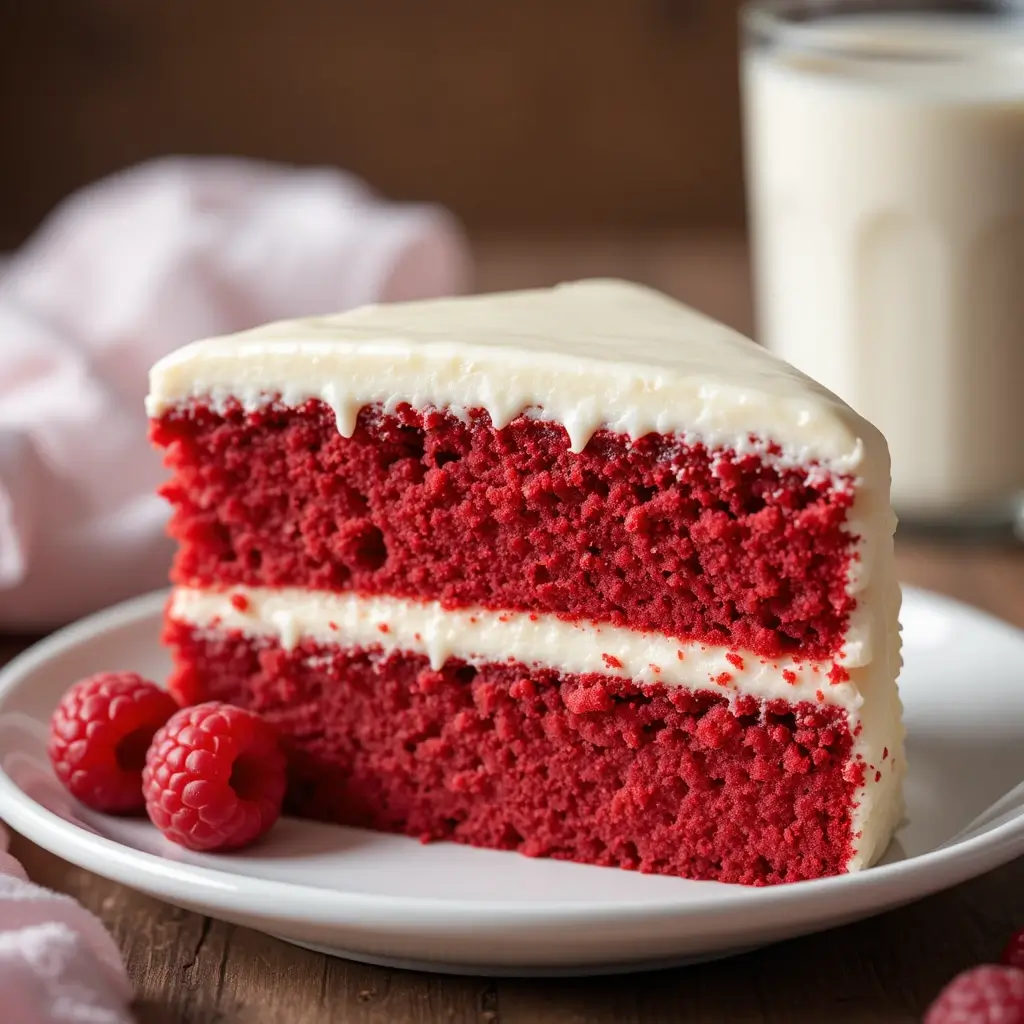
Craving that signature red velvet taste without artificial colors? This naturally gorgeous red velvet cake without food coloring delivers all the rich, tangy flavors you love using wholesome ingredients like cocoa powder and buttermilk.
Perfect for birthdays, holidays, or any special occasion when you want to impress your family with a homemade masterpiece that’s both beautiful and delicious!
Table of Contents
What is Red Velvet Cake Without Food Coloring?
Ever wondered why we call it “red” velvet when we’re skipping the red dye? This classic Southern cake gets its subtle reddish hue from the natural reaction between cocoa powder and acidic ingredients like buttermilk and vinegar.
It’s like magic in your mixing bowl! As they say, “the way to a man’s heart is through his stomach,” and this naturally-colored version will steal hearts without any artificial additives. Ready to create some kitchen magic?
Why You’ll Love This Red Velvet Cake Without Food Coloring
Rich, Velvety Texture That Melts in Your Mouth
This cake boasts an incredibly tender crumb thanks to the perfect balance of buttermilk, oil, and eggs. The slight tang from buttermilk creates that distinctive red velvet flavor that sets it apart from regular chocolate cake.
Budget-Friendly Home Baking
Making this cake at home costs a fraction of what you’d pay at a bakery. With simple pantry staples like flour, cocoa powder, and sugar, you can create a show-stopping dessert for under $10 that serves 12 people.
Natural Ingredients Your Family Will Love
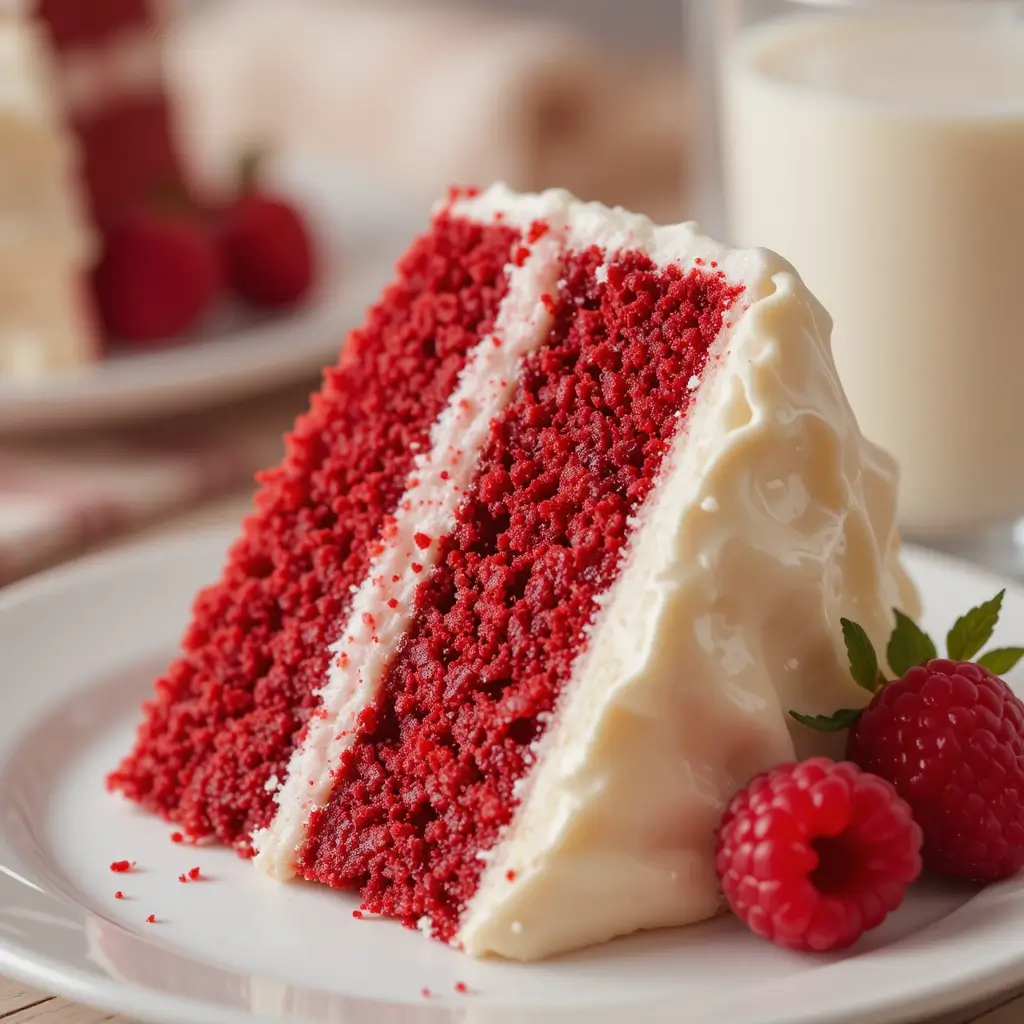
Skip the artificial food coloring and embrace the subtle natural color that comes from quality cocoa powder. Topped with classic cream cheese frosting, this cake offers pure, wholesome flavors that taste even better than store-bought versions.
Similar to our popular chocolate buttermilk cake, this recipe uses tangy buttermilk for extra moisture. But unlike that recipe, this one has the signature red velvet flavor profile that’s slightly less chocolatey and more sophisticated.
Ready to surprise your loved ones with this naturally beautiful cake? Let’s get baking!
How to Make Red Velvet Cake Without Food Coloring
Quick Overview
This red velvet cake without food coloring is surprisingly simple to make and delivers incredible results. The secret lies in using high-quality cocoa powder and allowing the natural chemical reaction between acidic ingredients to create a subtle reddish tint.
Prep Time: 20 minutes
Baking Time: 25-30 minutes
Total Time: 50 minutes
Serves: 12 people
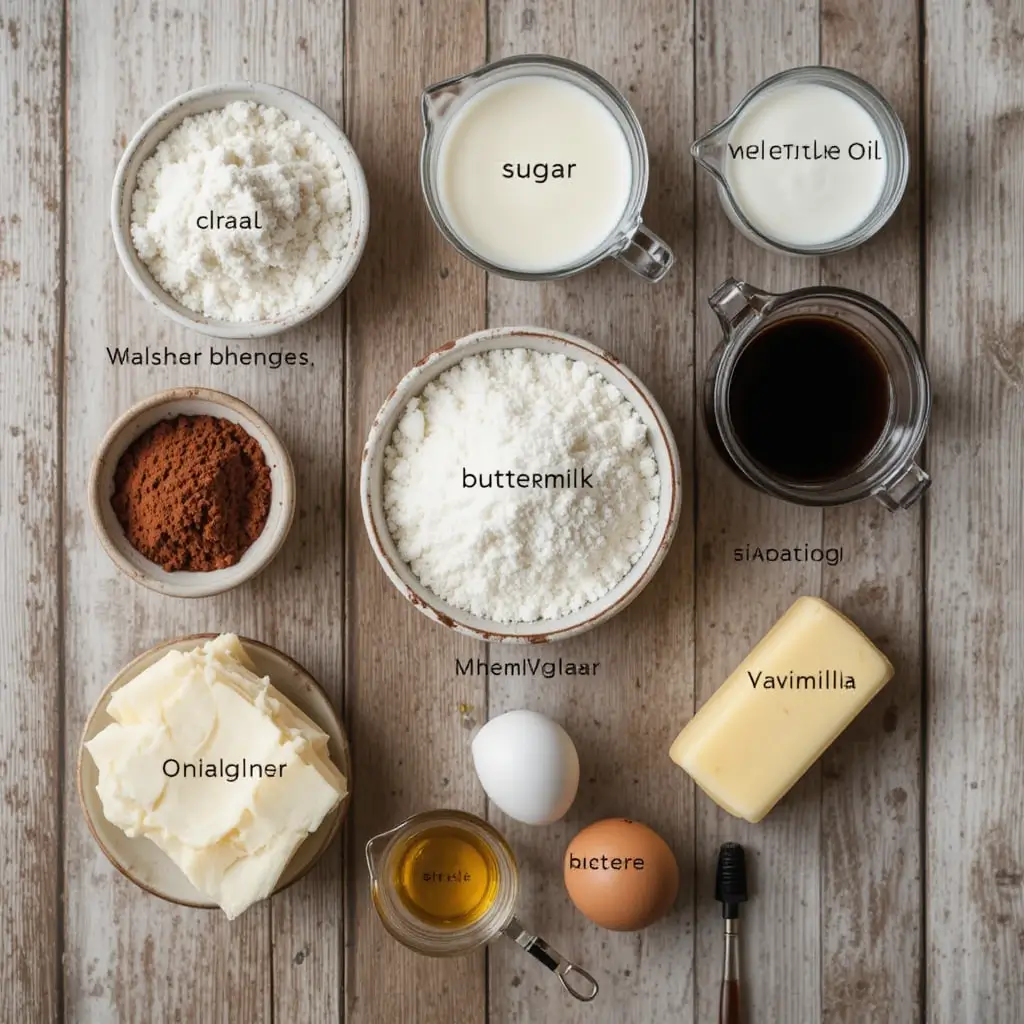
Key Ingredients for Red Velvet Cake Without Food Coloring
For the Cake:
- 2½ cups all-purpose flour
- 1½ cups granulated sugar
- 1 teaspoon baking soda
- 1 teaspoon salt
- 1 teaspoon cocoa powder (use high-quality Dutch-processed)
- 1½ cups vegetable oil
- 1 cup buttermilk, room temperature
- 2 large eggs, room temperature
- 2 tablespoons white vinegar
- 1 teaspoon vanilla extract
For the Cream Cheese Frosting:
- 8 oz cream cheese, softened
- ½ cup unsalted butter, softened
- 4 cups powdered sugar
- 1 teaspoon vanilla extract
- Pinch of salt
Step-by-Step Instructions
Step 1: Prepare Your Baking Setup Preheat your oven to 350°F (175°C). Grease two 9-inch round cake pans with butter and dust with flour, tapping out excess. Line the bottoms with parchment paper for easy removal.
Step 2: Mix Dry Ingredients In a large bowl, whisk together flour, sugar, baking soda, salt, and cocoa powder until well combined. Make sure there are no lumps, especially in the cocoa powder.
Step 3: Combine Wet Ingredients In a separate bowl, whisk together oil, buttermilk, eggs, vinegar, and vanilla extract until smooth. The mixture should be well blended and slightly frothy.
Step 4: Create the Batter Pour the wet ingredients into the dry ingredients. Using a whisk or electric mixer on low speed, mix until just combined. Don’t overmix – a few small lumps are okay.
Step 5: Bake the Cakes Divide the batter evenly between prepared pans. Bake for 25-30 minutes, or until a toothpick inserted in the center comes out with just a few moist crumbs.
Step 6: Cool Completely Let cakes cool in pans for 10 minutes, then turn out onto wire racks. Cool completely before frosting – this is crucial for the frosting to stay put!
Step 7: Make the Frosting Beat cream cheese and butter until light and fluffy (about 3 minutes). Gradually add powdered sugar, vanilla, and salt. Beat until smooth and spreadable.
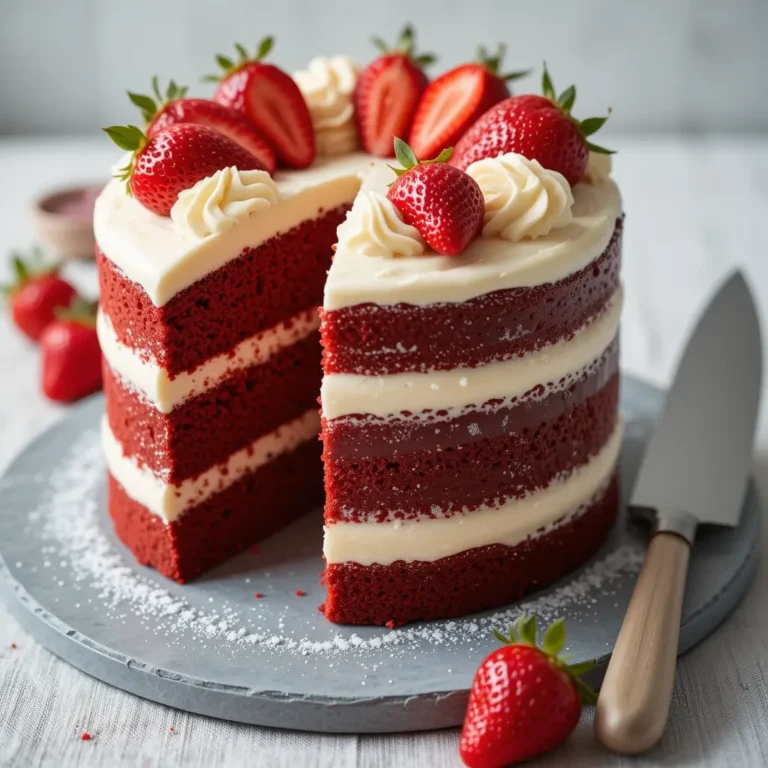
Step 8: Assemble Your Cake Place one layer on a serving plate. Spread frosting on top, add the second layer, then frost the top and sides. Chill for 30 minutes before serving for clean slices.
What to Serve Red Velvet Cake Without Food Coloring With
This naturally elegant cake pairs beautifully with several complementary options:
Hot Beverages: Fresh coffee, black tea, or hot chocolate enhance the cake’s subtle cocoa notes. The warmth contrasts nicely with the cool cream cheese frosting.
Cold Accompaniments: Vanilla ice cream or fresh whipped cream add richness, while fresh berries like strawberries or raspberries provide a tart contrast to the sweet frosting.
Wine Pairings: For adult gatherings, try serving with a glass of port, dessert wine, or even a rich red wine like Merlot that complements the cake’s deep flavors.
Top Tips for Perfecting Red Velvet Cake Without Food Coloring
Choose Quality Cocoa Powder
Use Dutch-processed cocoa powder for the best flavor and natural color development. Regular cocoa powder works too, but Dutch-processed gives a richer taste and better color reaction.
Room Temperature Ingredients Are Key
Ensure eggs, buttermilk, and frosting ingredients are at room temperature. This helps create a smooth batter and prevents the frosting from becoming lumpy.
Don’t Overmix the Batter
Mix just until ingredients are combined. Overmixing develops gluten, making your cake tough instead of tender and velvety.
Test for Doneness Properly
The cake is done when a toothpick inserted in the center comes out with a few moist crumbs – not completely clean. This ensures a moist, tender cake.
Buttermilk Substitution Hack
No buttermilk? Add 1 tablespoon of white vinegar or lemon juice to 1 cup of regular milk. Let sit for 5 minutes before using.
Storing and Reheating Tips
Room Temperature Storage: Cover the frosted cake with a cake dome or loose plastic wrap. It stays fresh for 2-3 days at room temperature.
Refrigerator Storage: For longer storage, refrigerate the covered cake for up to 1 week. Bring to room temperature 30 minutes before serving for the best texture.
Freezing Instructions: Wrap unfrosted cake layers tightly in plastic wrap and freeze for up to 3 months. Thaw overnight in the refrigerator before frosting. You can also freeze frosted cake slices individually for quick treats.
Reheating Tips: If you prefer warm cake, microwave individual slices for 10-15 seconds. The cream cheese frosting will soften slightly, creating a delightful contrast with the warm cake.
Nutrition Information
| Nutrient | Per Slice (1/12 of cake) |
|---|---|
| Calories | 485 |
| Total Fat | 22g |
| Saturated Fat | 8g |
| Cholesterol | 65mg |
| Sodium | 320mg |
| Total Carbs | 72g |
| Fiber | 1g |
| Sugar | 65g |
| Protein | 5g |
Nutritional values are approximate and may vary based on specific ingredients used.
Frequently Asked Questions
Why doesn’t my cake look red without food coloring?
The natural “red” in red velvet comes from a chemical reaction between cocoa powder and acidic ingredients. The color is subtle – more of a reddish-brown than bright red. Using Dutch-processed cocoa powder helps enhance this natural color.
Can I make this cake ahead of time?
Absolutely! You can bake the cake layers up to 2 days ahead and store them covered at room temperature. Frost the day you plan to serve for the freshest taste.
What’s the difference between red velvet and chocolate cake?
Red velvet uses much less cocoa powder than chocolate cake, giving it a milder chocolate flavor. The buttermilk and vinegar create the signature tangy taste that sets red velvet apart.
Can I use a different frosting?
While cream cheese frosting is traditional, you can use buttercream, whipped cream, or even a simple dusting of powdered sugar. However, the tangy cream cheese perfectly complements the cake’s flavor.
How do I know when the cake is done baking?
The cake should spring back lightly when touched in the center, and a toothpick inserted in the middle should come out with just a few moist crumbs attached.
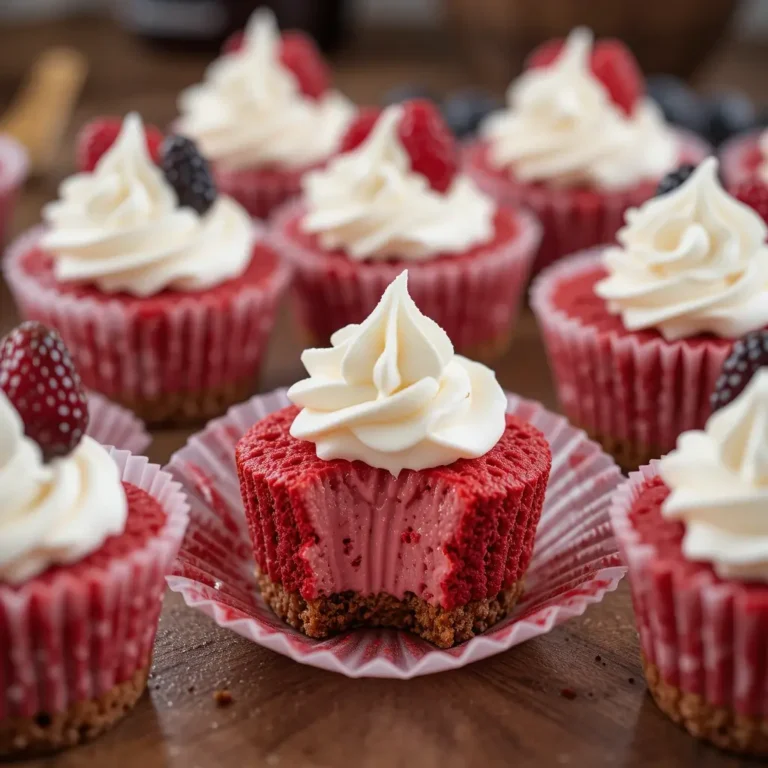
Can I make this as cupcakes instead?
Yes! Divide the batter among 24 cupcake liners and bake at 350°F for 18-22 minutes. They’re perfect for parties and portion control.
Why did my cake turn out dense?
Dense cake usually results from overmixing the batter or using ingredients that are too cold. Mix just until combined and ensure all ingredients are at room temperature.
Can I substitute the oil with butter?
You can substitute melted butter for oil, but the cake will have a slightly different texture – still delicious, but not quite as moist as the oil version.
Pro Baker’s Secret Tips
The Vinegar Magic: The white vinegar isn’t just for tang – it reacts with the baking soda to create extra lift and helps develop that subtle reddish color when combined with cocoa.
Sifting Matters: For the fluffiest cake, sift your flour before measuring. This removes lumps and aerates the flour for a lighter texture.
Perfect Frosting Consistency: If your cream cheese frosting is too soft, chill it for 15 minutes. If it’s too stiff, add a tablespoon of heavy cream or milk.
Even Layers: Use a kitchen scale to divide batter evenly between pans. Each pan should have about 22-24 ounces of batter.
Moisture Lock: Brush each cake layer with simple syrup (equal parts sugar and water, heated until dissolved) before frosting for extra moisture.
This red velvet cake without food coloring proves that natural ingredients can create just as stunning and delicious results as their artificial counterparts. With its tender crumb, subtle cocoa flavor, and classic cream cheese frosting, it’s destined to become your go-to recipe for special occasions.
The beauty of this recipe lies in its simplicity and the satisfaction of knowing exactly what goes into your cake. Every bite delivers that nostalgic red velvet taste your family loves, without any artificial additives.
Ready to create your own natural red velvet masterpiece? Gather your ingredients, preheat that oven, and prepare to fall in love with homemade baking all over again!