Creamy Red Velvet Oreo Cheesecake – Step by Step Guide
Easy cheesecake recipe is packed with delicious flavor. Find out how to make this delicious red velvet oreo cheesecake now.
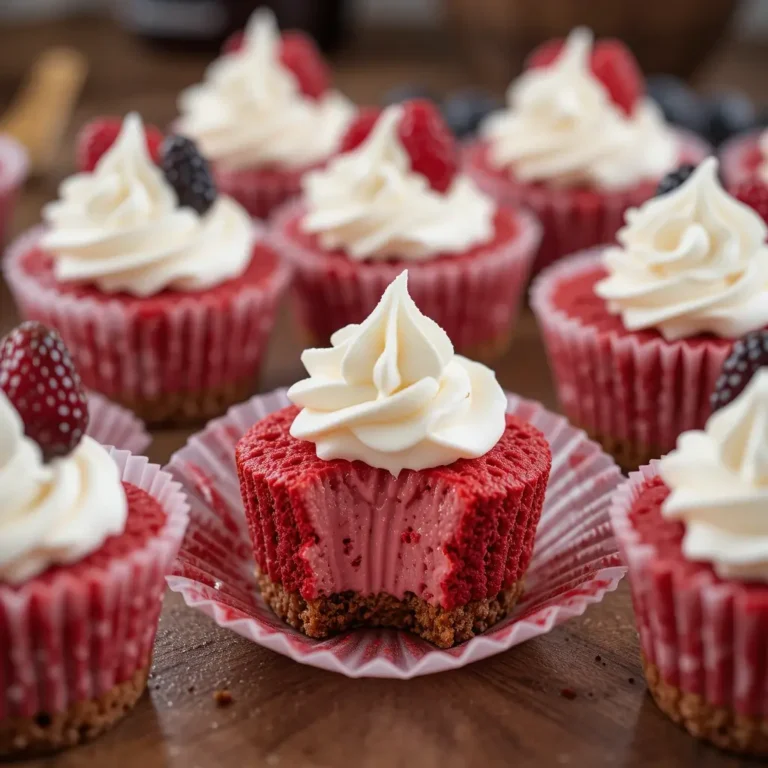
Get ready to fall head over heels for this show-stopping red velvet oreo cheesecake that combines the velvety richness of classic red velvet with the irresistible crunch of Oreo cookies! This dessert masterpiece features three heavenly layers that will have your taste buds dancing with joy.
Here’s a fun fact: red velvet cake was originally created in the 1800s as a way to make chocolate cake more tender and luxurious. Now imagine that same indulgent flavor transformed into a creamy, dreamy cheesecake topped with crushed Oreos!
This dessert is special because it brings together two beloved flavors in one stunning creation that’s surprisingly simple to make. Unlike my popular chocolate peanut butter cheesecake, this recipe requires no special techniques and comes together in just 30 minutes of prep time. Your family will think you’re a dessert wizard, and your guests will be begging for the recipe!
What is Red Velvet Oreo Cheesecake?
Ever wondered what happens when you take America’s most beloved sandwich cookie and marry it with the South’s most treasured cake flavor? You get pure magic! This red velvet oreo cheesecake is basically a love story on a plate – the tangy cream cheese meets the subtle chocolate notes of red velvet, while Oreo cookies add that perfect textural contrast we all crave.
Remember the old saying, “the way to a man’s heart is through his stomach”? Well, this dessert is your golden ticket! Why not give this heavenly creation a try and see for yourself?
Why You’ll Love This Red Velvet Oreo Cheesecake
Rich and Creamy Texture That Melts in Your Mouth
This cheesecake delivers an incredibly smooth and velvety texture that’s perfectly balanced with the signature tangy flavor of cream cheese. The red velvet element adds a subtle cocoa undertone that’s not too sweet, making each bite absolutely divine.
Budget-Friendly Homemade Luxury
Skip the expensive bakery prices! Making this red velvet oreo cheesecake at home costs a fraction of what you’d pay at a fancy dessert shop. You’ll save money while impressing everyone with your baking skills.
Irresistible Oreo Cookie Crunch
The crushed Oreo cookies provide the perfect textural contrast to the smooth cheesecake. They’re incorporated into the crust and sprinkled on top, giving you that satisfying crunch in every single bite.
Unlike my classic New York cheesecake recipe, this version has that gorgeous red color and unique flavor profile that makes it perfect for special occasions. Ready to create this masterpiece in your own kitchen?
How to Make Red Velvet Oreo Cheesecake
Quick Overview
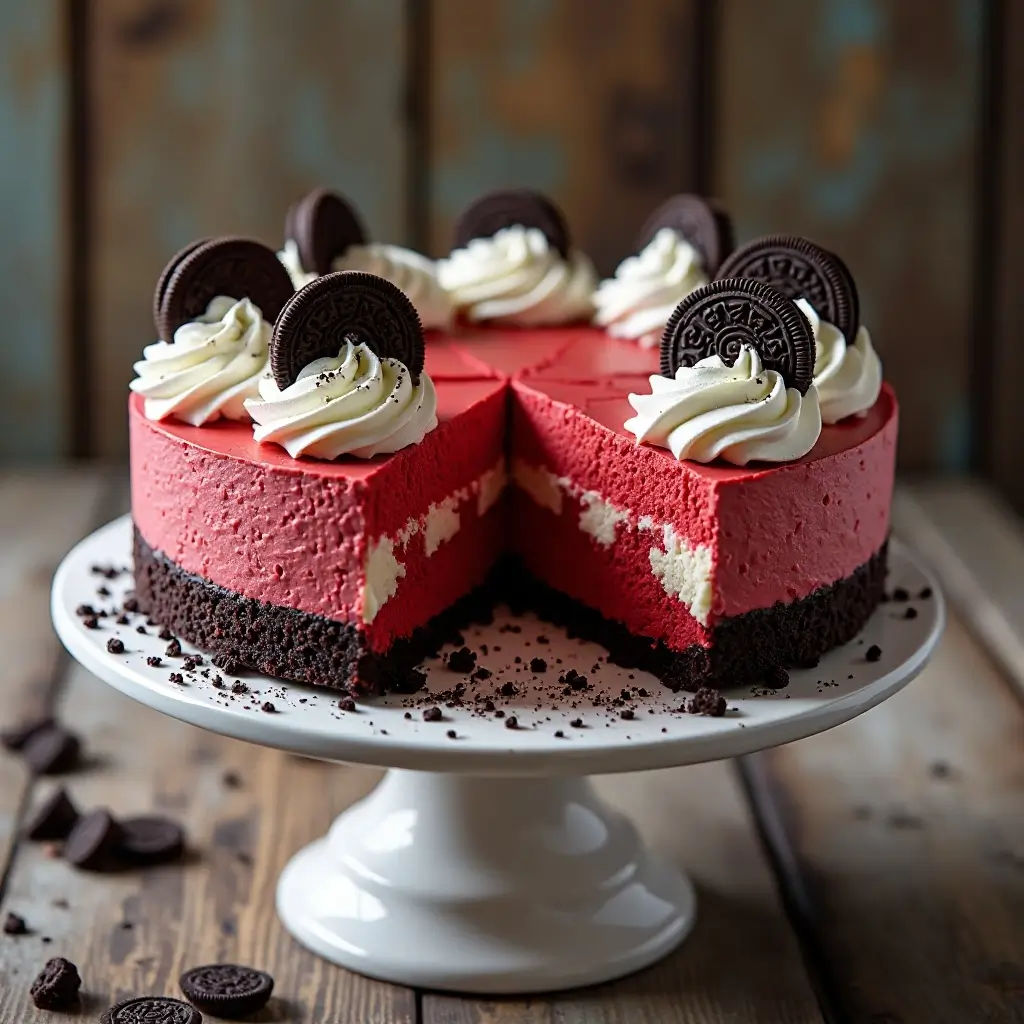
This red velvet oreo cheesecake is surprisingly easy to make and incredibly satisfying to eat. The recipe features a crunchy Oreo crust, a smooth and tangy red velvet cheesecake filling, and a gorgeous presentation that’s perfect for any celebration.
Preparation Time: 30 minutes
Baking Time: 55 minutes
Cooling Time: 4 hours
Total Time: 5 hours 25 minutes
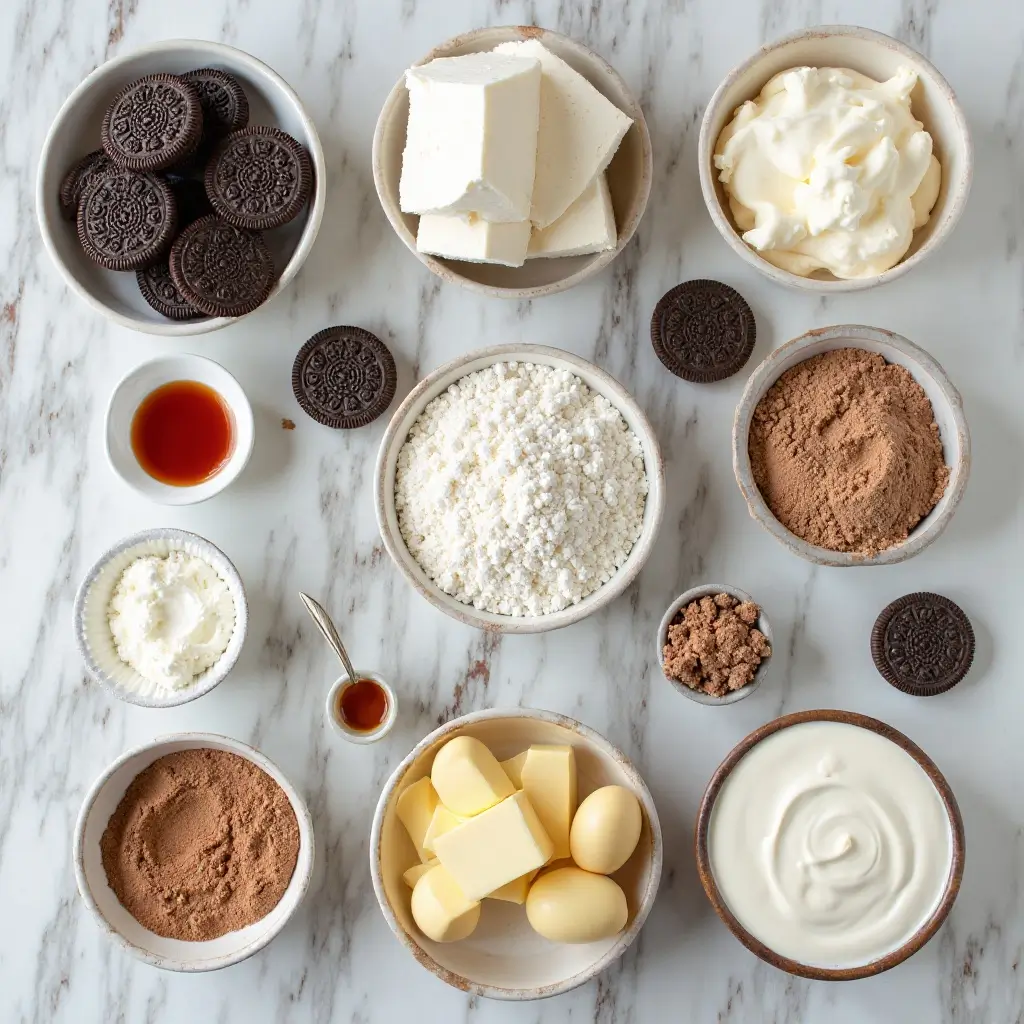
Key Ingredients for Red Velvet Oreo Cheesecake
For the Oreo Crust:
- 24 Oreo cookies, crushed into fine crumbs
- 4 tablespoons unsalted butter, melted
- 2 tablespoons granulated sugar
For the Red Velvet Cheesecake Filling:
- 24 oz (3 packages) cream cheese, softened to room temperature
- 1 cup granulated sugar
- 3 large eggs, room temperature
- 1/2 cup sour cream
- 1/4 cup heavy cream
- 2 tablespoons all-purpose flour
- 1 tablespoon red food coloring
- 2 teaspoons vanilla extract
- 1 tablespoon cocoa powder
- 1/2 teaspoon salt
For the Topping:
- 8 Oreo cookies, roughly chopped
- 1 cup heavy cream
- 2 tablespoons powdered sugar
Step-by-Step Instructions
Preparing the Oven and Pan: Preheat your oven to 325°F (163°C). Wrap the outside of a 9-inch springform pan with aluminum foil to prevent water from seeping in during the water bath. Grease the inside of the pan with butter or cooking spray.
Making the Oreo Crust: In a food processor, pulse the Oreo cookies until they form fine crumbs. You should have about 2 cups of crumbs. Mix the cookie crumbs with melted butter and sugar until the mixture resembles wet sand. Press this mixture firmly into the bottom of your prepared springform pan, creating an even layer. Use the bottom of a measuring cup to pack it down tightly.
Preparing the Cheesecake Filling: In a large mixing bowl, beat the softened cream cheese with an electric mixer on medium speed for 2-3 minutes until completely smooth and fluffy. Scrape down the sides of the bowl frequently to ensure even mixing.
Gradually add the granulated sugar and continue beating until well combined. Add the eggs one at a time, mixing on low speed after each addition until just incorporated. Don’t overmix at this stage.
Adding the Remaining Ingredients: Mix in the sour cream, heavy cream, flour, red food coloring, vanilla extract, cocoa powder, and salt. Beat on low speed until the mixture is smooth and evenly colored. The batter should have a beautiful deep red color.
Assembling and Baking: Pour the cheesecake filling over the Oreo crust, spreading it evenly with a spatula. Gently tap the pan on the counter to release any air bubbles.
Place the springform pan in a larger roasting pan and add hot water to the roasting pan until it reaches halfway up the sides of the springform pan. This water bath will ensure even baking and prevent cracking.
Bake for 50-55 minutes, or until the center is almost set but still slightly jiggly when gently shaken. The edges should be set and lightly golden.
Cooling Process: Remove the cheesecake from the water bath and run a knife around the edges to loosen it from the pan. This prevents cracking as it cools. Let it cool at room temperature for 1 hour, then refrigerate for at least 4 hours or overnight.
Adding the Final Touch: Before serving, whip the heavy cream with powdered sugar until soft peaks form. Spread or pipe the whipped cream on top of the cheesecake and sprinkle with chopped Oreo cookies for the perfect finishing touch.
What to Serve Red Velvet Oreo Cheesecake With
This decadent dessert pairs beautifully with a hot cup of coffee or espresso to cut through the richness. For wine lovers, try it with a glass of port or a sweet dessert wine.
Fresh berries like strawberries or raspberries add a lovely tartness that complements the sweet cheesecake. A drizzle of chocolate sauce or caramel can take it to the next level for extra indulgence.
For a complete dessert spread, serve alongside vanilla ice cream or consider pairing it with my chocolate chip cookies for a cookies-and-cream theme.
Top Tips for Perfecting Red Velvet Oreo Cheesecake
Use Room Temperature Ingredients
This is crucial for achieving a smooth, lump-free filling. Take your cream cheese, eggs, and sour cream out of the refrigerator 2-3 hours before baking. Cold ingredients don’t mix well and can result in a lumpy texture.
Don’t Overmix the Batter
Once you add the eggs, mix on low speed and only until just combined. Overmixing incorporates too much air, which can cause cracks during baking.
Master the Water Bath Technique
The water bath (bain-marie) is essential for even baking and preventing cracks. Make sure the water is hot when you add it to the roasting pan, and don’t skip the aluminum foil wrap around your springform pan.
Check for Doneness Properly
The cheesecake is done when the edges are set but the center still has a slight jiggle. It will continue to set as it cools, so don’t overbake.
Substitute Options
If you can’t find red food coloring, you can use beet juice for a natural alternative, though the color won’t be as vibrant. For a lighter version, substitute Greek yogurt for half of the sour cream.
Storing and Reheating Tips
Refrigerator Storage: Store your red velvet oreo cheesecake covered in the refrigerator for up to 5 days. Use plastic wrap or a cake dome to prevent it from absorbing other flavors and to maintain freshness.
Freezing Instructions: This cheesecake freezes beautifully for up to 3 months. Wrap individual slices tightly in plastic wrap and place in a freezer-safe container. For best results, freeze without the whipped cream topping and add it fresh when serving.
Serving from Frozen: Thaw frozen slices in the refrigerator for 4-6 hours or at room temperature for 1-2 hours. The texture will be just as creamy as when freshly made.
Pro Storage Tip: Place parchment paper between layers if stacking slices, and always use a clean knife when cutting to maintain the beautiful presentation.
Frequently Asked Questions
Can I make this cheesecake without a springform pan?
Yes, you can use a regular 9-inch cake pan lined with parchment paper, though removing the cheesecake will require more care. A springform pan is highly recommended for best results and easy removal.
Why did my cheesecake crack on top?
Cracking usually occurs due to overbaking, temperature shock, or overmixing. Use the water bath method, avoid opening the oven door during baking, and let the cheesecake cool gradually.
Can I use a different type of cookie for the crust?
Absolutely! Chocolate wafer cookies, graham crackers, or even vanilla wafers work well. Adjust the amount of added sugar based on the sweetness of your chosen cookie.
How do I know when my cheesecake is done baking?
The cheesecake is ready when the edges are set and the center has just a slight jiggle when gently shaken. It should not be completely firm, as it will continue to set while cooling.
Can I make this recipe ahead of time?
Yes! This cheesecake actually tastes better after chilling overnight. You can make it up to 3 days in advance. Add the whipped cream topping and Oreo garnish just before serving.
What’s the best way to cut clean slices?
Use a sharp knife dipped in warm water and wiped clean between each cut. This prevents the filling from sticking to the blade and ensures beautiful, clean slices.
Nutrition Information
| Nutrient | Per Slice (12 servings) |
|---|---|
| Calories | 485 |
| Total Fat | 32g |
| Saturated Fat | 19g |
| Cholesterol | 125mg |
| Sodium | 285mg |
| Total Carbs | 45g |
| Dietary Fiber | 2g |
| Sugars | 38g |
| Protein | 8g |
| Calcium | 12% DV |
| Iron | 8% DV |
Nutritional values are approximate and based on 12 servings
Additional Helpful Tips for Success
Temperature is Everything: Invest in an oven thermometer to ensure your oven temperature is accurate. Even a 25-degree difference can affect the texture and baking time of your cheesecake.
The Toothpick Test Doesn’t Apply: Unlike regular cakes, don’t use the toothpick test for cheesecakes. A clean toothpick actually indicates overbaking. Look for that slight jiggle in the center instead.
Flavor Variations: Try adding a tablespoon of espresso powder to enhance the chocolate notes, or fold in some mini chocolate chips for extra texture. You can also experiment with different Oreo flavors like Golden Oreos or Mint Oreos.
Make it Extra Special: For holidays, consider adding themed decorations. Red velvet cheesecake is perfect for Valentine’s Day with heart-shaped Oreo pieces, or Christmas with crushed candy canes mixed into the topping.
Professional Presentation: For that bakery-perfect look, use an offset spatula to smooth the top before baking, and consider making a decorative border with the whipped cream using a piping bag and star tip.
This red velvet oreo cheesecake is more than just a dessert – it’s an experience that brings people together. Whether you’re celebrating a special occasion or simply treating yourself to something extraordinary, this recipe delivers every single time. The combination of tangy cheesecake, subtle red velvet flavor, and that irresistible Oreo crunch creates a dessert that’s truly unforgettable.
Happy baking, and don’t forget to share your beautiful creations with friends and family!