Spooky Halloween Cake Jars in 45 Minute
Make adorable Halloween cake jars! Get our easy recipe for spooky, portable desserts perfect for parties or trick-or-treaters.
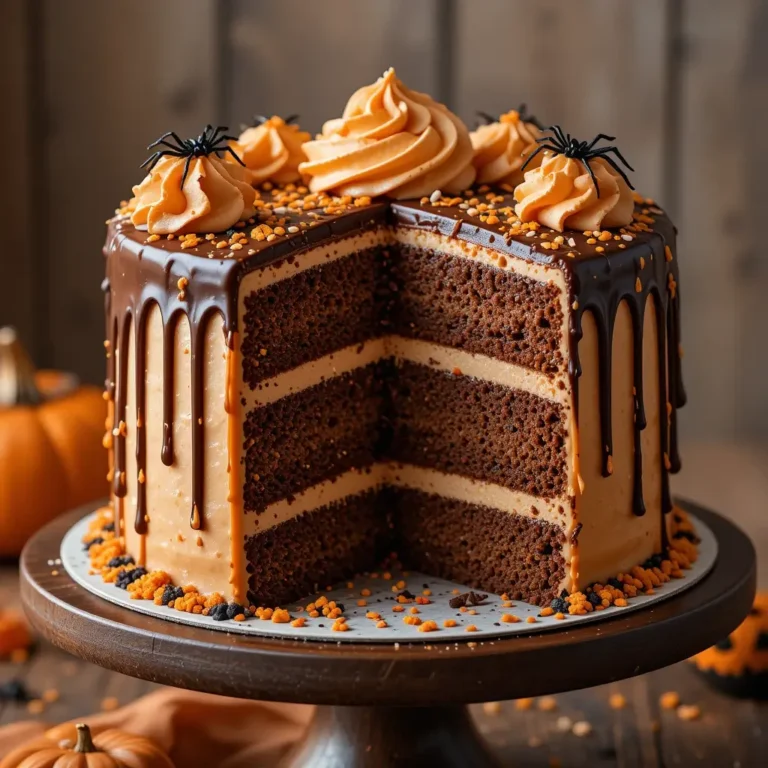
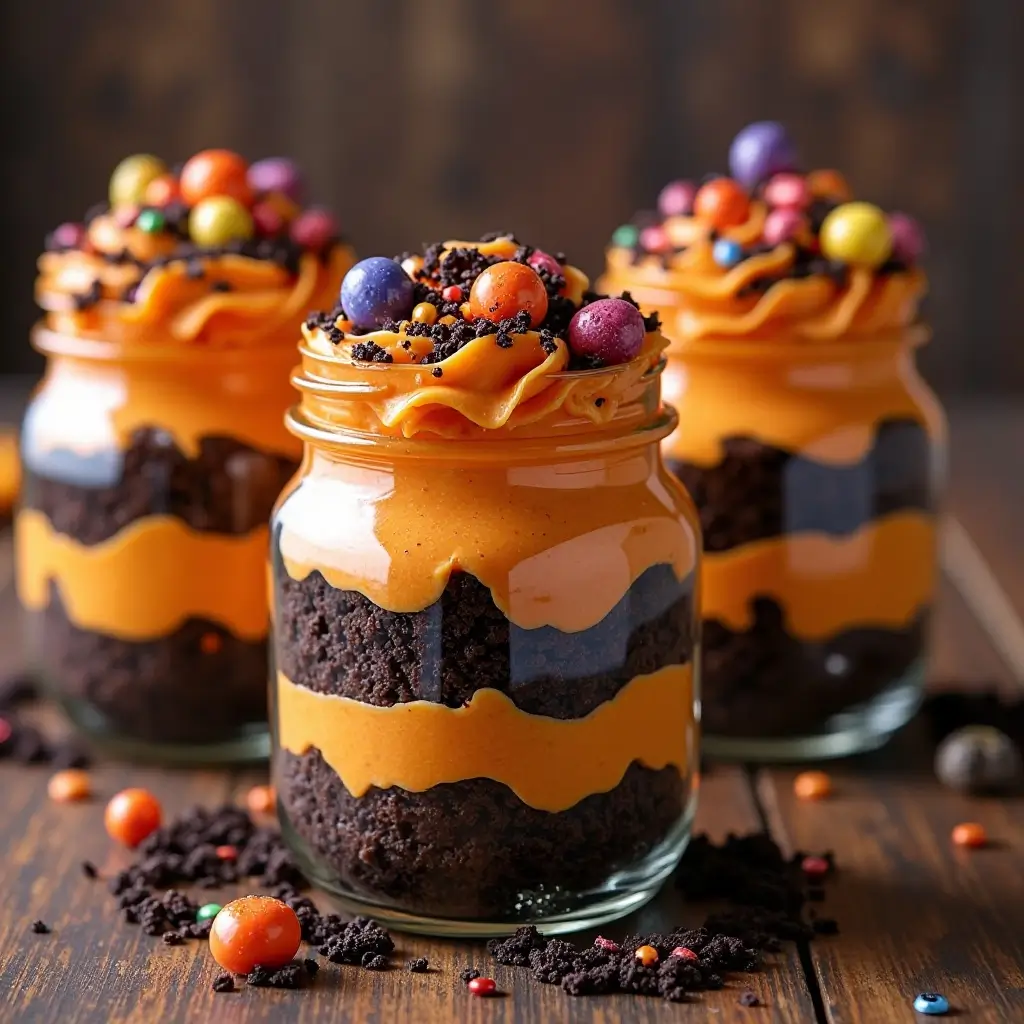
Get ready to enchant your guests with these adorable Halloween cake jars that combine rich, moist chocolate cake with creamy orange frosting and spooky decorations! These individual desserts are incredibly easy to make, taking just 45 minutes from start to finish.
Perfect for Halloween parties, school events, or family gatherings, these portable treats eliminate the mess of traditional cake serving while creating Instagram-worthy presentations.
Just like our popular Birthday Cake Pops, these cake jars offer portion control and endless customization possibilities. Your little ghouls and goblins will absolutely love digging into these delightful surprises!
What are Halloween Cake Jars?
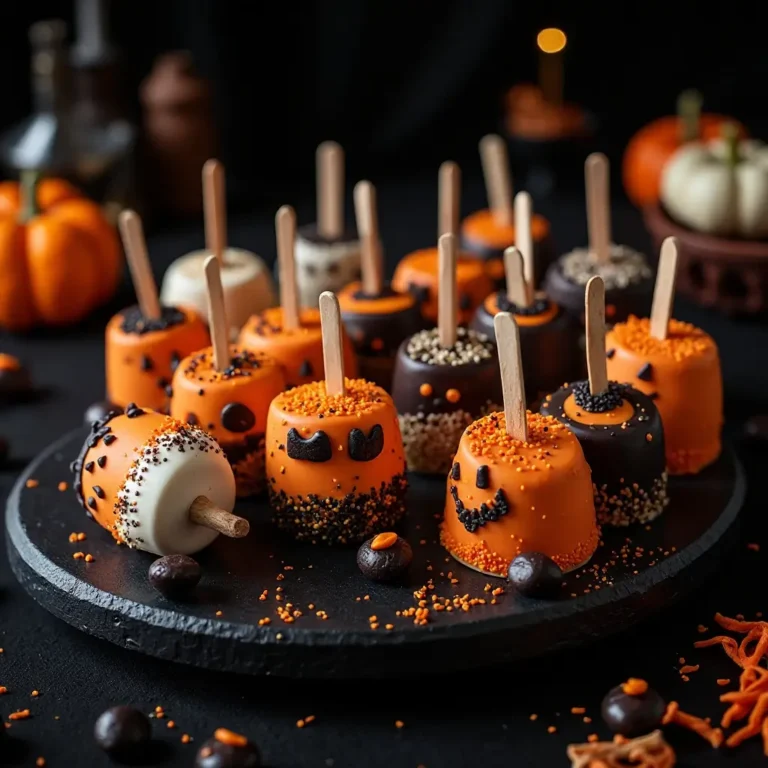
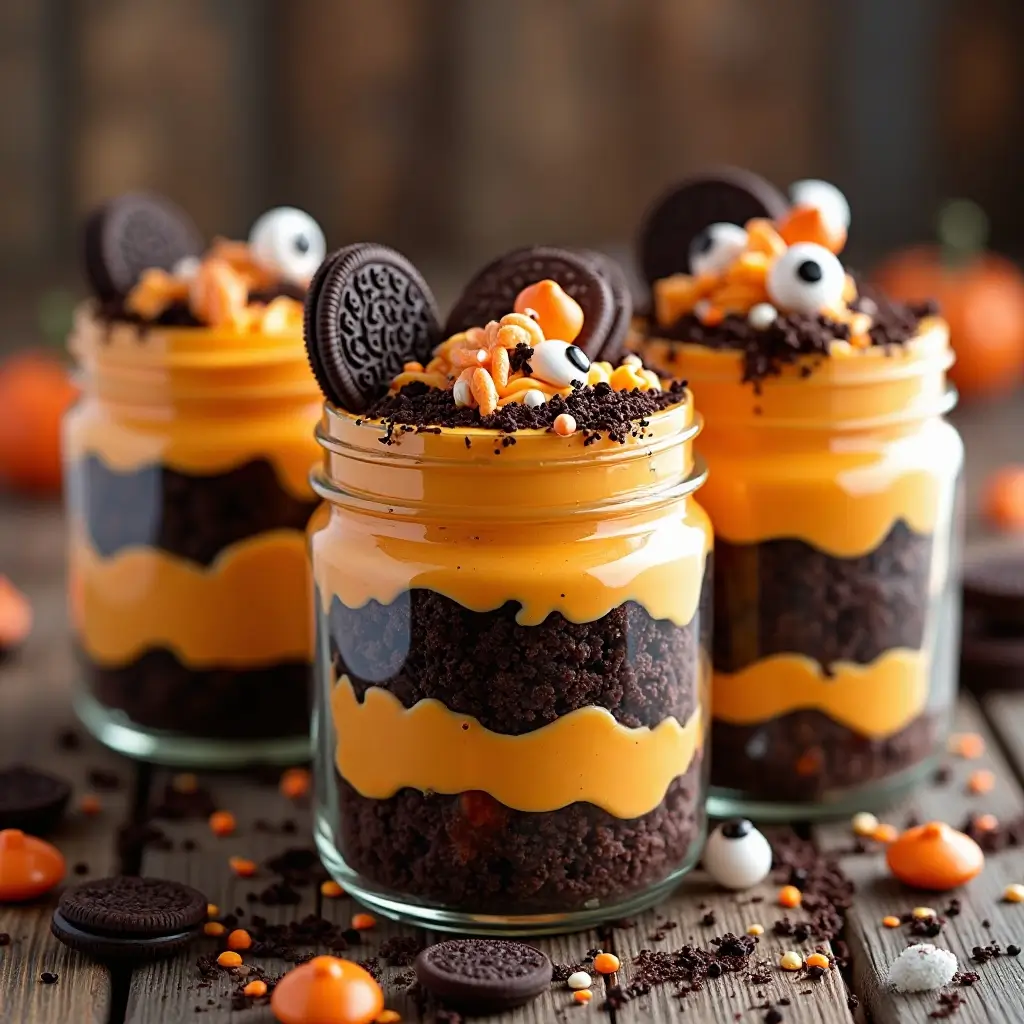
Ever wondered why we call them cake jars instead of just mini cakes? These delightful desserts get their name from being layered and served in mason jars, creating perfect individual portions that look like magical potions!
The clear glass showcases beautiful layers of cake, frosting, and spooky toppings, making each jar a miniature work of art. As they say, “the way to a man’s heart is through his stomach,” and these charming treats certainly capture hearts through both taste and presentation. Ready to create some Halloween magic in your kitchen?
Why You’ll Love This Halloween Cake Jars Recipe
Rich Chocolate Base with Festive Flair
These Halloween cake jars feature a decadent chocolate cake base that’s incredibly moist and rich, perfectly complemented by vibrant orange cream cheese frosting. The combination creates a delightful contrast that’s both visually stunning and absolutely delicious.
Budget-Friendly Halloween Entertaining
Making these cake jars at home costs significantly less than buying individual desserts from a bakery. With basic pantry ingredients and mason jars you can reuse, you’ll save money while impressing your guests with professional-looking treats.
Endless Customization Options
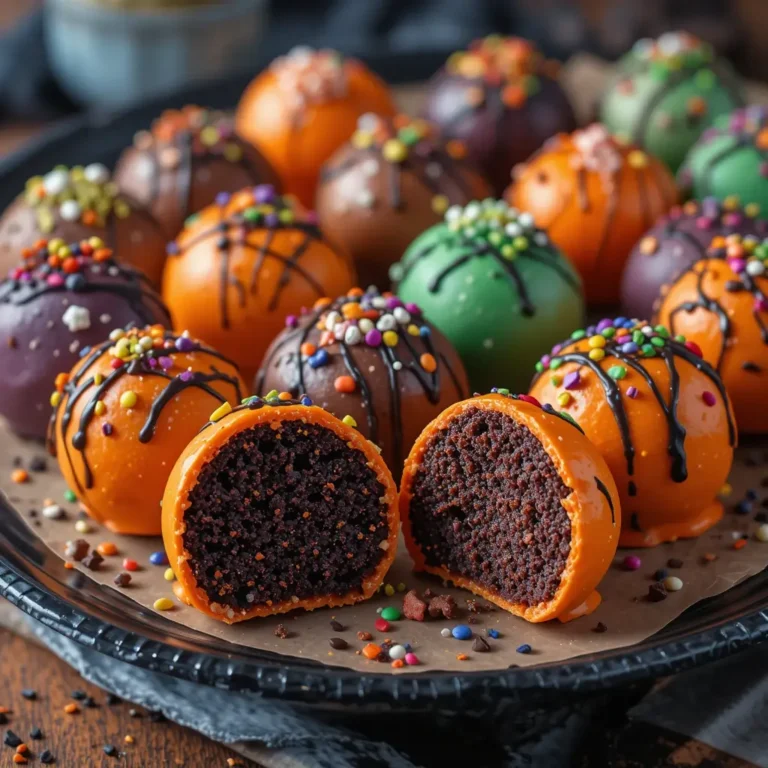
From crushed Oreos that look like “dirt” to gummy worms and candy eyes, these cake jars offer unlimited decorating possibilities. You can create different themes for each jar or keep them uniform – the choice is yours!
Similar to our Monster Cupcakes recipe, these treats let your creativity run wild while delivering incredible flavor. Why not start your spooky baking adventure today?
How to Make Halloween Cake Jars
Quick Overview
These Halloween cake jars are surprisingly simple to create, featuring layers of moist chocolate cake, creamy orange frosting, and fun spooky toppings. The rich, chocolatey base pairs perfectly with the tangy cream cheese frosting, while the decorative elements add that perfect Halloween touch.
Preparation Details:
- Prep Time: 25 minutes
- Baking Time: 20 minutes
- Assembly Time: 15 minutes
- Total Time: 1 hour
- Serves: 8-10 jars
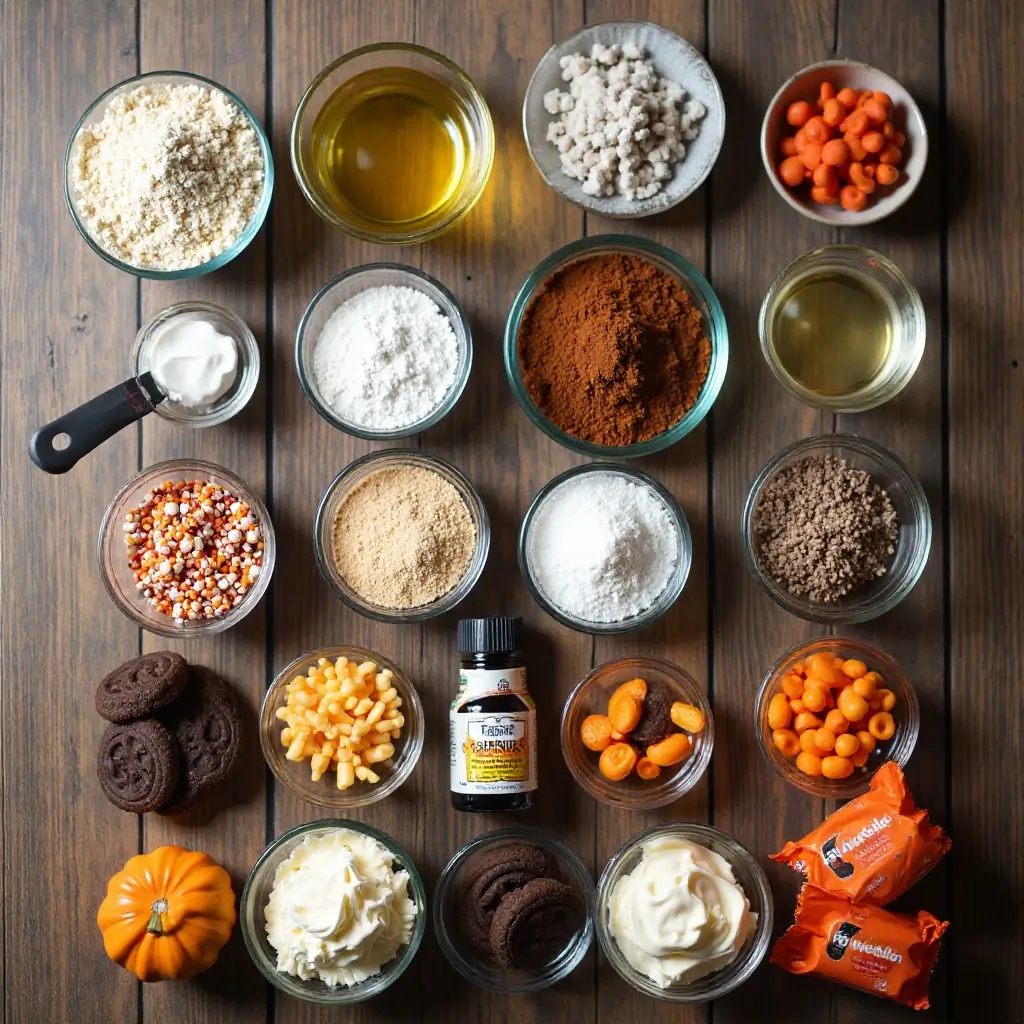
Key Ingredients for Halloween Cake Jars
For the Chocolate Cake:
- 1½ cups all-purpose flour
- 1 cup granulated sugar
- ¼ cup unsweetened cocoa powder
- 1 teaspoon baking soda
- ½ teaspoon salt
- 1 cup warm water
- ⅓ cup vegetable oil
- 1 tablespoon white vinegar
- 1 teaspoon vanilla extract
For the Orange Cream Cheese Frosting:
- 8 oz cream cheese, softened
- ½ cup unsalted butter, softened
- 3 cups powdered sugar
- Orange food coloring
- 1 teaspoon vanilla extract
For Assembly and Decoration:
- 8-10 mason jars (8 oz size)
- Crushed chocolate cookies (Oreos work great)
- Halloween-themed candies (gummy worms, candy eyes, etc.)
- Halloween sprinkles
- Mini plastic spoons for serving
Step-by-Step Instructions
Making the Chocolate Cake Base
Step 1: Prepare Your Kitchen Preheat your oven to 350°F (175°C). Grease and flour an 8×8 inch baking pan or line it with parchment paper for easy removal.
Step 2: Mix Dry Ingredients In a large mixing bowl, whisk together the flour, sugar, cocoa powder, baking soda, and salt until well combined. Make sure there are no lumps in the cocoa powder.
Step 3: Combine Wet Ingredients In a separate bowl, mix the warm water, vegetable oil, vinegar, and vanilla extract. The vinegar will react with the baking soda to create a tender, fluffy cake.
Step 4: Create the Batter Pour the wet ingredients into the dry ingredients and stir until just combined. Don’t overmix – a few small lumps are perfectly fine.
Step 5: Bake the Cake Pour the batter into your prepared pan and bake for 18-20 minutes, or until a toothpick inserted in the center comes out clean. Allow the cake to cool completely before proceeding.
Preparing the Orange Frosting
Step 6: Make the Frosting Base In a large bowl, beat the softened cream cheese and butter together until light and fluffy, about 3-4 minutes using an electric mixer.
Step 7: Add Sweetness and Color Gradually add the powdered sugar, one cup at a time, beating well after each addition. Add vanilla extract and orange food coloring until you achieve your desired shade of orange.
Assembling Your Halloween Cake Jars
Step 8: Prepare the Cake Once completely cooled, crumble the chocolate cake into small, bite-sized pieces. You want varied textures from fine crumbs to small chunks.
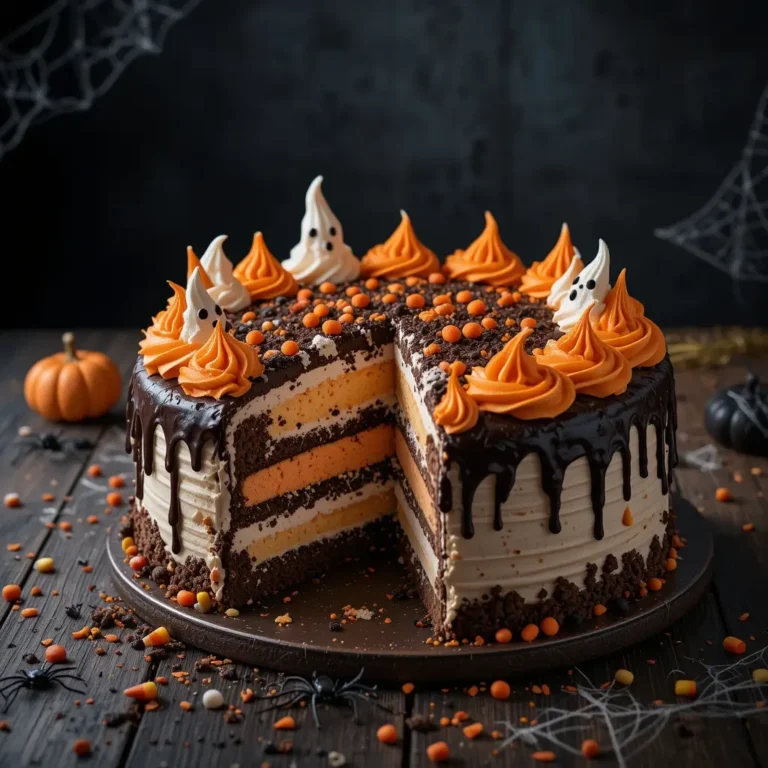
Step 9: Layer the Jars Start with a layer of cake crumbs at the bottom of each mason jar, about 1 inch high. Add a layer of orange frosting, then repeat the layers until you’re about ¾ inch from the top of the jar.
Step 10: Add Spooky Decorations Top each jar with crushed chocolate cookies to create “dirt,” then add your Halloween decorations like gummy worms, candy eyes, or themed sprinkles. Get creative and make each jar unique!
What to Serve Halloween Cake Jars With
These delightful cake jars pair wonderfully with warm apple cider or hot chocolate for a cozy autumn feel. For adult gatherings, consider serving alongside pumpkin spice coffee or even a Halloween-themed cocktail.
Create a dessert table by pairing these jars with complementary treats like caramel apples, pumpkin cookies, or our famous Ghost Brownies. The combination of textures and flavors will create a memorable Halloween spread.
For a complete party setup, consider serving mini plastic spoons tied with orange and black ribbons, making the jars both functional and decorative.
Top Tips for Perfecting Halloween Cake Jars
Achieving the Perfect Texture
Make sure your cake is completely cooled before crumbling to prevent the frosting from melting. Room temperature cream cheese and butter are essential for smooth, lump-free frosting.
Color and Decoration Tips
Start with less food coloring than you think you need – you can always add more. Gel food coloring works better than liquid for achieving vibrant colors without thinning the frosting.
Make-Ahead Strategies
These jars can be assembled up to 2 days in advance. Add the final decorative toppings just before serving to maintain their texture and appearance.
Common Mistakes to Avoid
Don’t overfill the jars – leave space for toppings and easy eating. Avoid using warm cake as it will melt the frosting and create a messy appearance.
Storing and Reheating Tips
Refrigeration: Store assembled Halloween cake jars in the refrigerator for up to 4 days. Cover each jar with plastic wrap or use the mason jar lids to prevent the cake from drying out.
Freezing: These cake jars freeze beautifully for up to 2 months. Freeze them without the final decorative toppings, then add fresh decorations after thawing.
Serving from Storage: Remove jars from the refrigerator 15-20 minutes before serving to bring them to the perfect eating temperature. The slight chill actually enhances the flavors and makes the frosting perfectly creamy.
Best Storage Practices: Always use clean utensils when serving to prevent contamination. If making multiple flavors, label each jar with masking tape to avoid confusion.
Frequently Asked Questions
Can I make these cake jars gluten-free?
Yes! Simply substitute the all-purpose flour with a gluten-free flour blend at a 1:1 ratio. Make sure all other ingredients are certified gluten-free, including the cookies used for “dirt.”
What size mason jars work best?
8-ounce mason jars are perfect for individual servings. 4-ounce jars work well for smaller portions or children’s parties, while 12-ounce jars are great for sharing.
Can I use different cake flavors?
Absolutely! Vanilla, red velvet, or even funfetti cake work wonderfully. Just adjust the frosting color to complement your chosen cake flavor.
How far in advance can I make these?
The cake can be baked up to 3 days ahead and stored covered at room temperature. Assembled jars are best made 1-2 days in advance for optimal freshness.
What if I don’t have cream cheese for the frosting?
You can substitute with mascarpone cheese or make a simple buttercream frosting using butter, powdered sugar, and milk, then add orange coloring.
Are these suitable for kids’ parties?
Yes! Kids love the individual portions and fun decorations. Consider letting them help with the decorating for an interactive party activity.
Nutritional Information
| Nutrient | Per Serving (1 jar) |
|---|---|
| Calories | 285 |
| Total Fat | 12g |
| Saturated Fat | 6g |
| Cholesterol | 35mg |
| Sodium | 245mg |
| Total Carbs | 45g |
| Fiber | 2g |
| Sugar | 38g |
| Protein | 4g |
Nutritional values are approximate and may vary based on specific ingredients used.
Creative Variations and Additional Ideas
Themed Decorations by Age Group:
- For toddlers: Use larger, softer candies and minimal small decorations
- For teens: Create “graveyard” scenes with cookie tombstones and green frosting grass
- For adults: Add a splash of coffee liqueur to the cake or bourbon to the frosting
Seasonal Adaptations: Transform this recipe for other holidays by changing colors and decorations. Use red and green for Christmas, pastels for Easter, or patriotic colors for July 4th.
Dietary Modifications:
- Vegan version: Use plant-based butter and cream cheese alternatives
- Sugar-free: Substitute with sugar alternatives in both cake and frosting
- Nut-free: Ensure all decorative candies are nut-free for school events
These Halloween cake jars combine the best of both worlds – impressive presentation and delicious taste – while remaining simple enough for bakers of all skill levels. Whether you’re hosting a Halloween party, contributing to a school event, or just want to surprise your family with a special treat, these adorable jars deliver maximum impact with minimal effort. The beauty of this recipe lies in its versatility and the joy it brings to both the maker and the lucky recipients. So gather your ingredients, embrace your creative side, and get ready to create some Halloween magic that’ll have everyone asking for the recipe!