The Best Thanksgiving Cake Apple Wins Every Time
Thanksgiving cake apple is a cozy, spiced dessert perfect for holiday tables. Sweet, moist, and full of apple flavor, it’s ideal for family gatherings
Last November, I made the mistake of showing up to Thanksgiving dinner with store-bought pie. My aunt Linda gave me that look – you know the one – and I promised myself I’d never let it happen again.
This year, I’m bringing my thanksgiving cake apple masterpiece, and honestly? I’ve been making it every weekend since September just to perfect it. My husband jokes that our kitchen has permanently smelled like cinnamon and brown sugar for two months straight (he’s not complaining, though).
Here’s the thing about Thanksgiving desserts: everyone expects pie. Pumpkin pie, apple pie, pecan pie – it’s all delicious, but it’s also… expected. This thanksgiving cake apple recipe changed everything for me. It’s got all those cozy fall flavors we crave, but in a moist, tender cake form that’s somehow both elegant enough for the fancy china and comforting enough that my kids fight over the last slice.
I’ve made this recipe at least fifteen times now, and I’m telling you – it’s foolproof. The first time took me about 45 minutes from start to finish, but now I can whip it up in about 30. And the reactions? Worth every minute. My mother-in-law (who’s notoriously picky about baked goods) asked for the recipe before she’d even finished her slice.
What Makes This Thanksgiving Apple Cake Different
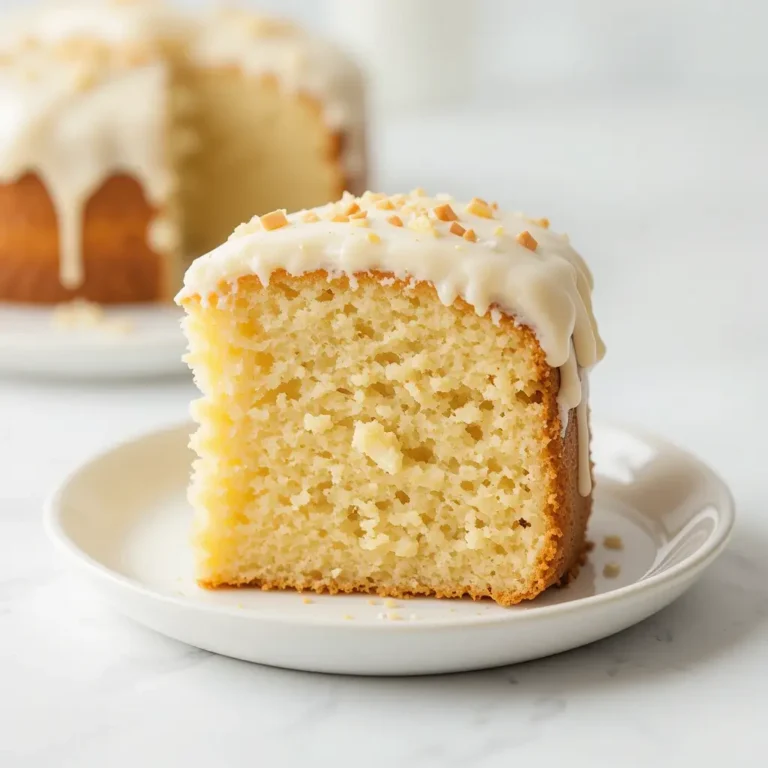
Let me paint you a picture: imagine biting into a slice of cake so tender it practically melts on your tongue, with chunks of sweet-tart apples throughout, all topped with a brown sugar glaze that forms this slightly crispy, caramelized top layer. That’s this cake. But what really sets it apart is the texture – it’s not a dense pound cake, and it’s not a light sponge cake. It sits perfectly in between, with a crumb that’s moist without being heavy.
Most apple cakes I’ve tried over the years are either too dry or they turn into mushy apple sauce situations. This one keeps the apple pieces perfectly intact while letting their juices meld into the batter just enough to add flavor. The secret? We’re using a specific type of apple and a particular cutting technique that I stumbled upon completely by accident.
The other game-changer is the spice blend. This isn’t your standard “dump in some cinnamon and call it a day” situation. We’re layering warm spices in a way that makes every bite taste like Thanksgiving itself – without overwhelming the apple flavor. In my opinion, the combination of cinnamon, nutmeg, and just a hint of cardamom makes all the difference between a good cake and a “can I have the recipe?” cake.
Why This Recipe Works Every Time
After testing this thanksgiving cake apple recipe more times than I can count, I’ve figured out exactly why it’s become my go-to dessert. Let me break down what makes it special.
It’s Shockingly Simple
Real talk: I’m not a professional baker. I work full-time, I’ve got two kids, and I usually have about twenty minutes of peace in my kitchen before someone needs something. This cake fits my life perfectly. There’s no mixer required (yes, you can mix this by hand!), no complicated techniques, and no babysitting the oven. You literally mix wet ingredients in one bowl, dry in another, fold them together with the apples, and bake. That’s it.
The first time I made it, I was shocked at how simple it was compared to how impressive it looked. My neighbor peeked over the fence when she smelled it baking and assumed I’d been working on it all afternoon. Nope – just 30 minutes of active time.
Your Wallet Will Thank You
Let’s be honest about holiday cooking: it gets expensive fast. This cake uses ingredients you probably already have in your pantry, except for the apples (and maybe the cardamom if you want to get fancy). We’re talking basic staples like flour, sugar, eggs, butter, and spices. No exotic ingredients, no special trips to fancy grocery stores, no $15 vanilla beans.
I calculated it once out of curiosity, and this entire cake costs me about $8 to make. It serves 12 people easily. Compare that to a decent bakery cake that’ll run you $40-50, and you’re saving serious money while serving something that tastes infinitely better.
The Flavor is Unbeatable
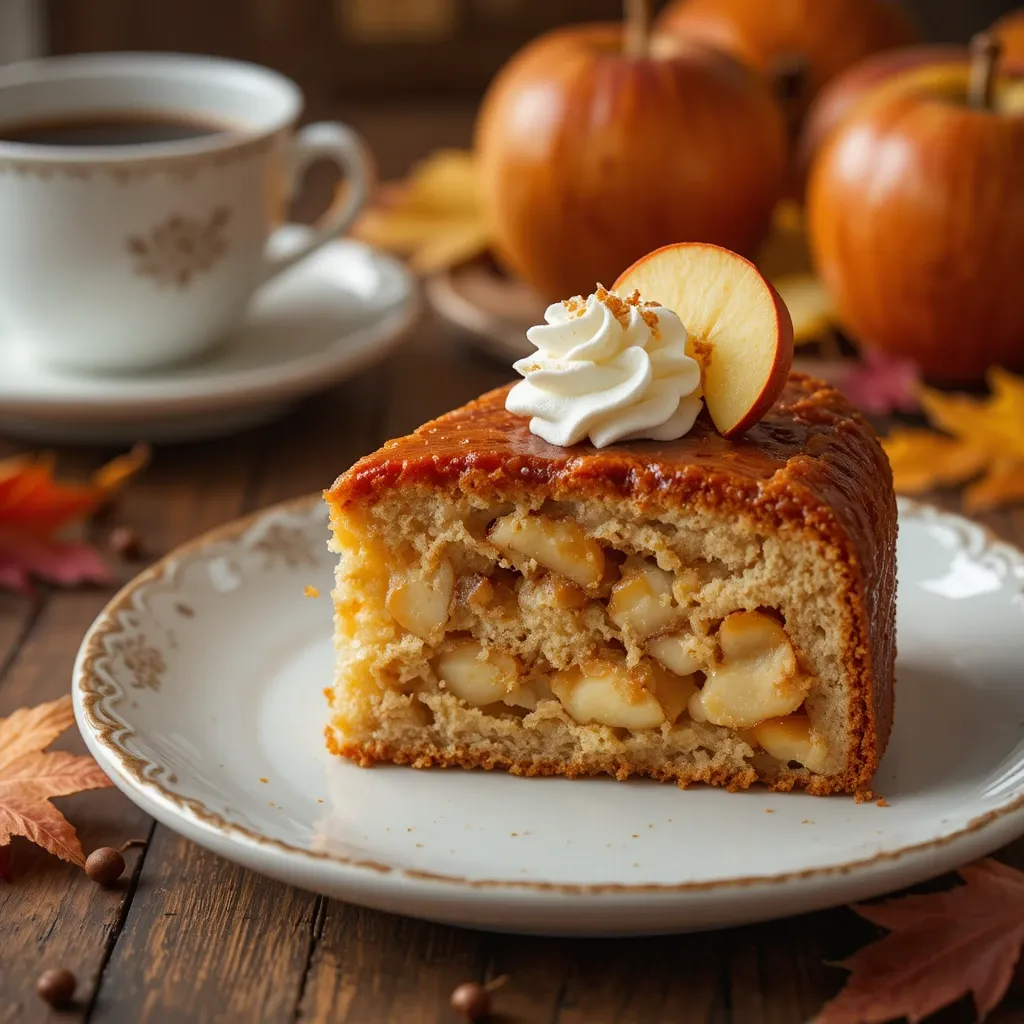
I’ve been making this for my family for three years now, and every single time, someone comments on the flavor. The apples get tender and almost jammy in spots while staying slightly firm in others, creating this beautiful texture contrast. The cake itself is buttery and rich without being heavy, and those warm spices just wrap everything in this cozy blanket of fall flavor.
What I love most is that the sweetness is perfectly balanced. It’s definitely a dessert, but it’s not that tooth-achingly sweet situation where you can only eat three bites. I’ve watched people go back for seconds (and thirds) without feeling overwhelmed.
Perfect for Make-Ahead Magic
Here’s something I learned the hard way: Thanksgiving morning is absolute chaos. The last thing you want to worry about is baking a cake while you’re basting a turkey and making six side dishes. This thanksgiving cake apple recipe actually gets better if you make it the day before. The flavors meld together, the cake settles into this perfect texture, and you’ve got one less thing to stress about on the big day.
I usually bake mine on Wednesday evening, let it cool completely, wrap it well, and just bring it out Thursday afternoon. Sometimes I’ll warm it slightly before serving and add a little extra glaze on top. Works like a charm every time.
Recipe Details
| Recipe Information | |
|---|---|
| Prep Time | 20 minutes |
| Cook Time | 45 minutes |
| Total Time | 65 minutes |
| Servings | 12 slices |
| Difficulty | Easy |
| Calories | 320 per serving |
| Protein | 4g |
| Carbs | 48g |
| Fat | 13g |
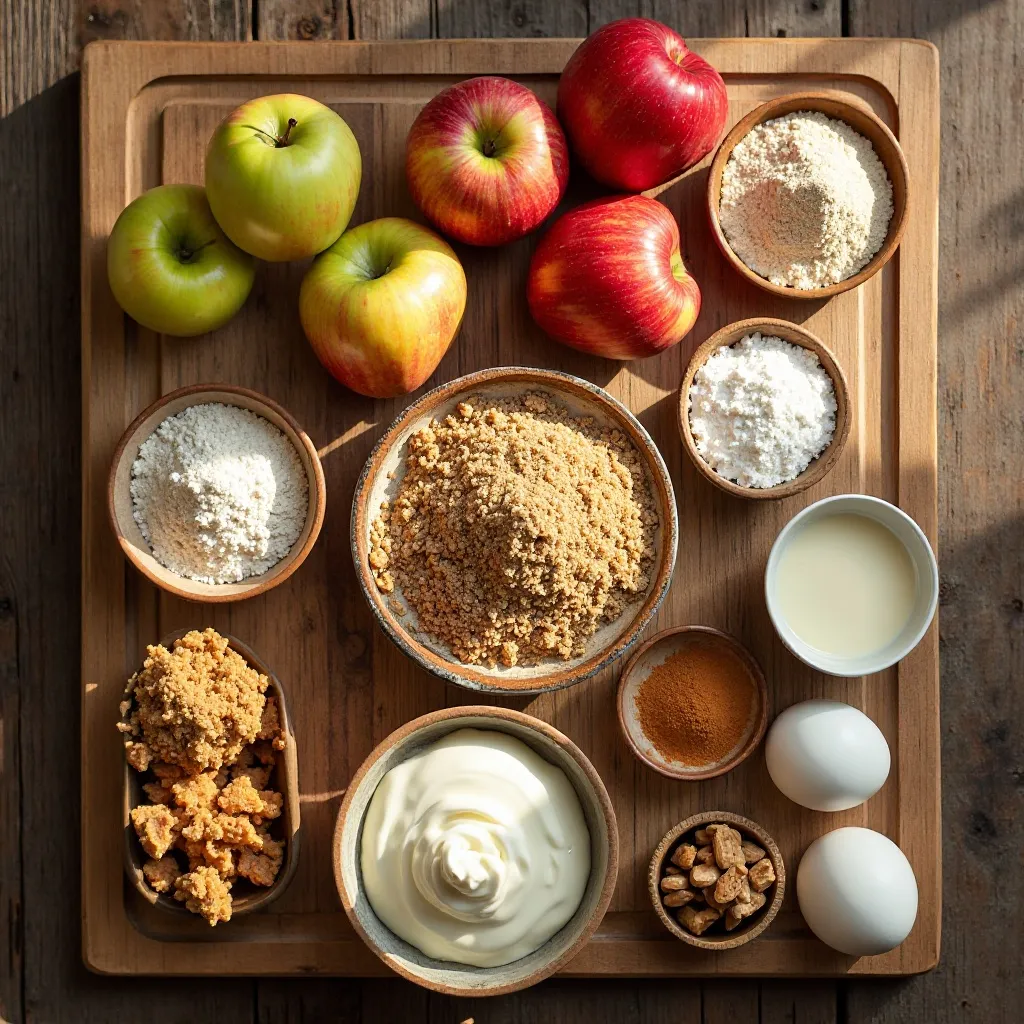
Ingredients for Thanksgiving Cake Apple
Before we dive into the ingredient list, let me tell you about the most important component: the apples. I’ve tested this with at least eight different apple varieties (yes, really), and Granny Smith or Honeycrisp work best. Granny Smith gives you that tart punch that balances the sweetness, while Honeycrisp holds its shape beautifully and adds natural sweetness. Don’t use Red Delicious or Gala – they turn to mush. Trust me on this one.
The other ingredient I’m particular about is the butter. Please, please use real butter. I tried making this with margarine once when I ran out, and the difference was noticeable. The cake lacked that rich, buttery flavor that makes it so special.
For the Cake:
- 3 cups all-purpose flour
- 2 teaspoons baking powder
- 1 teaspoon baking soda
- ½ teaspoon salt
- 2 teaspoons ground cinnamon
- ½ teaspoon ground nutmeg
- ¼ teaspoon ground cardamom (optional but worth it)
- 1 cup (2 sticks) unsalted butter, softened
- 2 cups granulated sugar
- 4 large eggs, room temperature
- 2 teaspoons vanilla extract
- 1 cup sour cream (full-fat works best)
- 4 medium apples, peeled and diced (about 4 cups)
- ½ cup chopped walnuts or pecans (optional)
For the Brown Sugar Glaze:
- ½ cup unsalted butter
- 1 cup packed brown sugar
- ¼ cup heavy cream
- 1 teaspoon vanilla extract
- Pinch of salt
Let’s Make This Thanksgiving Apple Cake
Alright, let me walk you through exactly how I make this cake. I’ve streamlined the process over multiple attempts, so these are my tried-and-true steps that work every single time.
Step 1: Prep Your Kitchen
First things first – preheat your oven to 350°F (175°C). I learned this lesson the hard way when I once mixed everything together and then realized I’d forgotten to preheat. The batter sat there getting sad while the oven heated up, and the texture wasn’t quite right.
Grease a 9×13-inch baking pan generously with butter or non-stick spray, then dust it lightly with flour. This ensures your cake will release perfectly when it’s done. I also line the bottom with parchment paper because I’m paranoid about cakes sticking (it’s happened before, and I’m still recovering from the trauma).
Step 2: Prepare Those Apples
Peel your apples and dice them into ½-inch cubes. This size is crucial – too small and they disappear into the cake, too large and they don’t cook through properly. I aim for pieces about the size of a large grape. After dicing, toss them with a tablespoon of flour. This little trick prevents them from sinking to the bottom of the cake. It took me three attempts to figure this out, and it’s a game-changer.
Step 3: Mix Your Dry Ingredients
In a large bowl, whisk together the flour, baking powder, baking soda, salt, cinnamon, nutmeg, and cardamom. Make sure everything is evenly distributed – those spice clumps are not fun to bite into. I usually whisk for about 30 seconds to really incorporate everything.
Step 4: Cream the Butter and Sugar
In another large bowl (or your stand mixer if you’re using one), cream the softened butter and sugar together until it’s light and fluffy. This usually takes about 3-4 minutes with a hand mixer, or 2-3 minutes with a stand mixer. You’ll notice the mixture becomes paler in color and increases in volume. This step is important because it creates air pockets that make the cake tender.
Add the eggs one at a time, beating well after each addition. I crack each egg into a small bowl first (learned that lesson after fishing eggshells out of batter one too many times). After the eggs, mix in the vanilla extract and sour cream until just combined. The mixture might look slightly curdled at this point – that’s totally normal and nothing to worry about.
Step 5: Combine Everything
Now here’s where patience pays off. Add the dry ingredients to the wet ingredients in three additions, mixing just until you don’t see any more flour streaks. Don’t overmix! This is the number one mistake I see people make with cakes. Overmixing develops the gluten in the flour, which makes your cake tough instead of tender. I use a gentle folding motion with a rubber spatula for this part.
Gently fold in your prepared apples (and nuts if you’re using them). The batter will be thick – almost like a very thick brownie batter. This is exactly what you want. The first time I made this, I thought I’d done something wrong because it wasn’t pourable like typical cake batter. But trust the process!
Step 6: Bake to Golden Perfection
Spread the batter evenly in your prepared pan. Use an offset spatula or the back of a spoon to smooth the top. Pop it in your preheated oven and bake for 45-50 minutes. You’ll know it’s done when a toothpick inserted in the center comes out with just a few moist crumbs (not wet batter), and the top is golden brown with slightly darker edges.
My oven runs hot, so mine is usually done at 43 minutes. Start checking around 40 minutes to be safe. The cake will also start pulling away slightly from the edges of the pan when it’s ready. And oh my goodness, the smell that fills your kitchen – I’ve had neighbors knock on my door asking what I’m baking.
Step 7: The Glaze That Changes Everything
While the cake is cooling (let it cool in the pan for at least 20 minutes), make the brown sugar glaze. In a small saucepan over medium heat, combine the butter, brown sugar, heavy cream, and salt. Bring it to a gentle boil, stirring constantly. Let it boil for 2-3 minutes until it thickens slightly. It should coat the back of a spoon.
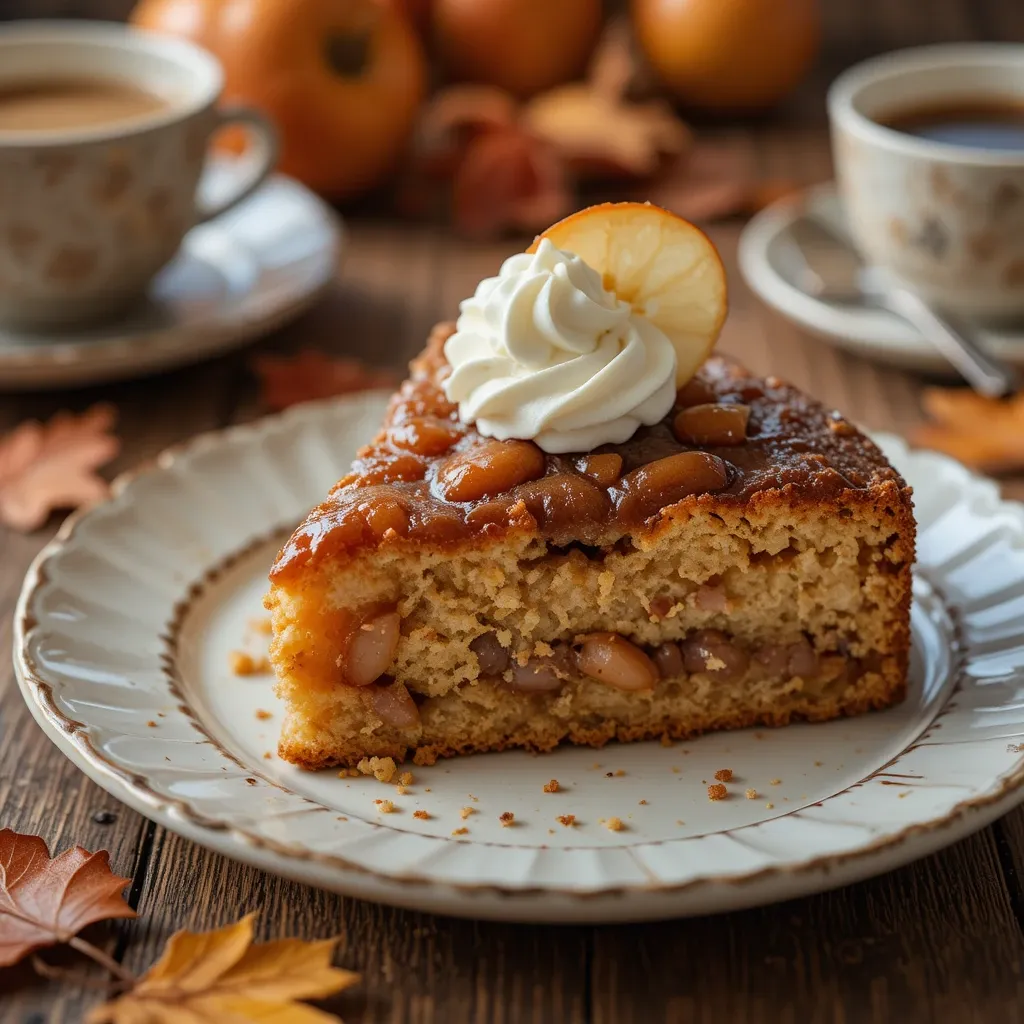
Remove from heat and stir in the vanilla. The glaze will continue to thicken as it cools. Pour it over the warm cake while both are still slightly warm – this is important! The warmth helps the glaze soak into the top layer of the cake while creating that gorgeous, slightly crispy caramelized top.
My Favorite Ways to Serve This
When I bring this thanksgiving cake apple to dinner, I’ve learned a few tricks for making it look and taste even more special. Presentation matters, especially on Thanksgiving when everything’s competing for “best dish” status.
I like to serve this cake slightly warm – about 15-20 minutes out of the refrigerator if it’s been stored, or still warm from the oven if you’re serving it fresh. The warmth brings out all those spice flavors and makes the apple chunks even more tender.
My go-to serving method is a generous dollop of freshly whipped cream on top. Not the canned stuff – real heavy cream whipped with a tablespoon of sugar and a splash of vanilla. It takes two minutes and makes such a difference. The cold cream against the warm cake creates this amazing contrast that my family goes crazy for.
For a truly decadent experience, vanilla bean ice cream is incredible with this cake. The cold, creamy vanilla plays beautifully against the warm spices and caramelized glaze. I’ve also served it with cinnamon ice cream, which feels a bit redundant but is absolutely delicious.
If you want to get fancy (like if you’re trying to impress someone), dust the top with powdered sugar right before serving, and garnish each slice with a thin apple slice and a small cinnamon stick. Takes thirty seconds and looks like you spent hours on presentation.
Secrets to Success From My Kitchen
I’ve made every mistake possible with this cake, so let me save you some trouble by sharing what I’ve learned through trial and error.
Don’t Skip the Room Temperature Eggs
I know, I know – who actually remembers to take eggs out ahead of time? But cold eggs don’t incorporate as well into the batter, which can lead to a denser cake. If you forget (like I do constantly), just place them in a bowl of warm water for 5-10 minutes. Problem solved. I’ve tested this side-by-side, and room temperature eggs really do make a noticeable difference in the final texture.
The Toothpick Test Isn’t Perfect
Here’s something I learned after making this cake probably ten times: the toothpick test can be misleading with this recipe because of all the apple chunks. You might hit an apple piece and think the cake isn’t done when it actually is. Instead, I also check if the cake springs back when gently pressed in the center and if the edges are pulling away from the pan slightly. These visual cues are more reliable.
Cut Your Apples Consistently
This seems obvious, but inconsistent apple pieces mean some will be mushy while others are still too firm. I use a ruler the first few times I made this (yes, really) to make sure my cubes were actually ½-inch. Now I can eyeball it, but consistency matters more than you’d think.
The Day-After Secret
In my opinion, this cake is even better on day two. Something magical happens overnight – the flavors meld together, the cake becomes even more moist, and that glaze settles into this perfect semi-firm topping. I’ve started intentionally making it the day before I need it because the difference is real.
Brown Butter Takes It Next Level
Want to blow people’s minds? Brown the butter before creaming it with the sugar. This adds a nutty, caramelized depth that’s absolutely incredible. Just remember to let the browned butter cool back to room temperature before using it, or it’ll scramble your eggs. I don’t do this every time because it adds extra steps, but for special occasions, it’s worth it.
Altitude Adjustments Matter
If you live at high altitude like my sister does in Colorado, you’ll need to adjust this recipe. She reduces the baking powder by ¼ teaspoon, increases the oven temperature by 25°F, and adds an extra 2 tablespoons of flour. I learned this after she called me in tears because her cake kept turning out sunken in the middle.
Storing Your Thanksgiving Apple Cake
Let’s talk about keeping this cake fresh, because it’s so good you’ll want it to last (though in my house, that’s rarely a problem).
Once the cake is completely cooled and the glaze has set, cover it tightly with plastic wrap or aluminum foil. It’ll keep at room temperature for up to 2 days. I actually prefer storing it at room temperature for the first day or two because refrigeration can dry out cakes. Just make sure it’s completely sealed so it doesn’t dry out.
If you need it to last longer, refrigerate it for up to 5 days. The texture changes slightly – it becomes denser and more compact – but it’s still absolutely delicious. Before serving refrigerated cake, let it sit at room temperature for 20-30 minutes, or warm individual slices in the microwave for about 15-20 seconds.
For longer storage, this cake freezes beautifully. I wrap individual slices in plastic wrap, then place them in a freezer bag with as much air squeezed out as possible. They’ll keep for up to 3 months. To thaw, leave them in the refrigerator overnight or at room temperature for a few hours. You can also warm frozen slices directly in the microwave – start with 30 seconds and add more time as needed.
Pro tip I discovered: if you’re making this ahead for Thanksgiving, bake the cake but wait to add the glaze until the day you’re serving it. The cake freezes perfectly without the glaze, and a fresh glaze always looks and tastes better than one that’s been frozen.
Common Questions I Get About This Recipe
Can I use a different pan size?
Absolutely! I’ve made this in two 9-inch round pans for a layered cake (bake for 35-40 minutes), a bundt pan (50-55 minutes), and even a loaf pan (60-65 minutes). Just adjust your baking time accordingly and use the visual cues to check for doneness.
What if I don’t have sour cream?
Full-fat Greek yogurt works perfectly as a substitute. I’ve used it many times when I ran out of sour cream. The cake texture is nearly identical. Buttermilk also works, though the cake will be slightly less rich.
Can I make this gluten-free?
I haven’t personally tested this with gluten-free flour, but my friend who has celiac disease made it using a 1:1 gluten-free flour blend (the kind with xanthan gum already added), and she said it turned out great. The texture was slightly denser but still delicious.
My apples turned mushy. What happened?
You probably used a softer apple variety like Red Delicious or McIntosh. Stick with Granny Smith, Honeycrisp, or Braeburn – they hold their shape much better during baking. Also, make sure you’re not dicing them too small.
Can I double this recipe?
Yes! I’ve doubled it for large gatherings. Use two 9×13-inch pans and bake them at the same time (they might need an extra 5 minutes). The glaze recipe doubles perfectly too.
Is the cardamom really necessary?
Honestly? No. The cake is delicious without it. But if you have it, it adds this subtle, warm complexity that elevates the whole thing. I didn’t use it for my first five batches and the cake was still amazing. Now that I’ve tried it with cardamom, though, I always include it.
Why This Will Become Your New Tradition
I’m going to be real with you – I never expected this thanksgiving cake apple to become the thing I’m known for in my family. I thought it was just a nice dessert I made once. But after that first Thanksgiving where I brought it instead of store-bought pie, everything changed. Now my sister-in-law texts me in October to confirm I’m bringing “the cake.” My kids request it for their birthdays. My neighbor asked if I’d make one for her book club.
The thing is, this isn’t just about the cake being delicious (though it absolutely is). It’s about the way it makes people feel. There’s something about the combination of tender cake, sweet apples, warm spices, and that caramelized glaze that just screams “home” and “comfort” and “love.” It tastes like the best parts of fall concentrated into one perfect slice.
After making this at least fifteen times and tweaking it until it was absolutely perfect, I can tell you with complete confidence: this is the cake that will make people ask for seconds. This is the cake that will have everyone texting you for the recipe. This is the cake that might just become your new Thanksgiving tradition.
So this year, skip the expected pie and bring something that’ll make everyone at the table take notice. Make this thanksgiving cake apple, and watch it disappear faster than you can say “who wants dessert?” Trust me on this one – I’ve got three years and fifteen test batches of experience to back me up. Your Thanksgiving dessert table will never be the same.