Easy Thanksgiving Cake for Kids – Fun Holiday Baking Activity
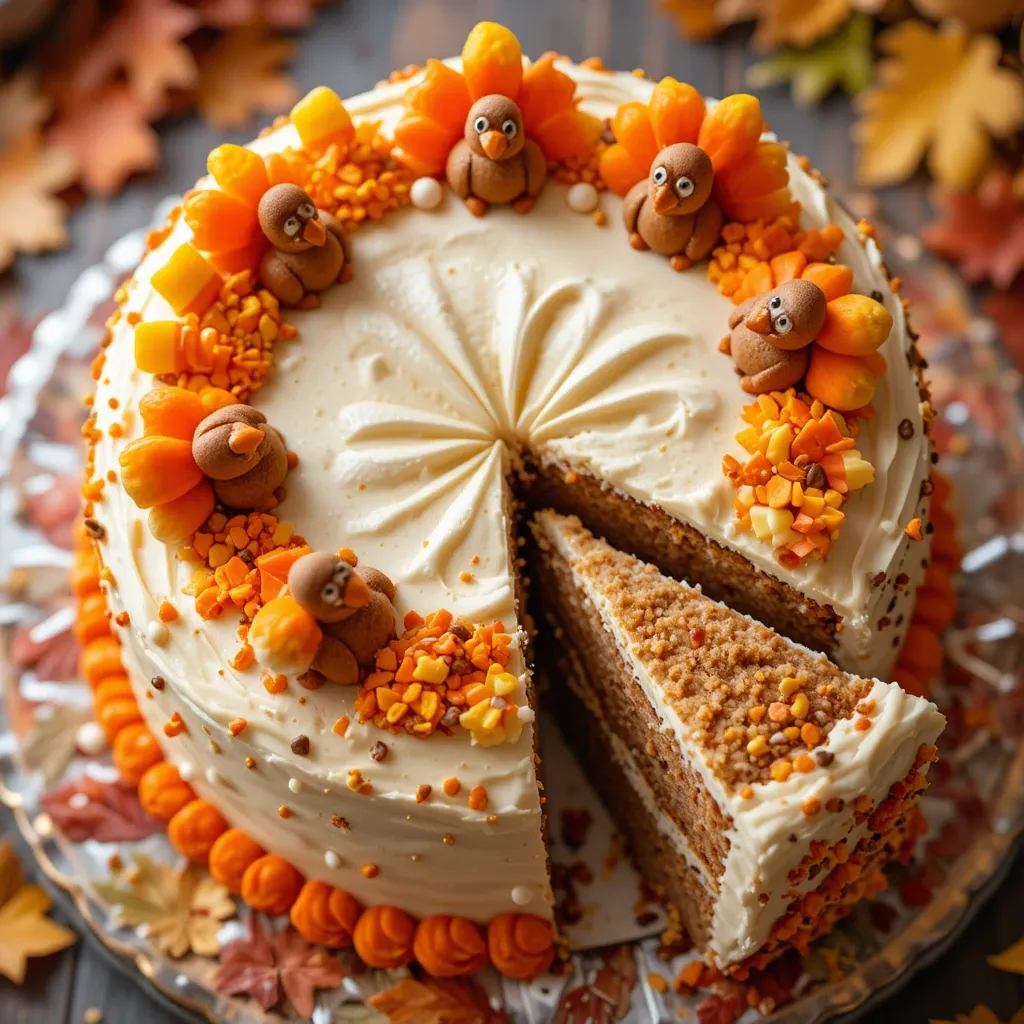
A delightful Thanksgiving Cake for Kids featuring fall colors, playful toppings, and soft, sweet layers made just for little dessert lovers.
Get ready to create the most adorable thanksgiving cake for kids that will have little ones begging for seconds! This colorful, moist, and utterly delicious cake combines warm autumn spices with sweet cream cheese frosting and festive decorations that make every slice a celebration.
Did you know that baking with children increases their math skills and confidence in the kitchen? This thanksgiving cake for kids is not only simple to make but also provides a wonderful opportunity for family bonding during the holiday season.
Unlike our popular pumpkin pie bars, this cake is easier for small hands to help with and requires no special equipment. You’ll love how this recipe transforms basic pantry ingredients into a showstopping dessert that captures the essence of Thanksgiving while keeping things fun and kid-friendly!
What is Thanksgiving Cake for Kids?
So, what exactly makes a cake a “thanksgiving cake for kids” anyway? Is it the adorable turkey decorations on top? The warm cinnamon and nutmeg that make your kitchen smell like a holiday dream? Or maybe it’s the fact that it’s sweet enough to make kids smile but not so complicated that you’ll spend all day in the kitchen?
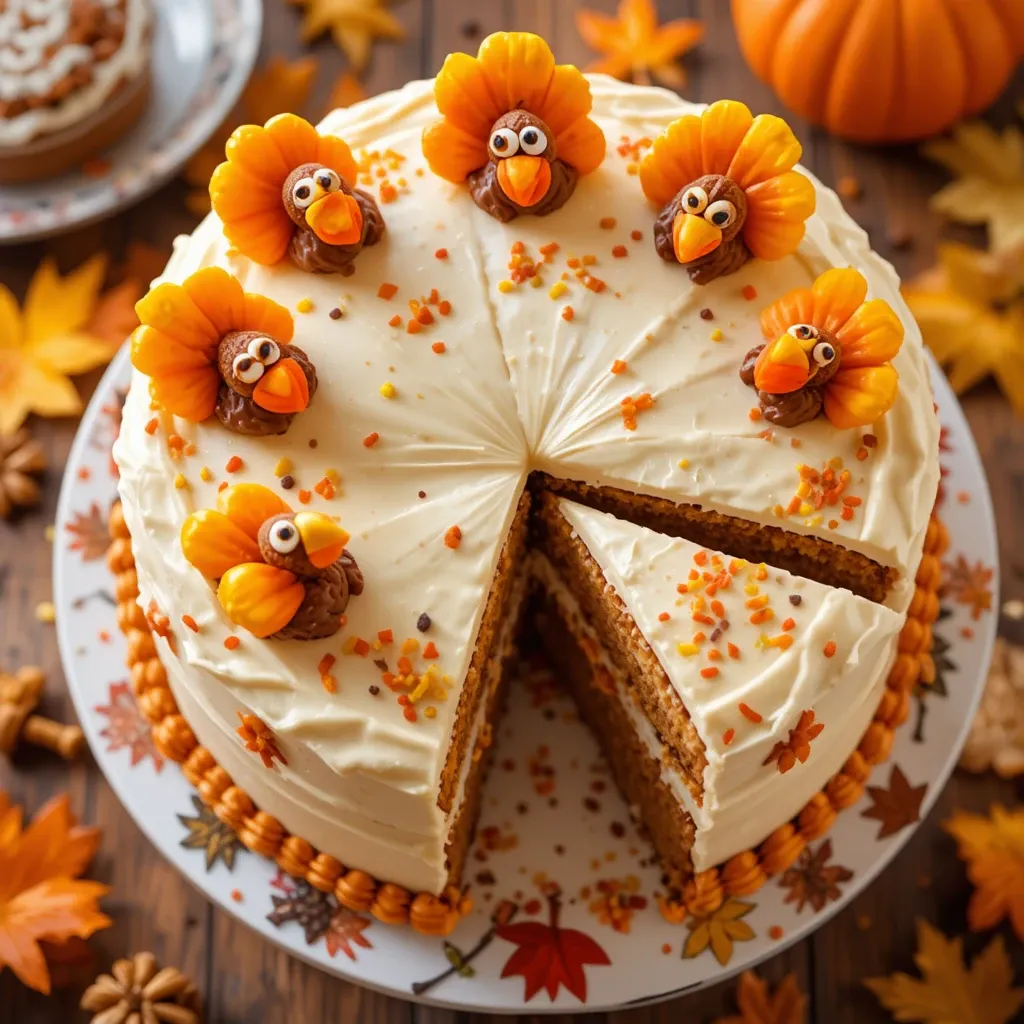
This delightful creation is essentially a spiced layer cake dressed up in autumn colors and festive flair, designed specifically with young taste buds and attention spans in mind. After all, they say the way to a child’s heart is through their stomach – and nothing says “I love you” quite like a homemade cake decorated with candy corn turkeys! Ready to become the coolest parent or aunt at Thanksgiving dinner? Let’s dive into this recipe!
Why You’ll Love This Thanksgiving Cake for Kids
The Perfect Holiday Showstopper
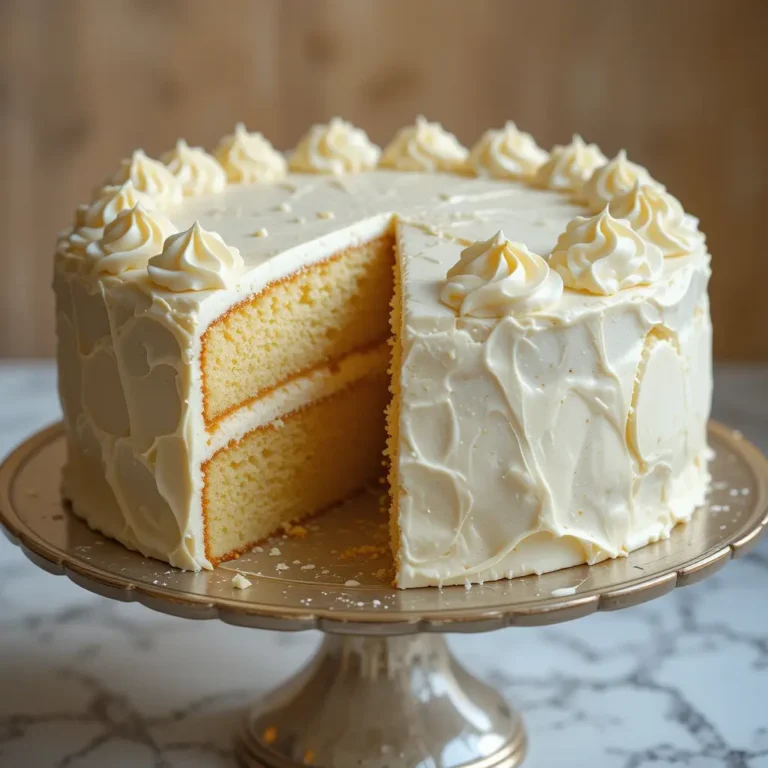
This thanksgiving cake for kids delivers everything you want in a holiday dessert – it’s visually stunning, tastes absolutely amazing, and creates lasting memories. The cake itself is incredibly moist with just the right amount of spice, while the cream cheese frosting adds a tangy sweetness that perfectly balances the warm flavors. Kids go absolutely wild for the colorful decorations and the fun turkey designs that make each slice feel extra special.
Budget-Friendly Baking
Save money while creating an impressive dessert! Store-bought Thanksgiving cakes can cost $30-50, but this homemade version uses affordable pantry staples and costs less than $12 to make. You’ll get the satisfaction of homemade goodness without breaking the bank. Plus, you probably already have most ingredients in your pantry right now.
Customizable and Creative
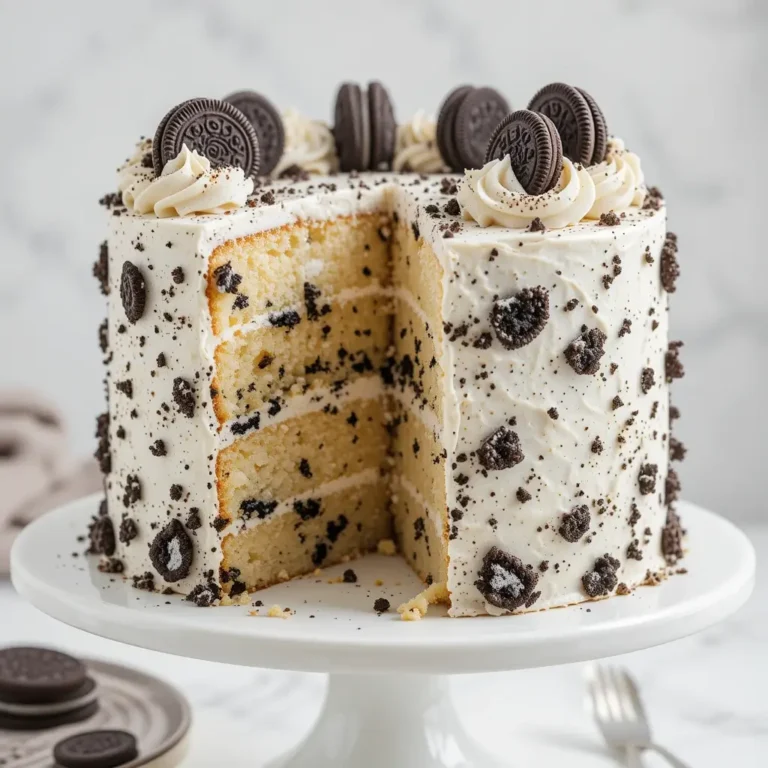
The beauty of this thanksgiving cake for kids lies in its versatility. Top it with candy corn, chocolate chips, pretzel sticks for “feathers,” or even crushed Oreos for “dirt.” Let kids unleash their creativity with edible decorations, making each cake uniquely theirs.
Unlike our chocolate chip cookies recipe, this dessert offers endless decorating possibilities that keep children engaged and excited. Whether you’re hosting a classroom party or a family gathering, this cake adapts to any occasion and skill level. Ready to create some delicious memories? Let’s get baking!
How to Make Thanksgiving Cake for Kids
Quick Overview
This thanksgiving cake for kids is surprisingly simple to prepare, making it perfect for busy parents and eager little helpers. The recipe combines everyday ingredients into a moist, flavorful cake that tastes like autumn in every bite. With minimal prep work and straightforward baking steps, you’ll have a stunning dessert ready in no time.
Time Breakdown:
- Prep Time: 20 minutes
- Baking Time: 30-35 minutes
- Cooling Time: 45 minutes
- Decorating Time: 20 minutes
- Total Time: Approximately 2 hours
The best part? Most of that time is hands-off cooling, so you can tackle other Thanksgiving preparations while your cake bakes to golden perfection.
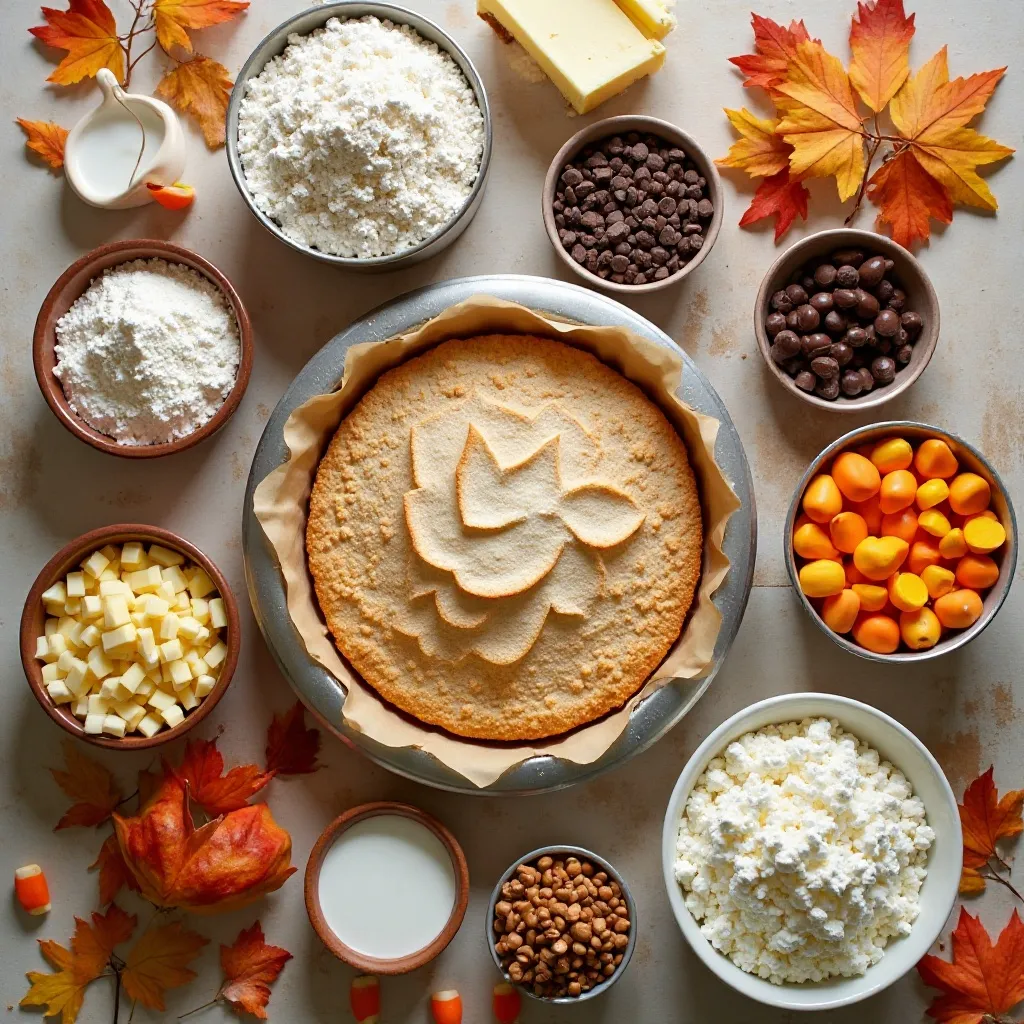
Key Ingredients for Thanksgiving Cake for Kids
For the Cake:
- 2 ½ cups all-purpose flour
- 2 teaspoons baking powder
- 1 teaspoon baking soda
- ½ teaspoon salt
- 2 teaspoons ground cinnamon
- 1 teaspoon ground nutmeg
- ½ teaspoon ground ginger
- ¼ teaspoon ground cloves
- 1 cup unsalted butter, softened
- 1 ¾ cups granulated sugar
- 4 large eggs
- 2 teaspoons vanilla extract
- 1 cup whole milk
- ½ cup sour cream
For the Cream Cheese Frosting:
- 16 oz cream cheese, softened
- 1 cup unsalted butter, softened
- 5 cups powdered sugar
- 2 teaspoons vanilla extract
- 2-3 tablespoons heavy cream
For Decorations:
- Candy corn
- Chocolate chips
- Pretzel sticks
- Orange and yellow food coloring (optional)
- Sprinkles in autumn colors
- Mini chocolate cookies (for turkey bodies)
Step-by-Step Instructions
Prepare Your Baking Setup
Preheat your oven to 350°F (175°C). Grease two 9-inch round cake pans with butter or non-stick spray, then line the bottoms with parchment paper circles. This ensures your cakes release easily without sticking. Set the pans aside while you prepare the batter.
Mix the Dry Ingredients
In a large mixing bowl, whisk together the flour, baking powder, baking soda, salt, cinnamon, nutmeg, ginger, and cloves. Make sure all the spices are evenly distributed throughout the flour mixture. This step is perfect for kids to help with – just hand them the whisk and let them stir away! Set this bowl aside.
Cream the Butter and Sugar
In a separate large bowl or stand mixer, beat the softened butter and granulated sugar together on medium-high speed for 3-4 minutes until the mixture becomes light, fluffy, and pale in color. This creaming process incorporates air into the batter, which helps create a tender, moist cake. Scrape down the sides of the bowl as needed.
Add Eggs and Vanilla
Add the eggs one at a time to the butter mixture, beating well after each addition. This ensures each egg is fully incorporated before adding the next. Pour in the vanilla extract and mix until combined. The mixture should look smooth and creamy at this point.
Combine Wet Ingredients
In a small bowl or measuring cup, whisk together the milk and sour cream until smooth. The sour cream adds incredible moisture and a subtle tang that enhances all those warm spices. This mixture should be well blended with no lumps remaining.
Alternate Adding Dry and Wet Ingredients
With your mixer on low speed, add the flour mixture to the butter mixture in three additions, alternating with the milk mixture in two additions. Start and end with the flour mixture. The pattern should be: flour, milk, flour, milk, flour. Mix just until combined after each addition – don’t overmix or your cake will become dense. A few small lumps are perfectly fine.
Divide and Bake
Divide the batter evenly between your prepared cake pans, using a kitchen scale for precision if you have one. Smooth the tops with a spatula. Tap the pans gently on the counter a few times to release any air bubbles. Bake for 30-35 minutes, or until a toothpick inserted into the center comes out clean or with just a few moist crumbs. The tops should spring back when lightly pressed.
Cool the Cakes
Remove the cakes from the oven and let them cool in the pans for 10 minutes. This prevents them from breaking apart when you remove them. Run a knife around the edges, then carefully invert the cakes onto wire cooling racks. Peel off the parchment paper and let the cakes cool completely – at least 45 minutes. Never frost warm cakes or your frosting will melt into a puddle!
Make the Cream Cheese Frosting
While your cakes cool, prepare the frosting. Beat the softened cream cheese and butter together on medium speed until smooth and creamy, about 2-3 minutes. Reduce speed to low and gradually add the powdered sugar, one cup at a time. Add the vanilla extract. If the frosting is too thick, add heavy cream one tablespoon at a time until you reach your desired consistency. Beat on high speed for 1-2 minutes until light and fluffy.
Assemble the Cake
Place one cake layer on your serving plate. If the top is domed, use a serrated knife to level it first. Spread about 1 ½ cups of frosting evenly over the top, going almost to the edges. Place the second cake layer on top, flat side up. Apply a thin “crumb coat” of frosting all over the cake – this seals in crumbs. Refrigerate for 15 minutes, then apply the final layer of frosting, creating swirls and peaks with an offset spatula or butter knife.
Decorate with Kids
Now comes the fun part! Let kids create turkey faces using chocolate chips for eyes, candy corn for beaks and feathers, and pretzel sticks for extra feather details. You can also divide some frosting into small bowls and tint with food coloring to create autumn-themed designs. Press autumn-colored sprinkles around the base. Get creative – there’s no wrong way to decorate! Some kids love making leaf patterns, while others prefer abstract designs. This is their masterpiece!
What to Serve Thanksgiving Cake for Kids With
This thanksgiving cake for kids pairs beautifully with so many options! Serve it with a big scoop of vanilla ice cream or fresh whipped cream for an extra special treat. A warm cup of apple cider or hot chocolate makes the perfect beverage companion for little ones, while adults might enjoy it with coffee or spiced tea.
For a complete Thanksgiving dessert spread, serve this alongside pumpkin pie, pecan pie bars, or apple crisp. The variety gives guests options while the cake remains the kid-friendly star of the show.
If you’re serving this at a children’s party, consider pairing it with fruit skewers, popcorn, or a cheese and cracker platter for savory balance. The cake is rich enough to be the main dessert attraction but light enough that kids won’t feel overly stuffed after their turkey dinner.
Top Tips for Perfecting Thanksgiving Cake for Kids
Room Temperature Ingredients Matter
Always use room temperature eggs, butter, milk, and sour cream. Cold ingredients don’t blend as smoothly and can result in a dense, uneven cake. Take everything out of the fridge 30-60 minutes before baking.
Don’t Overmix the Batter
Once you add the flour, mix just until you can’t see any more dry flour streaks. Overmixing develops gluten, which makes your cake tough and chewy instead of tender and fluffy. A few small lumps are completely fine and will bake out.
Test for Doneness Properly
Insert a toothpick into the center of the cake – it should come out clean or with just a few moist crumbs. If it comes out with wet batter, bake for another 3-5 minutes and check again. Overbaking dries out the cake, so check early and often near the end.
Level Your Cakes for Professional Results
If your cakes dome in the center, use a long serrated knife to carefully slice off the rounded top. This creates a flat, stable surface for stacking and ensures your finished cake doesn’t lean or slide.
Make It Ahead
You can bake the cake layers up to 2 days in advance. Wrap them tightly in plastic wrap and store at room temperature. The frosting can be made 3 days ahead and refrigerated – just let it come to room temperature and re-whip before using.
Flavor Variations
Add ½ cup mini chocolate chips to the batter for extra kid appeal, or fold in ½ cup finely chopped pecans for texture. You can also substitute half the milk with pumpkin puree for an even more autumnal flavor.
Prevent Cake Sliding
Place a small dollop of frosting on your cake plate before adding the first layer. This “glues” the cake down and prevents sliding during transport or serving.
Storing and Reheating Tips
Room Temperature Storage
This thanksgiving cake for kids stays fresh at room temperature for 2-3 days when stored properly. Place the cake in an airtight cake carrier or cover it loosely with plastic wrap (be careful not to disturb the decorations). Keep it in a cool, dry place away from direct sunlight. The cream cheese frosting is stable enough for short-term room temperature storage, but avoid leaving it out in very warm environments.
Refrigerator Storage
For longer storage, refrigerate the cake for up to 5-6 days. Cover it with a cake dome or wrap it carefully in plastic wrap. Let the cake sit at room temperature for 30 minutes before serving – cold cake is denser and less flavorful. The texture and taste are best when the cake isn’t ice cold.
Freezing Instructions
Freeze unfrosted cake layers for up to 3 months. Wrap each layer individually in plastic wrap, then aluminum foil, and place in a freezer-safe bag. Thaw overnight in the refrigerator before frosting. You can also freeze the fully frosted and decorated cake for up to 1 month, though some decorations may not survive freezing perfectly. To freeze the decorated cake, place it in the freezer uncovered for 1 hour to firm up the frosting, then wrap carefully.
Individual Slice Storage
Cut leftover cake into individual slices and wrap each piece in plastic wrap. Store in an airtight container in the refrigerator for easy grab-and-go treats. Kids love having their own personal slice ready for snacking!
Frosting Storage
Extra cream cheese frosting can be refrigerated in an airtight container for up to 1 week or frozen for up to 2 months. Thaw frozen frosting in the refrigerator overnight, then let it come to room temperature and re-whip before using.
Frequently Asked Questions
Can I make this thanksgiving cake for kids in advance?
Absolutely! Bake the cake layers up to 2 days ahead and store them wrapped at room temperature. You can also make the frosting 3 days in advance and refrigerate it. Assemble and decorate the cake the day before your event – it actually tastes better after the flavors have time to meld together overnight.
Can I use a different pan size for this recipe?
Yes! This batter works in a 9×13 inch rectangular pan (bake for 35-40 minutes), three 8-inch round pans (bake for 25-30 minutes), or as 24 cupcakes (bake for 18-22 minutes). Adjust baking times accordingly and always test for doneness with a toothpick.
What can I substitute for sour cream?
Plain Greek yogurt works perfectly as a 1:1 substitute for sour cream. You can also use buttermilk, though the cake will be slightly less rich. In a pinch, add 1 tablespoon of lemon juice to regular milk and let it sit for 5 minutes before using.
How do I make this cake more or less spicy?
For a milder, kid-friendlier version, reduce the spices by half. For more grown-up flavor, increase the cinnamon to 1 tablespoon and add ½ teaspoon of cardamom. You can also omit spices entirely for a vanilla cake base and let the decorations provide the Thanksgiving theme.
Can I make this cake dairy-free or gluten-free?
For dairy-free, substitute plant-based butter, coconut milk, and coconut cream, and use dairy-free cream cheese for the frosting. For gluten-free, use a 1:1 gluten-free baking flour blend. The texture may vary slightly, but both versions turn out delicious.
Why did my cake sink in the middle?
Sinking typically happens from opening the oven door too early (wait at least 25 minutes), overmixing the batter, or using expired leavening agents. Make sure your baking powder and baking soda are fresh – test them by adding a pinch to hot water (they should fizz vigorously).
How can I get smooth frosting?
Make sure your butter and cream cheese are truly softened – they should indent easily when pressed. Beat them together until completely smooth before adding powdered sugar. Sift the powdered sugar to eliminate lumps, and use a bench scraper or offset spatula dipped in hot water for smooth sides.
What’s the best way to transport this cake?
Place the cake on a sturdy cake board, then set it in a cake carrier or large box. If you don’t have a carrier, tent aluminum foil over toothpicks stuck in the top corners to protect decorations. Drive carefully and keep the cake on a flat surface. Refrigerating the cake for 30 minutes before transport helps firm up the frosting.
Nutrition Information
| Nutrient | Per Slice (1/12 of cake) |
|---|---|
| Calories | 520 |
| Total Fat | 26g |
| Saturated Fat | 16g |
| Cholesterol | 125mg |
| Sodium | 320mg |
| Total Carbohydrates | 68g |
| Dietary Fiber | 1g |
| Sugars | 52g |
| Protein | 6g |
| Vitamin A | 15% DV |
| Calcium | 8% DV |
| Iron | 10% DV |
Note: Nutrition information is approximate and will vary based on specific ingredients used and portion sizes.
Final Thoughts
This thanksgiving cake for kids is more than just a dessert – it’s an opportunity to create lasting holiday memories with your family. The joy on children’s faces when they see their decorated masterpiece, the pride they feel contributing to the holiday meal, and the delicious taste that brings everyone together make this recipe truly special.
Whether you’re an experienced baker or just starting out, this forgiving recipe delivers impressive results every time. The combination of warm autumn spices, rich cream cheese frosting, and playful decorations captures everything we love about Thanksgiving while keeping things fun and accessible for kids.
So gather your little ones, preheat that oven, and get ready to make some delicious memories. This thanksgiving cake for kids might just become your new holiday tradition – one sweet slice at a time. Happy baking, and have a wonderful Thanksgiving!