Easy Thanksgiving Cake Pops Recipe in 45 Minutes
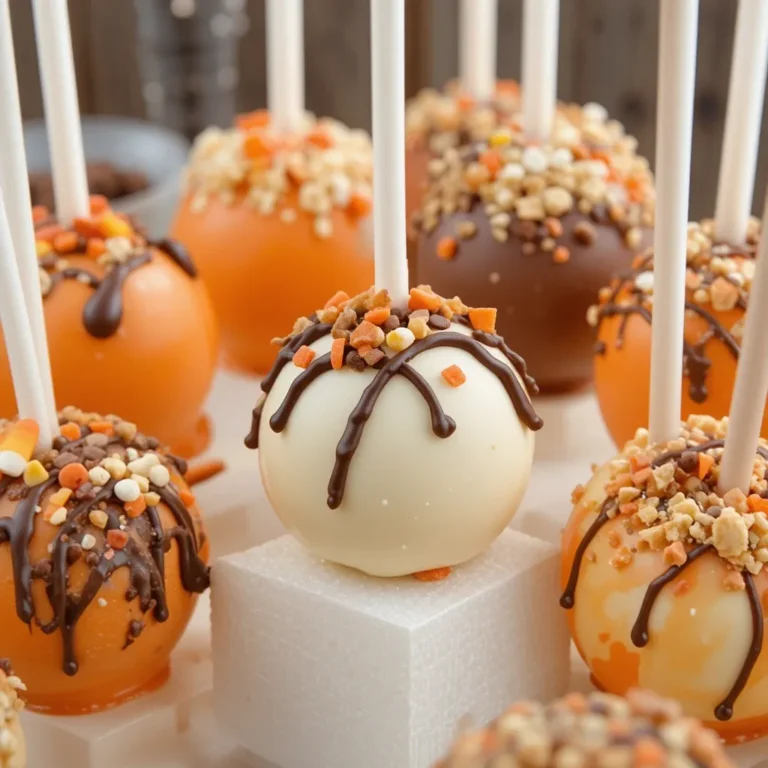
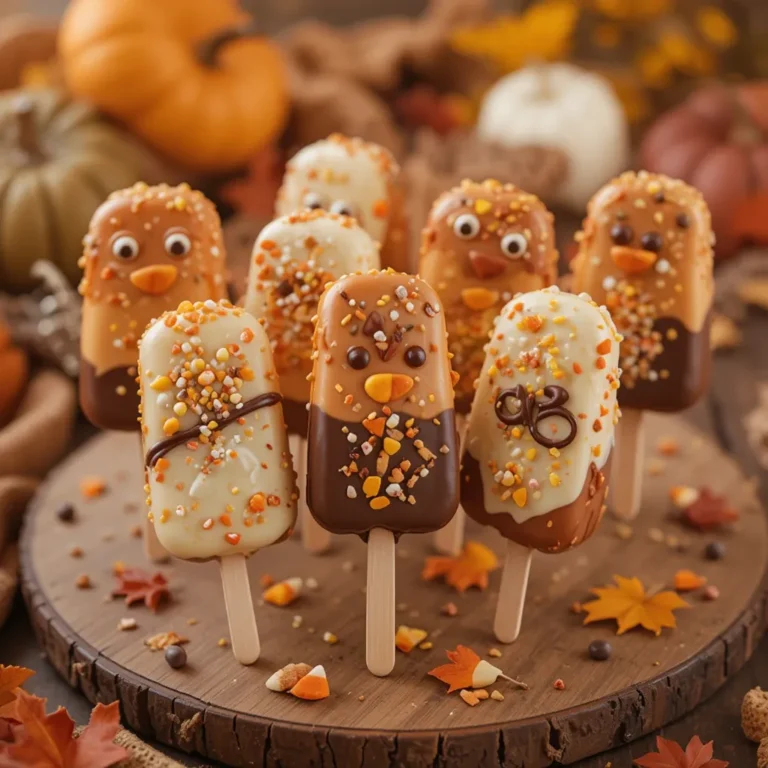
Picture this: adorable, bite-sized treats decorated like turkeys, pumpkins, and autumn leaves that taste as amazing as they look. These thanksgiving cake pops are the perfect combination of moist cake, creamy frosting, and festive decorations that will steal the show at your holiday table. Did you know that cake pops became a viral sensation in…
Picture this: adorable, bite-sized treats decorated like turkeys, pumpkins, and autumn leaves that taste as amazing as they look. These thanksgiving cake pops are the perfect combination of moist cake, creamy frosting, and festive decorations that will steal the show at your holiday table.
Did you know that cake pops became a viral sensation in 2008, and they’ve been a party favorite ever since? What makes these special is how incredibly simple they are to make—no fancy equipment needed, just about 45 minutes of your time, and ingredients you probably already have in your pantry.
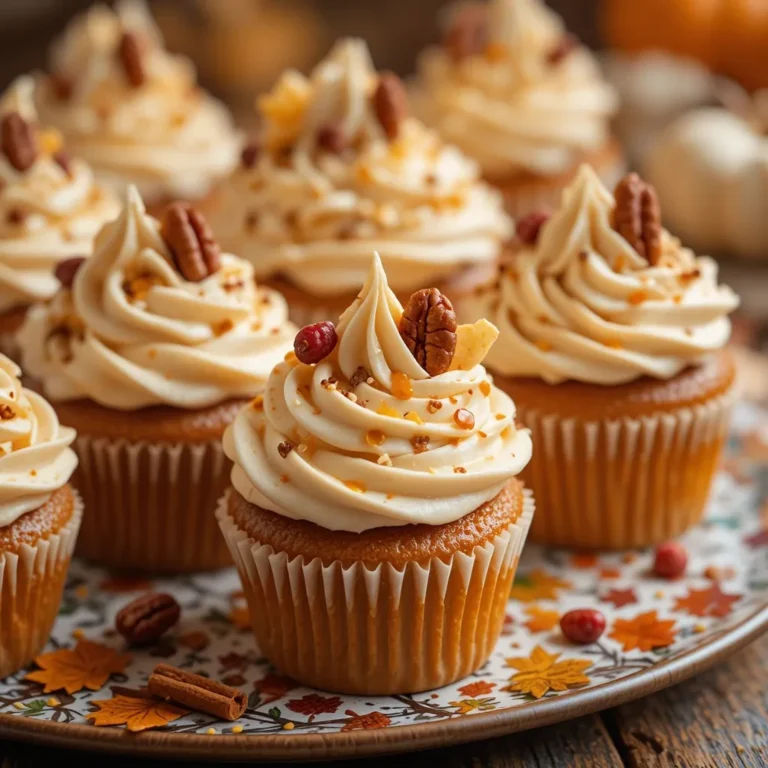
They’re perfect for kids to help decorate, making them a fun family activity that doubles as dessert. If you loved our [Pumpkin Spice Cupcakes], you’ll absolutely adore these festive thanksgiving cake pops!
What Are Thanksgiving Cake Pops?
Ever wondered why we call them “pops”? Well, it’s not just because they’re fun to say! These delightful treats are literally cake on a stick—bite-sized balls of moist cake mixed with frosting, dipped in chocolate, and decorated with festive Thanksgiving designs.
They’re like regular cake decided to get fancy and go to a costume party! The best part? They prove that old saying right: the way to a man’s heart (and everyone else’s) is truly through his stomach. Why settle for boring slice-and-serve cake when you can serve adorable, Instagram-worthy treats? Trust me, once you make these thanksgiving cake pops, you’ll be the hero of every holiday gathering!
Why You’ll Love This Thanksgiving Cake Pops Recipe
Impossibly Moist and Flavorful
The secret to perfect thanksgiving cake pops lies in the magical ratio of cake to frosting. Each pop delivers a melt-in-your-mouth texture that’s incredibly moist without being too dense. The combination of rich chocolate or vanilla cake mixed with cream cheese frosting creates an irresistible flavor that’s perfectly balanced—not too sweet, not too bland, just absolutely perfect.
Budget-Friendly Holiday Treat
Making thanksgiving cake pops at home costs a fraction of what you’d pay at a bakery or specialty shop. A single batch uses affordable ingredients like cake mix, frosting, and candy melts, yet yields 30-40 pops. That’s less than 50 cents per pop! Compare that to $3-5 per pop at stores, and you’re saving serious money while impressing your guests with homemade goodness.
Customizable and Fun to Decorate
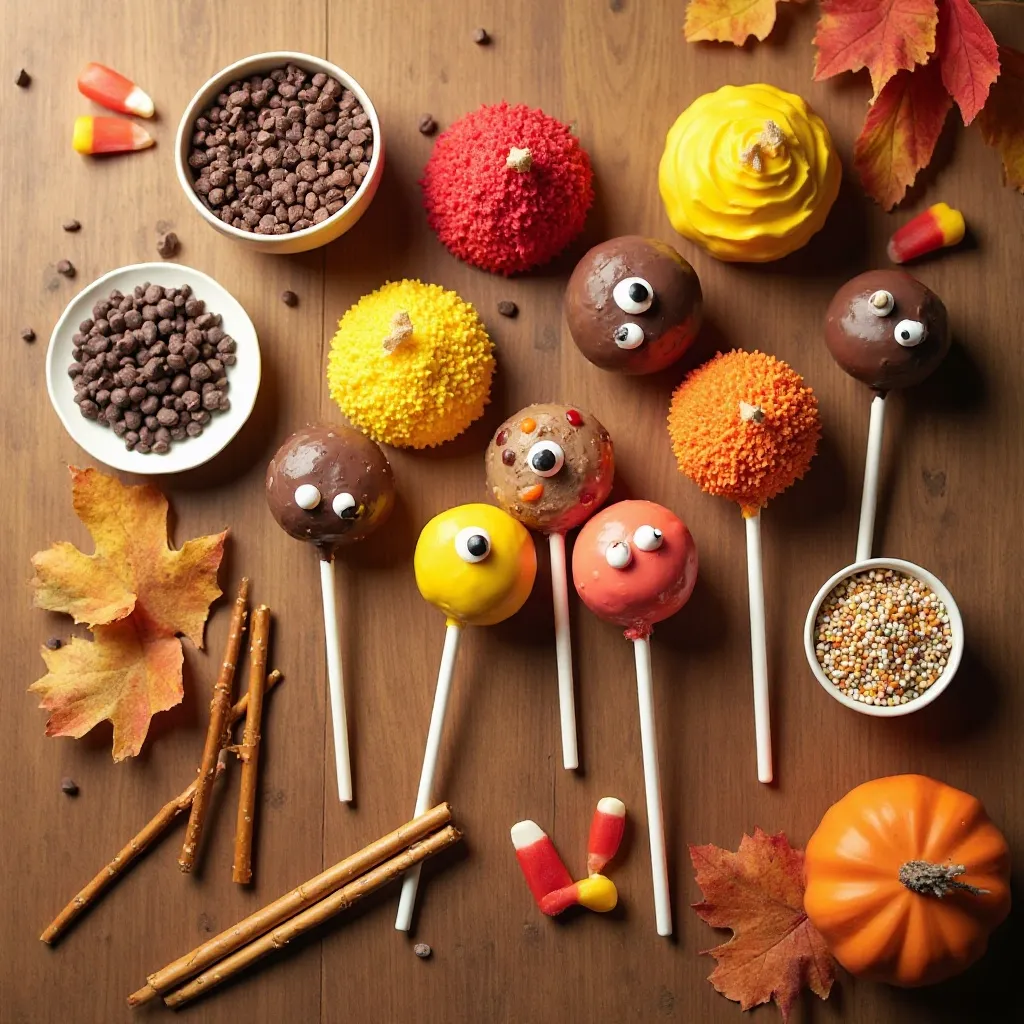
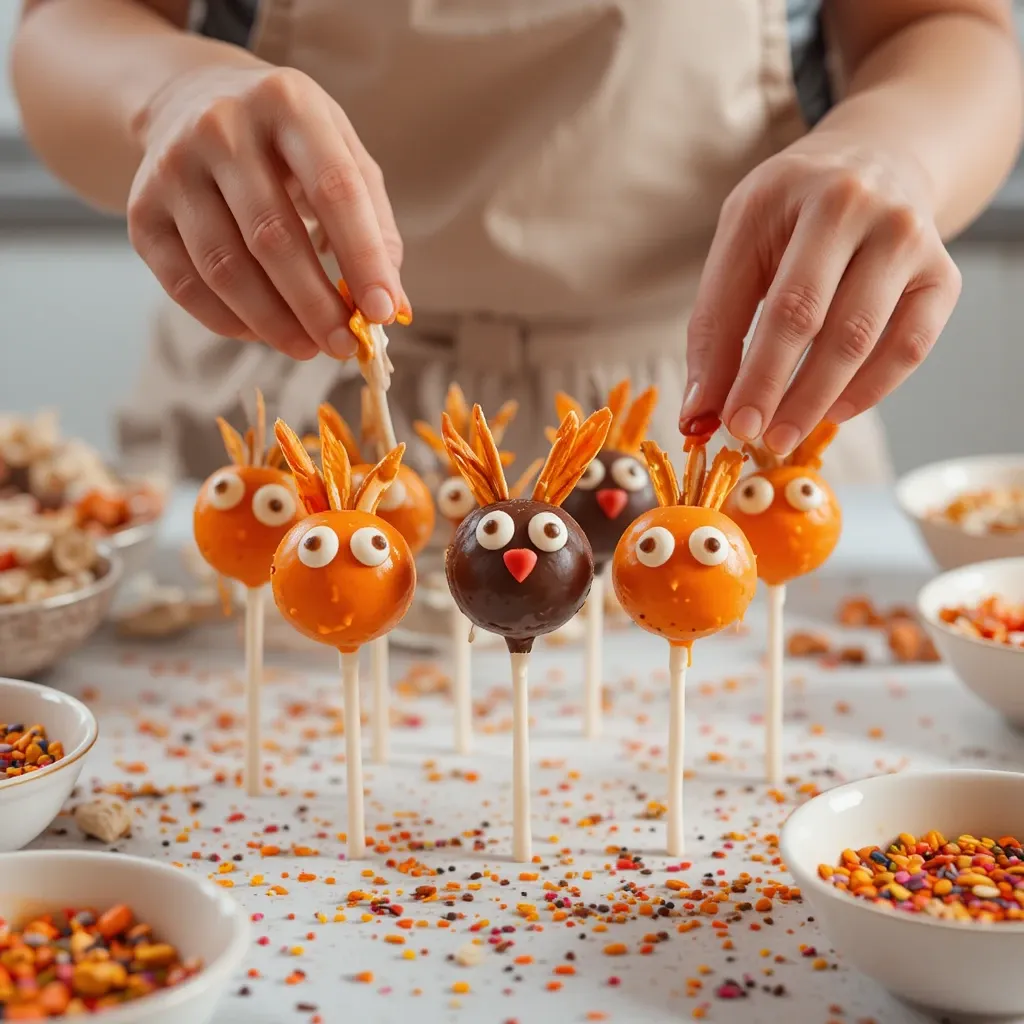
The real magic happens with the decorations! Use candy melts in autumn colors—orange, brown, yellow, and red—to create turkeys, pumpkins, acorns, and fall leaves. Add candy eyes, pretzel feathers, candy corn beaks, and edible glitter for extra pizzazz. Each pop becomes a tiny edible work of art that’s almost too cute to eat (almost!). These are similar to our [Holiday Sugar Cookies], but even more impressive because they’re three-dimensional treats that double as table decorations.
Ready to create these show-stopping thanksgiving cake pops? Let’s dive into this foolproof recipe that’ll make you look like a professional baker!
How to Make Thanksgiving Cake Pops
Quick Overview
These thanksgiving cake pops are surprisingly easy to master, even for beginners. The process involves baking a simple cake, crumbling it with frosting, shaping into balls, and decorating with festive designs.
The best part? They taste incredibly rich and satisfying with that perfect cake-to-frosting ratio that melts in your mouth.
Time Breakdown:
- Prep Time: 30 minutes
- Baking Time: 25-30 minutes
- Decorating Time: 45 minutes
- Chilling Time: 2 hours
- Total Time: 3 hours 45 minutes
- Yield: 35-40 cake pops
Key Ingredients for Thanksgiving Cake Pops
For the Cake Base:
- 1 box (15.25 oz) cake mix (chocolate, vanilla, or spice cake)
- Ingredients listed on cake box (typically eggs, oil, and water)
- 1 cup (240g) cream cheese frosting (homemade or store-bought)
For Coating and Decoration:
- 24 oz candy melts (orange, brown, chocolate, and white)
- 40 lollipop sticks (6-inch)
- Candy eyes (for turkey designs)
- Mini chocolate chips (for beaks and accents)
- Pretzel sticks (for turkey feathers and stems)
- Candy corn (optional decorations)
- Orange and yellow sprinkles
- Edible markers (brown, red, orange)
- Small styrofoam block (for drying pops)
Step-by-Step Instructions
Step 1: Bake the Cake
Preheat your oven according to the cake mix package directions (usually 350°F/175°C). Prepare the cake batter following box instructions and pour into a greased 9×13-inch baking pan. Bake for 25-30 minutes or until a toothpick inserted in the center comes out clean. Let the cake cool completely in the pan—this is crucial because warm cake will make your mixture too mushy. The cooling process takes about 1 hour, so be patient!
Step 2: Crumble and Mix
Once your cake is completely cool, break it into large chunks and place in a large mixing bowl. Using your hands or a fork, crumble the cake into fine crumbs—you want no large pieces remaining. Add the cream cheese frosting gradually, starting with 3/4 cup. Mix thoroughly with your hands (yes, get messy—it’s fun!) until the mixture holds together when squeezed. The texture should be like cookie dough, not too dry or too wet. If it’s too crumbly, add more frosting a tablespoon at a time.
Step 3: Shape the Cake Balls
Line a large baking sheet with parchment paper. Scoop about 2 tablespoons of cake mixture and roll between your palms to form smooth, round balls (about 1.5 inches in diameter). Place each ball on the prepared baking sheet, leaving space between them. You should get 35-40 balls depending on size. Refrigerate the cake balls for at least 1 hour or freeze for 15 minutes—this firming step prevents them from falling apart during dipping.
Step 4: Prepare the Coating Station
Melt your candy melts according to package directions, keeping different colors in separate bowls. The microwave method works best: microwave in 30-second intervals, stirring between each, until smooth and creamy. If the coating seems too thick, add 1 teaspoon of coconut oil or vegetable shortening to thin it out. Keep the melted candy melts warm throughout the decorating process.
Step 5: Insert the Sticks
Dip the tip of each lollipop stick about 1/2 inch into melted candy melts, then immediately insert it halfway into a chilled cake ball. The melted candy acts as “glue” to secure the stick. Push straight in to avoid cracking the ball. Return to the refrigerator for 10 minutes to set the candy coating around the stick—this prevents the pops from sliding off during dipping.
Step 6: Dip and Coat
Remove a few cake pops from the refrigerator at a time. Holding the stick, dip the entire cake ball into the melted candy melts, submerging completely. Gently tap the stick against the bowl’s edge to remove excess coating—don’t shake vigorously or the ball might fall off. Rotate slowly to ensure even coverage. The coating should be smooth and completely cover the cake with no gaps showing.
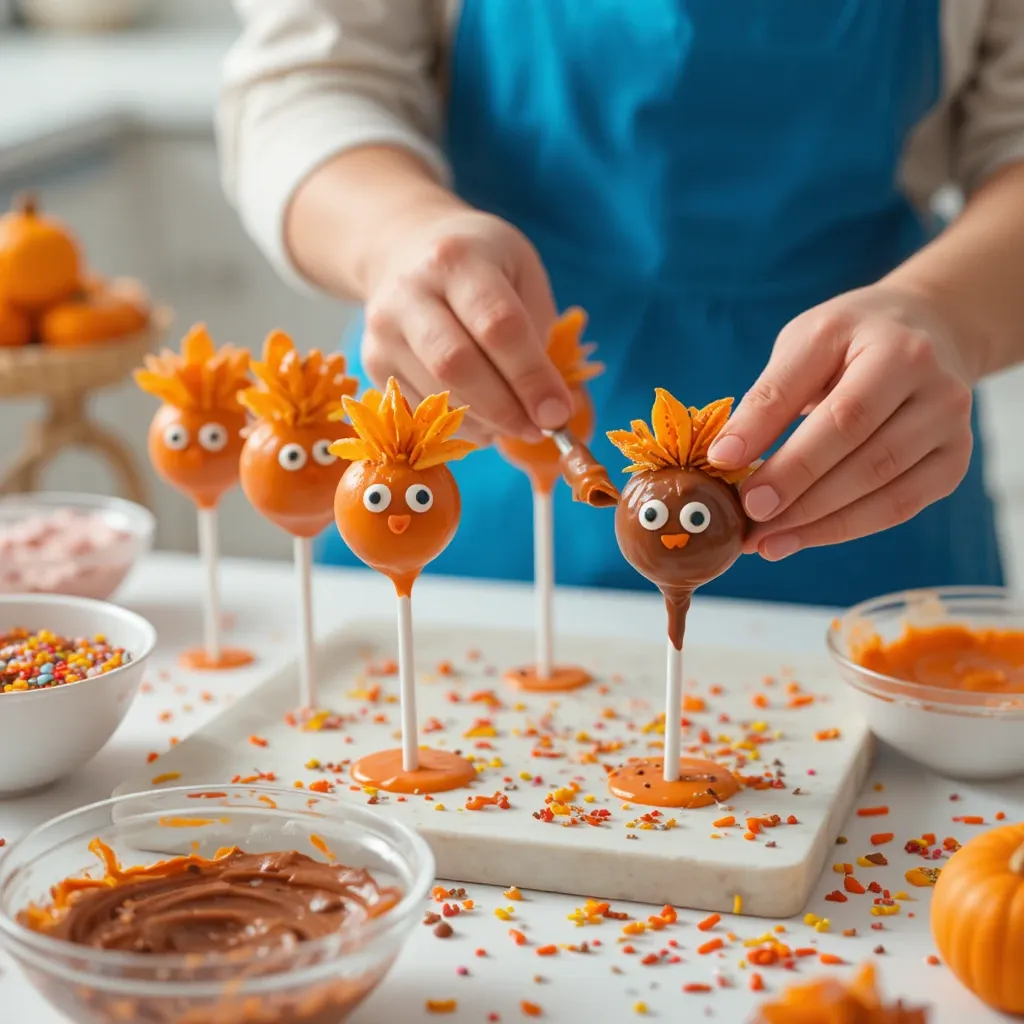
Step 7: Decorate Immediately
While the coating is still wet, add your decorations quickly! For turkeys: attach candy eyes, a candy corn nose, and insert pretzel stick “feathers” into the top back. For pumpkins: use orange coating, add green pretzel “stems” on top, and draw vertical lines with edible marker. For acorns: dip bottom half in chocolate, top half in orange, add a pretzel stem. Work fast because the coating sets within 2-3 minutes!
Step 8: Let Them Set
Immediately after decorating, insert the stick into a styrofoam block so the cake pop stands upright to dry. Don’t let them touch each other or the decorations will smudge. Let them stand at room temperature for 30 minutes until completely hardened. For faster setting, place the styrofoam block in the refrigerator for 15 minutes.
What to Serve Thanksgiving Cake Pops With
These thanksgiving cake pops are versatile treats that complement any holiday spread beautifully!
Hot Beverages: Serve alongside spiced apple cider, pumpkin spice lattes, hot chocolate with cinnamon, or chai tea. The warm drinks balance the sweetness of the pops perfectly.
Coffee Bar: Create a dessert station with various coffee options—espresso, cappuccino, or flavored creamers—so guests can enjoy their cake pops with their favorite caffeine fix.
Cheese Platter: Balance the sweetness by offering a savory cheese board with sharp cheddar, brie, crackers, grapes, and nuts before dessert.
Ice Cream: Crush a few cake pops over vanilla ice cream for an indulgent sundae, or serve them alongside pumpkin or cinnamon ice cream.
Fruit Display: Arrange the pops on a platter surrounded by fresh berries, apple slices, and orange segments for a beautiful, balanced dessert table.
Wine Pairing: Moscato, Riesling, or dessert wines pair wonderfully with the sweet chocolate coating and rich cake interior.
Top Tips for Perfecting Thanksgiving Cake Pops
Get the Right Cake-to-Frosting Ratio
The most common mistake is adding too much frosting, which makes the mixture too wet and heavy. Start with less frosting than you think you need—you can always add more. The mixture should hold together when squeezed but shouldn’t feel sticky or greasy. If you accidentally add too much, mix in extra cake crumbs to balance it out.
Ensure Proper Chilling
Never skip the chilling steps! Cold cake balls coat much more smoothly and stay on the sticks better. If you’re short on time, use the freezer for 15 minutes instead of refrigerating for an hour. The cake balls should feel firm to the touch before dipping—if they’re too soft, they’ll slide off the sticks or crack.
Master the Coating Temperature
Candy melts that are too hot will be runny and won’t coat smoothly, while melts that are too cool will be thick and clumpy. The perfect temperature is warm but not hot—you should be able to comfortably hold the bowl. If your coating gets too thick while working, microwave for 10 seconds and stir. Adding a tiny bit of coconut oil (1 teaspoon per cup of candy melts) creates a smoother, thinner coating that’s easier to work with.
Work in Small Batches
Don’t remove all your cake balls from the refrigerator at once. Take out 4-5 at a time, dip and decorate them, then get the next batch. This prevents the cake balls from warming up too much, which can cause cracking or falling off the sticks. Keep your work area organized with all decorations within easy reach.
Fix Common Problems
If cake pops crack: Your coating might be too hot or your cake balls too cold. Let balls sit at room temperature for 5 minutes before dipping. If pops fall off sticks: Use more melted candy as “glue” when inserting sticks, and make sure it sets completely before dipping. If coating is too thick: Add coconut oil or paramount crystals one teaspoon at a time.
Make Ahead Successfully
Bake and crumble the cake up to 2 days ahead—store crumbs in an airtight container at room temperature. Shape balls up to 1 week ahead and freeze them uncoated. Fully decorated cake pops can be made 3 days ahead and stored in an airtight container at room temperature or refrigerated for up to 1 week.
Storing and Reheating Tips
Room Temperature Storage
Fully decorated thanksgiving cake pops stay fresh at room temperature for 3-4 days when stored properly. Arrange them standing upright in a styrofoam block inside an airtight container or cover loosely with plastic wrap. Keep them away from direct sunlight, heat sources, and humidity, which can cause the candy coating to sweat or crack. Room temperature storage works best if your home stays below 70°F.
Refrigerator Storage
For longer storage, refrigerate cake pops for up to 2 weeks. Place them in an airtight container with parchment paper between layers to prevent sticking. Before serving, let them sit at room temperature for 20-30 minutes—this allows the coating to return to its best texture and the cake to soften slightly. Cold cake pops straight from the fridge can taste dry and the coating may appear dull.
Freezer Storage
Thanksgiving cake pops freeze beautifully for up to 3 months! Wrap each pop individually in plastic wrap, then place in a freezer-safe container or bag. Freeze undecorated cake balls for even longer storage (up to 6 months). To thaw, transfer to the refrigerator overnight, then bring to room temperature for 30 minutes before serving. Never microwave frozen cake pops as this will cause the coating to melt and become messy.
Important Note: These cake pops are meant to be enjoyed at room temperature and don’t require reheating. The candy coating and decorations will melt if heated, so always serve them at room temperature for the best taste and appearance.
Frequently Asked Questions
Can I make cake pops without a cake pop maker?
Absolutely! You don’t need any special equipment. This recipe uses the traditional method of baking a regular cake, crumbling it, mixing with frosting, and shaping by hand. Cake pop makers create different results—they’re more like mini muffins than the dense, truffle-like texture of traditional cake pops. The hand-rolled method gives you more control over size and texture.
Why do my cake pops keep falling off the sticks?
This frustrating problem usually happens for three reasons: not using enough melted candy as “glue” when inserting sticks, not letting the glue set before dipping, or dipping cake balls that aren’t cold enough. Always dip the stick tip in melted candy, insert halfway into the ball, refrigerate for 10 minutes, then dip. Also, make sure your cake-to-frosting ratio isn’t too wet, which makes heavy balls that slide off.
Can I use homemade cake instead of a box mix?
Yes! Any cake recipe works—homemade, box mix, or even store-bought cake. Pound cake, vanilla cake, chocolate cake, red velvet, or spice cake all work beautifully. The key is ensuring the cake is completely cool and moist enough to hold together when mixed with frosting. Denser cakes like pound cake actually work better than light, fluffy cakes.
What can I use instead of candy melts?
Chocolate chips are the most common substitute, but they’re trickier to work with. Add 1-2 tablespoons of coconut oil or shortening per cup of chocolate chips to thin them out. Almond bark, melting wafers, or coating chocolate also work well. Avoid regular chocolate bars—they’re too thick and don’t set properly for cake pops.
How do I prevent cracks in the coating?
Cracks appear when there’s a temperature difference between the cake ball and coating. Remove cake balls from the refrigerator 5 minutes before dipping so they’re not ice cold. Ensure your melted candy isn’t too hot—it should be warm, not steaming. Dip smoothly without hesitation, and tap gently rather than shaking vigorously.
Can I make these dairy-free or gluten-free?
Yes! Use gluten-free cake mix and check that your candy melts are gluten-free (most are). For dairy-free, use dairy-free cake mix, dairy-free frosting, and dairy-free candy melts or chocolate. The texture might vary slightly, but the method remains exactly the same.
How far in advance can I make these?
Make the cake and crumbs 2 days ahead. Shape balls and freeze them up to 1 week ahead (undecorated). Fully decorated cake pops stay fresh for 3-4 days at room temperature or up to 2 weeks refrigerated. For best results, decorate them 1-2 days before your event.
Why are my cake pops too dry or crumbly?
This means you didn’t add enough frosting to the cake crumbs. The mixture should feel like play-dough—moldable and slightly sticky. Add frosting gradually, 1 tablespoon at a time, mixing thoroughly between additions. Different cake mixes and baking conditions affect moisture levels, so adjust as needed.
Nutrition Information (Per Cake Pop)
| Nutrient | Amount |
|---|---|
| Calories | 145 |
| Total Fat | 7g |
| Saturated Fat | 4g |
| Cholesterol | 15mg |
| Sodium | 95mg |
| Total Carbohydrates | 20g |
| Dietary Fiber | 0g |
| Sugars | 15g |
| Protein | 1g |
Note: Nutrition values are approximate and vary based on specific ingredients and decorations used.
Pro Decorator Tips
Create a Production Line
Set up your workspace efficiently: cake balls on one side, melted candy in the middle, decorations and styrofoam block on the other side. This assembly-line approach speeds up the process and reduces mess. Have paper towels handy for spills and extra sticks nearby in case any break.
Color Coordination
Use Thanksgiving’s natural color palette: burnt orange, chocolate brown, golden yellow, deep red, and cream. These colors instantly evoke autumn and make your pops look cohesive even if they’re decorated differently. Avoid bright, neon colors that don’t match the holiday theme.
Practice Your Design
Before decorating all your pops, practice your design on 2-3 test pops. This helps you figure out the right amount of coating, the best decoration placement, and how quickly you need to work. Once you’ve perfected the technique, the rest will go smoothly.
Safety for Kids
If kids are helping decorate, give them pre-dipped pops that just need decorations added. Keep the hot melted candy away from young children. Provide them with candy eyes, sprinkles, and other stick-on decorations that don’t require melted candy. Supervise pretzel insertion to prevent poking fingers!
These thanksgiving cake pops transform a simple dessert into a memorable centerpiece that captures the joy and warmth of the holiday season. Whether you’re a beginner baker or a seasoned pro, this recipe delivers consistent, delicious results that look professionally made. The best part? You’ll have as much fun creating these adorable treats as your guests will have devouring them!
Now grab your apron, gather your ingredients, and start creating these festive thanksgiving cake pops. Your holiday table deserves these show-stopping treats! Don’t forget to share your beautiful creations with us—we love seeing your decorated masterpieces!
Happy Thanksgiving baking!