Easy Thanksgiving Cakesicles Recipe – Perfect Fall Treat
Thanksgiving cakesicles are the ultimate festive treat that combines creamy cake pops with the fun of popsicles! These adorable handheld desserts feature moist cake mixed with frosting, dipped in silky chocolate, and decorated with fall-themed designs. They’re incredibly simple to make, require no baking experience, and are ready in under an hour. Perfect for holiday…
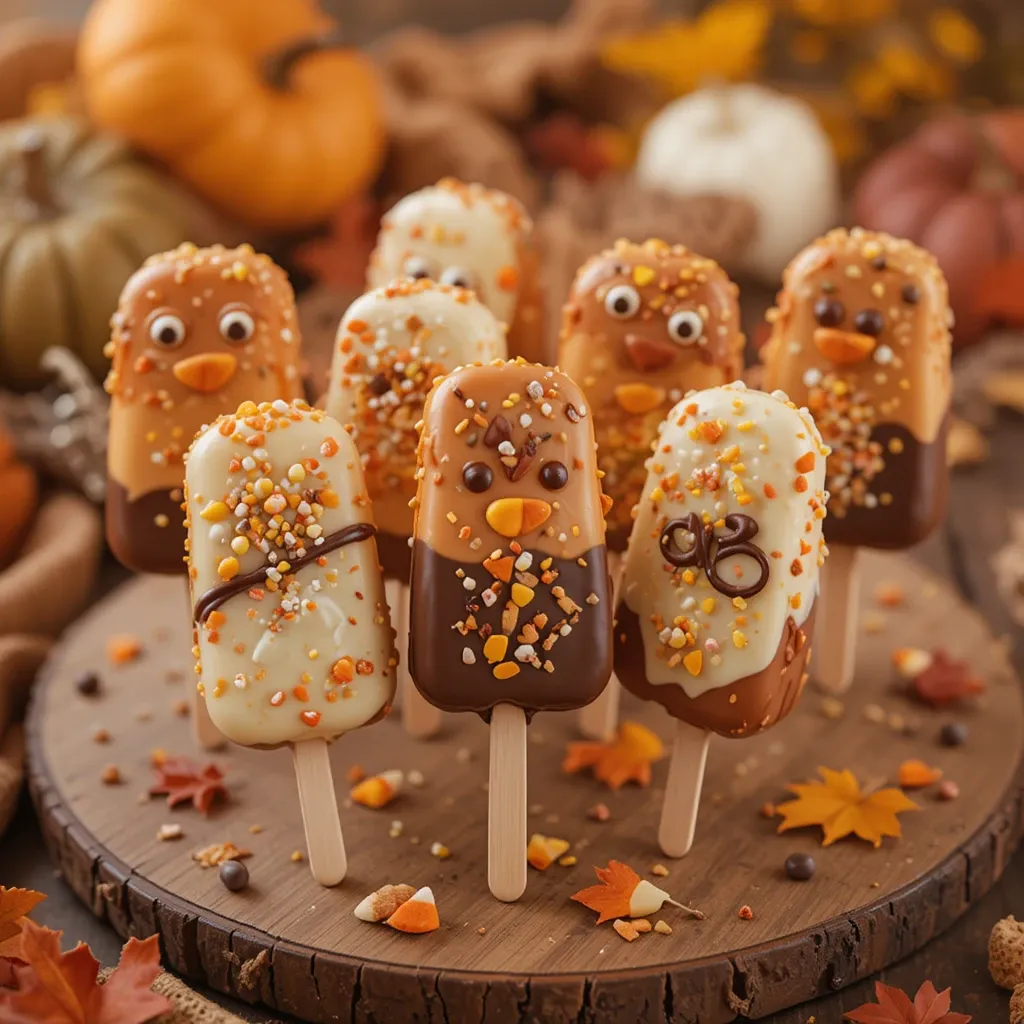
Thanksgiving cakesicles are the ultimate festive treat that combines creamy cake pops with the fun of popsicles! These adorable handheld desserts feature moist cake mixed with frosting, dipped in silky chocolate, and decorated with fall-themed designs.
They’re incredibly simple to make, require no baking experience, and are ready in under an hour. Perfect for holiday gatherings, these bite-sized beauties will have your guests asking for the recipe. If you loved our pumpkin cake pops, you’ll absolutely adore these Thanksgiving cakesicles that take holiday treats to the next level!
What are Thanksgiving Cakesicles?
Ever wondered what happens when cake pops meet popsicles at a Thanksgiving party? That’s exactly what Thanksgiving cakesicles are! These clever creations got their name from combining “cake” and “popsicle” into one delicious portmanteau.
They’re basically cake pops shaped like popsicles, served on sticks for easy eating. As the saying goes, the way to a man’s heart is through his stomach, and these festive treats definitely prove it! Ready to make your own batch of these adorable Thanksgiving delights?
Why You’ll Love This Thanksgiving Cakesicles Recipe
The Perfect Holiday Showstopper
Thanksgiving cakesicles are guaranteed to be the star of your dessert table. These Instagram-worthy treats look professionally made but are surprisingly easy to create at home. The combination of rich, moist cake filling covered in smooth chocolate coating creates an irresistible texture that melts in your mouth.
Budget-Friendly Homemade Goodness
Making Thanksgiving cakesicles at home costs a fraction of what you’d pay at a bakery. A single batch can yield 12-15 cakesicles for under $10, while bakeries charge $3-5 per piece. Plus, you control the quality of ingredients and can customize flavors to your family’s preferences.
Endless Decoration Possibilities
The fun doesn’t stop at the basic recipe. You can decorate these beauties with orange and brown drizzles, autumn sprinkles, candy corn, mini chocolate chips, or even edible gold dust. Add turkey designs, pumpkin faces, or fall leaves using candy melts. Similar to our Halloween cake pops, the decoration options are limitless, making each batch unique and personal.
These treats are also incredibly versatile. Make them ahead for stress-free entertaining, customize them for dietary needs, or involve kids in the decorating process. Whether you’re hosting Thanksgiving dinner or bringing dessert to a potluck, these cakesicles will impress everyone. Don’t wait until November – try making a test batch today and perfect your decorating skills!
How to Make Thanksgiving Cakesicles
Quick Overview
Thanksgiving cakesicles are surprisingly easy to make, even for beginners. The process involves crumbling cake, mixing it with frosting, molding it into popsicle shapes, and coating with chocolate. The result is a rich, fudgy texture that’s absolutely divine.
Time Breakdown:
- Prep Time: 20 minutes
- Chill Time: 30 minutes
- Decorating Time: 15 minutes
- Total Time: 65 minutes
- Servings: 12-15 cakesicles
Key Ingredients for Thanksgiving Cakesicles
For the Cake Base:
- 2 cups crumbled cake (store-bought or homemade – vanilla, chocolate, or pumpkin spice work great)
- 1/3 cup cream cheese frosting (adjust for desired consistency)
- 1/4 teaspoon vanilla extract
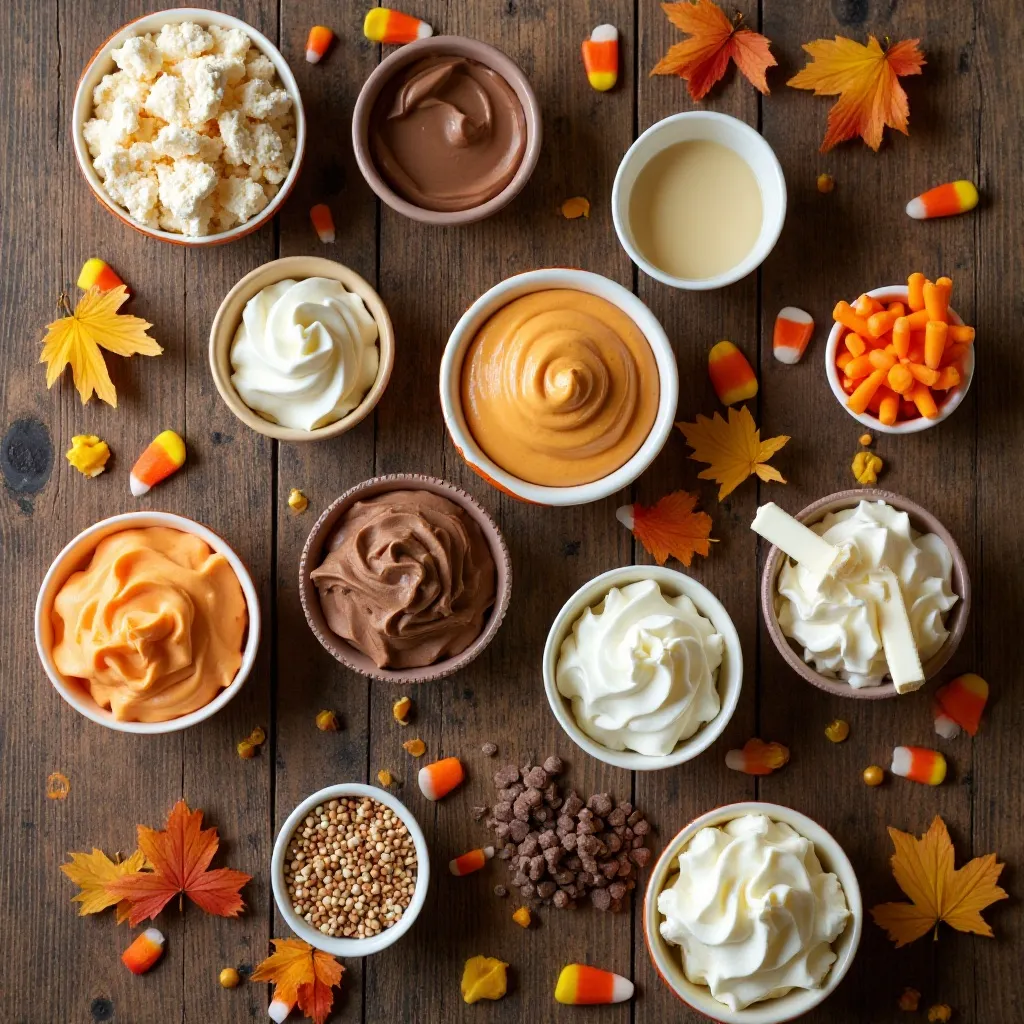
For the Coating:
- 16 oz candy melts or chocolate chips (orange, brown, or white for Thanksgiving colors)
- 2 tablespoons coconut oil (helps create a smooth coating)
For Decoration:
- Autumn-colored sprinkles
- Candy corn pieces
- Orange and brown candy melts for drizzling
- Edible fall-themed decorations
- Mini chocolate chips
Equipment Needed:
- Cakesicle molds (silicone works best)
- Popsicle sticks
- Mixing bowls
- Microwave-safe bowls
- Spatula
- Piping bags or squeeze bottles
- Parchment paper
Step-by-Step Instructions
Step 1: Prepare Your Cake Base
Start by crumbling your cake into a large mixing bowl. Use your hands or a fork to break it into fine crumbs with no large chunks remaining. If using a store-bought cake, remove any hard edges or overly browned parts first. The finer your crumbs, the smoother your final texture will be.
Step 2: Mix with Frosting
Add the cream cheese frosting to your cake crumbs, starting with 1/4 cup. Mix thoroughly with your hands or a sturdy spoon until the mixture holds together when squeezed. The consistency should be similar to cookie dough – not too dry or too wet. Add more frosting one tablespoon at a time if needed. The mixture should form a ball without crumbling apart or feeling sticky.
Step 3: Prepare Your Cakesicle Molds
Place your silicone cakesicle molds on a flat baking sheet for stability. Insert popsicle sticks into the designated stick holders in the mold. This ensures the sticks stay perfectly centered while you work.
Step 4: Fill the Molds
Take about 2-3 tablespoons of cake mixture and press it firmly into each cavity of the mold. Make sure to pack it tightly to avoid air pockets. The mixture should be level with the top of the mold. Use your fingers or a small offset spatula to smooth the surface completely flat. This creates a nice, even base for your chocolate coating.
Step 5: Freeze to Set
Place the filled molds in the freezer for 20-30 minutes. This step is crucial because it firms up the cake mixture, making it easier to remove from the molds and preventing it from falling apart when dipped in chocolate. Don’t skip this step!
Step 6: Melt Your Chocolate Coating
While the cakesicles freeze, melt your candy melts or chocolate chips. Place them in a microwave-safe bowl with the coconut oil. Microwave in 30-second intervals, stirring between each interval, until completely smooth and glossy. The coconut oil helps thin the chocolate for easier dipping and creates a beautiful shine.
Step 7: Remove from Molds
Once frozen solid, carefully flex the silicone mold to release each cakesicle. Gently pop them out one at a time. If they resist, they may need a few more minutes in the freezer. Handle them by the stick to avoid fingerprints on the surface.
Step 8: Coat with Chocolate
Working quickly, dip each cakesicle into the melted chocolate, holding it by the stick. Submerge it completely, then lift it out and gently tap the stick on the edge of the bowl to remove excess chocolate. Let the excess drip off for about 5-10 seconds. Place the coated cakesicle on parchment paper with the stick hanging off the edge of the counter or use a foam block to hold it upright.
Step 9: Decorate Immediately
Before the chocolate sets (you have about 60-90 seconds), add your decorations. Sprinkle on fall-colored sprinkles, press candy corn pieces into the chocolate, or drizzle with contrasting colored candy melts. Work quickly because once the chocolate hardens, decorations won’t stick.
Step 10: Let Set Completely
Allow the chocolate coating to set at room temperature for about 15 minutes, or place them in the refrigerator for 5 minutes to speed up the process. Once set, your Thanksgiving cakesicles are ready to serve or package as gifts!
What to Serve Thanksgiving Cakesicles With
Thanksgiving cakesicles are versatile treats that pair beautifully with various beverages and desserts.
Hot Beverages: Serve alongside pumpkin spice lattes, hot apple cider, chai tea, or hot chocolate for a cozy autumn pairing.
Coffee Service: These make excellent companions to after-dinner coffee or espresso, providing a sweet bite without being overwhelming.
Dessert Platters: Display them on a dessert board with other fall treats like pecan pie bites, pumpkin cookies, and caramel apple slices for variety.
Ice Cream Pairing: Serve with vanilla or cinnamon ice cream for an indulgent dessert combination.
Top Tips for Perfecting Thanksgiving Cakesicles
Use Room Temperature Cake
Never use warm or hot cake for this recipe. Let your cake cool completely to room temperature before crumbling. Warm cake will make your frosting melt, creating a greasy, unworkable mixture.
Don’t Over-Mix with Frosting
The biggest mistake is adding too much frosting. Start with less than you think you need. Over-mixed cake pops are greasy and fall apart easily. The mixture should barely hold together when squeezed.
Freeze Before Dipping
Never skip the freezing step. Cold cakesicles are much easier to dip and won’t fall apart in the warm chocolate. If your cakesicles start to soften while decorating, pop them back in the freezer for 5 minutes.
Thin Your Chocolate Properly
Add coconut oil or paramount crystals to your melted chocolate for the perfect dipping consistency. Too-thick chocolate creates uneven coats and clumps. The chocolate should drip smoothly off a spoon.
Work in Batches
Don’t try to coat all your cakesicles at once. Work in batches of 3-4 to ensure you have time to decorate before the chocolate sets. Keep uncoated cakesicles in the freezer while you work.
Use Quality Molds
Invest in good silicone cakesicle molds. Cheap molds have rough edges and don’t release cleanly. Wilton and Rosanna Pansino brands are excellent choices.
Test Your Consistency
Before filling all your molds, test one cakesicle first. This lets you adjust the cake-to-frosting ratio if needed before committing to the full batch.
Choose the Right Cake Flavor
Pumpkin spice, vanilla, chocolate, or spiced apple cake work best for Thanksgiving. Avoid delicate flavors like lemon that might clash with chocolate coating.
Storing and Reheating Tips
Room Temperature Storage
Thanksgiving cakesicles can sit at room temperature for up to 3 days if stored properly. Place them in an airtight container with parchment paper between layers to prevent sticking. Keep them away from direct sunlight and heat sources.
Refrigerator Storage
For longer storage, refrigerate your cakesicles in an airtight container for up to 10 days. Let them sit at room temperature for 10-15 minutes before serving for the best texture and flavor. Cold cakesicles are too firm and don’t have the same melt-in-your-mouth quality.
Freezer Storage
These freeze beautifully for up to 3 months! Wrap each cakesicle individually in plastic wrap, then place them all in a freezer-safe container or bag. This prevents freezer burn and keeps them fresh. Label with the date so you know when you made them.
Thawing Instructions
When ready to serve frozen cakesicles, remove them from the freezer and let them thaw in the refrigerator overnight. For quicker thawing, leave them at room temperature for 30-45 minutes. Never microwave cakesicles as this will melt the chocolate coating.
Make-Ahead Tips
These are perfect for make-ahead desserts! Prepare them up to 2 weeks in advance and store in the freezer. Thaw the day before your event. You can also make the cake mixture up to 3 days ahead, keep it refrigerated, and mold and coat them the day before serving.
Gifting and Transport
When gifting or transporting, place each cakesicle in a clear treat bag tied with ribbon. Store in a flat container to prevent the sticks from breaking. Transport in a cooler during warm weather to prevent melting.
Frequently Asked Questions
Can I use boxed cake mix for Thanksgiving cakesicles?
Absolutely! Boxed cake mix works perfectly for cakesicles. Bake according to package directions, let cool completely, and crumble as directed. Pumpkin spice, vanilla, or chocolate cake mixes are ideal choices for Thanksgiving.
Why are my cakesicles falling off the sticks?
This happens when the cake mixture is too wet, not frozen long enough, or the chocolate is too hot. Make sure your mixture is firm, freeze for at least 30 minutes, and let your melted chocolate cool slightly before dipping.
Can I make cakesicles without molds?
Yes! You can hand-shape the cake mixture into popsicle shapes and insert sticks manually. Freeze them on a parchment-lined tray for at least 1 hour before dipping. They won’t be as uniform but still taste amazing.
What’s the best chocolate for coating cakesicles?
Candy melts are the easiest option because they’re formulated for coating and set up quickly with a nice shine. However, you can also use high-quality chocolate chips mixed with coconut oil or paramount crystals for thinning.
How do I prevent cracks in my chocolate coating?
Cracks occur when cold cakesicles meet hot chocolate. Let your frozen cakesicles sit at room temperature for 2-3 minutes before dipping, and make sure your chocolate isn’t too hot. The temperature difference should be minimal.
Can I make these dairy-free or vegan?
Yes! Use dairy-free cake and vegan frosting, then coat with dairy-free chocolate chips or vegan candy melts. The process remains exactly the same.
How far in advance can I decorate cakesicles?
You can fully decorate cakesicles up to 2 weeks in advance if frozen, or 3 days in advance if refrigerated. Just make sure they’re stored properly in airtight containers.
My chocolate is too thick – what should I do?
Add 1 teaspoon of coconut oil at a time and stir until you reach the right consistency. The chocolate should flow smoothly off a spoon but still coat the cakesicle completely.
Nutrition Information
| Nutrient | Per Cakesicle |
|---|---|
| Calories | 180 |
| Total Fat | 9g |
| Saturated Fat | 5g |
| Cholesterol | 15mg |
| Sodium | 85mg |
| Total Carbohydrates | 24g |
| Dietary Fiber | 1g |
| Sugars | 18g |
| Protein | 2g |
Note: Nutrition values are approximate and vary based on specific ingredients used.
Creative Variations to Try
Pumpkin Pie Cakesicles
Use pumpkin spice cake and add 1/4 teaspoon of cinnamon to your cake mixture. Coat with white chocolate and drizzle with caramel. Top with crushed graham crackers for a pie crust effect.
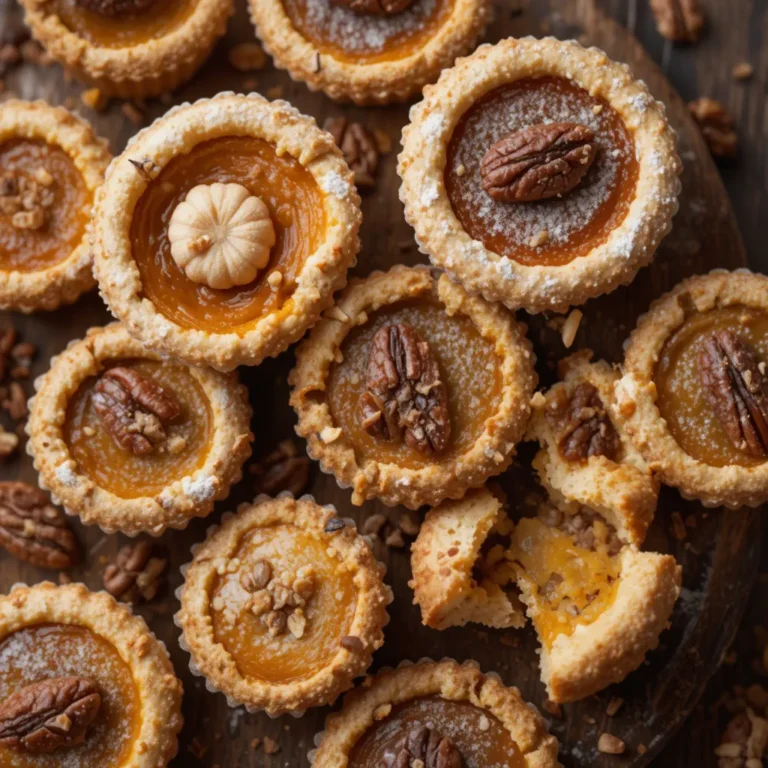
Pecan Pie Cakesicles
Mix chopped pecans into your cake base, coat with milk chocolate, and drizzle with caramel. Add a candied pecan half on top before the chocolate sets.
Apple Cider Cakesicles
Use spiced apple cake and add 1 tablespoon of apple cider concentrate to the mixture. Coat with white chocolate and sprinkle with cinnamon sugar.
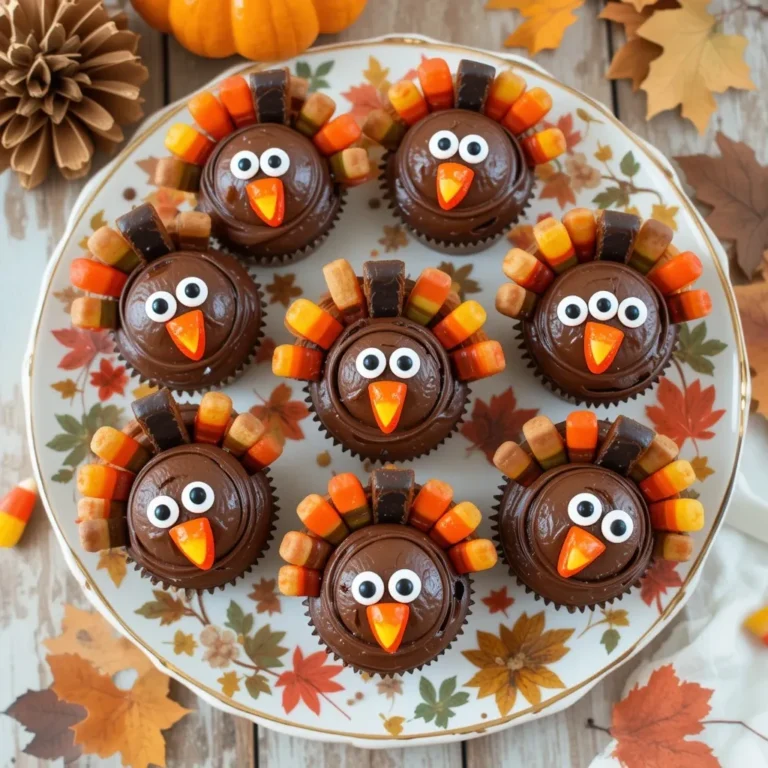
Turkey Design Cakesicles
Create adorable turkey faces using candy eyes, candy corn for beaks, and chocolate chips arranged in a fan pattern for feathers. Kids absolutely love these!
Maple Bacon Cakesicles
For adults only! Add crumbled bacon to vanilla cake mixture, coat with maple-flavored chocolate, and top with bacon bits. Sweet and savory perfection.
Final Thoughts
Thanksgiving cakesicles are more than just a dessert – they’re an experience that brings joy to both making and eating them. These adorable treats combine nostalgia, creativity, and delicious flavors into one perfect package.
Whether you’re a seasoned baker or someone who can barely boil water, you can master this recipe. The forgiving nature of cake pops means even imperfect ones taste incredible.
Make them for your Thanksgiving gathering, gift them to neighbors, or simply enjoy them as a special treat with your family. The smiles they create are worth every minute spent in the kitchen.
So grab your ingredients, put on some festive music, and start creating your own batch of Thanksgiving cakesicles. Your dessert table will never be the same!
Pin this recipe for later and share your creations with us on social media using #ThanksgivingCakesicles – we love seeing your decorated masterpieces!