Easy Thanksgiving Cupcake Icing – Perfect for Holiday Baking
Delicious Thanksgiving cupcake icing! Easy, festive frosting ideas to top your cupcakes and bring holiday cheer to your dessert table this season.
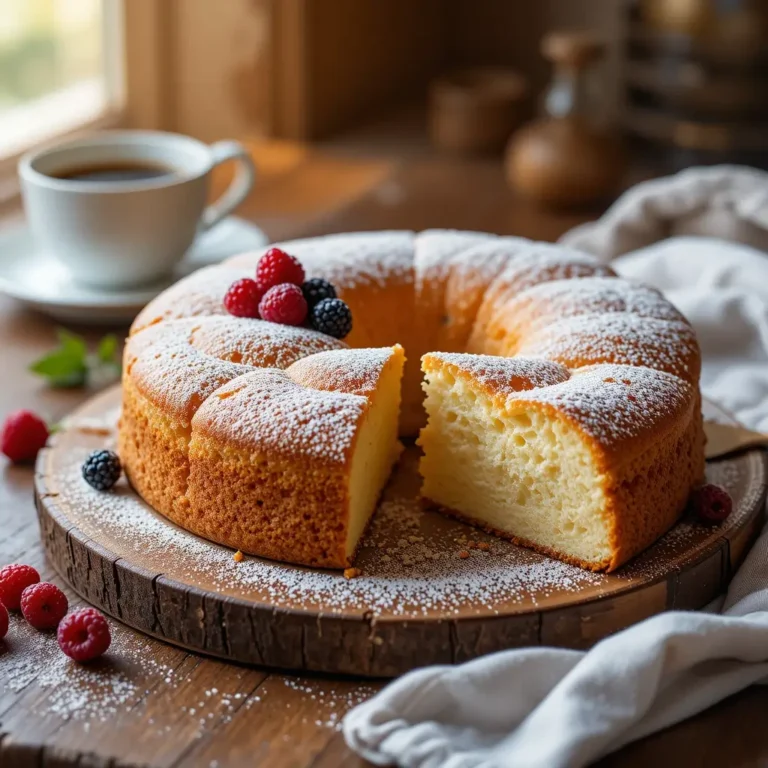
There’s something magical about swirling creamy, spiced icing onto a perfectly baked cupcake during Thanksgiving week. This Thanksgiving cupcake icing transforms ordinary cupcakes into showstopping desserts that’ll have your guests reaching for seconds (and thirds!).
I discovered this recipe three years ago when my plain vanilla buttercream just wasn’t cutting it at our family gathering, and now it’s become my secret weapon.
Whether you’re hosting twenty people or just want to impress your picky Aunt Susan, this icing is incredibly simple to whip up in under fifteen minutes and pairs beautifully with everything from pumpkin to apple spice cupcakes.
What is Thanksgiving Cupcake Icing?
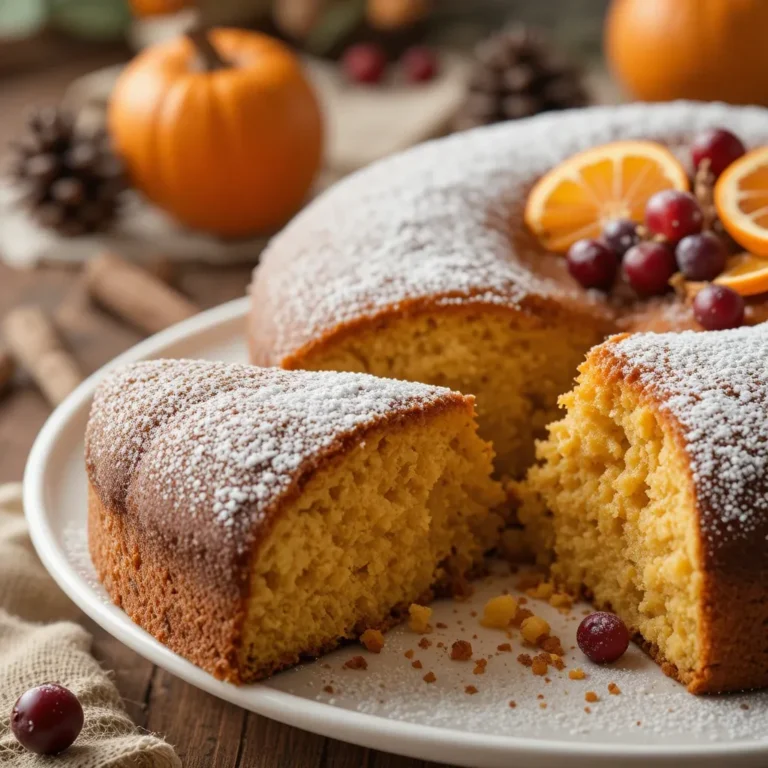
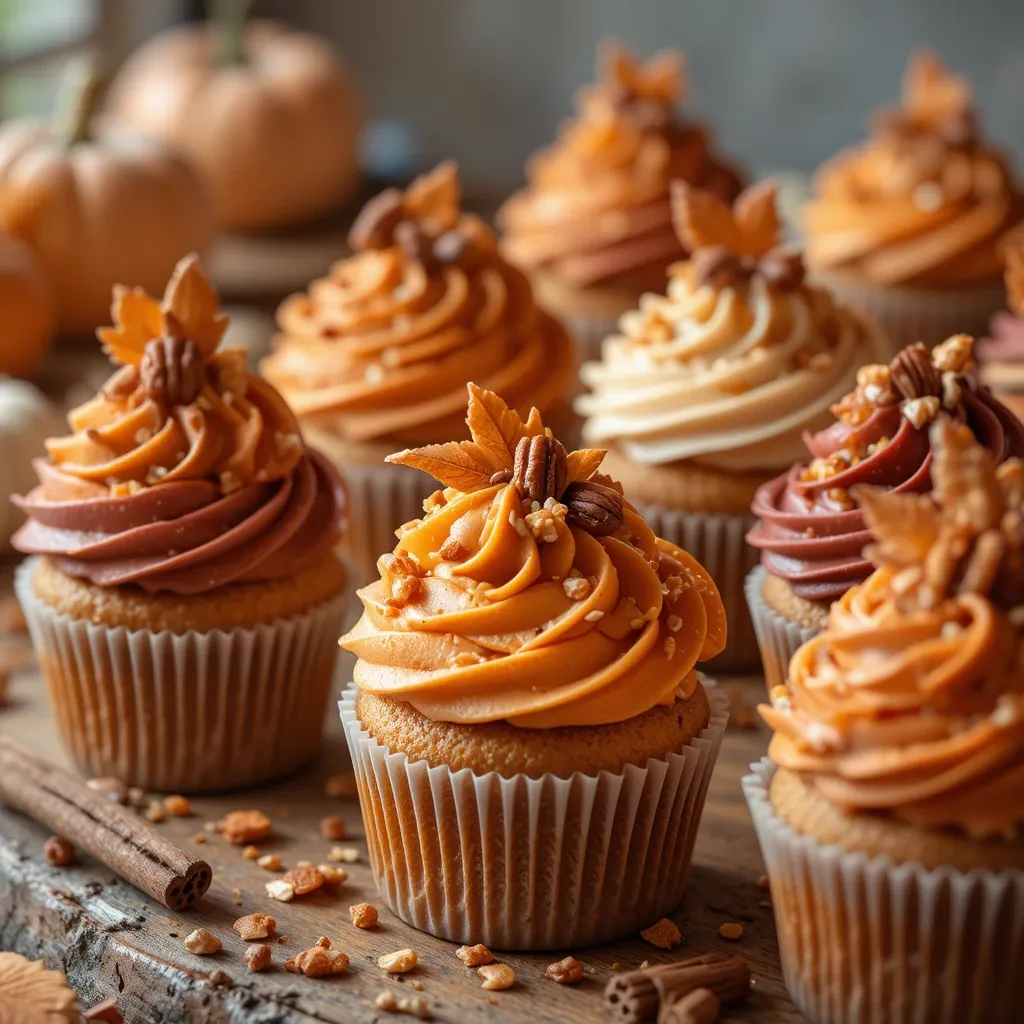
So what exactly makes icing “Thanksgiving-worthy” anyway? Is it the warm spices that remind you of grandma’s kitchen? The gorgeous autumn colors? Well, yes to all of that! Thanksgiving cupcake icing is essentially a luxurious buttercream infused with fall flavors like cinnamon, nutmeg, and maple, often tinted in beautiful harvest hues of orange, burgundy, or cream.
You know what they say—the way to a man’s heart is through his stomach, and I’d add that the way to everyone’s heart at Thanksgiving is through perfectly frosted cupcakes! Trust me, once you try making this homemade icing, you’ll wonder why you ever settled for store-bought.
Why You’ll Love This Thanksgiving Cupcake Icing
Rich, Creamy Texture That Pipes Like a Dream
This icing has the most incredible silky-smooth consistency that holds its shape beautifully whether you’re piping elegant swirls or spreading it rustic-style with an offset spatula. The secret is the perfect ratio of butter to powdered sugar, plus a touch of heavy cream that makes it luxuriously creamy without being too heavy.
The flavor is what really sets it apart, though. I’ve infused it with warm cinnamon, a hint of nutmeg, and pure maple syrup that creates this cozy, autumn-spiced taste that screams Thanksgiving.
Budget-Friendly Holiday Baking
Here’s something that’ll make you smile: making this Thanksgiving cupcake icing at home costs a fraction of what you’d pay at a bakery. A batch that frosts two dozen cupcakes runs about $4-5, while bakery cupcakes easily cost $3-4 each. That’s serious savings, especially when you’re feeding a crowd!
Plus, you probably already have most of these ingredients in your pantry. No specialty items or expensive extracts required—just good quality butter, powdered sugar, and those warm spices we all love.
Endless Flavor Variations
The base recipe is fantastic, but what I really love is how versatile it is. Add cream cheese for tanginess, swap maple syrup for brown butter for nutty richness, or fold in caramel sauce for extra decadence. You can even make it pumpkin spice-forward or apple cider-infused.
If you enjoyed my brown butter frosting recipe, you’ll absolutely adore this Thanksgiving version—it has similar richness but with those cozy holiday spices that make it perfect for November celebrations.
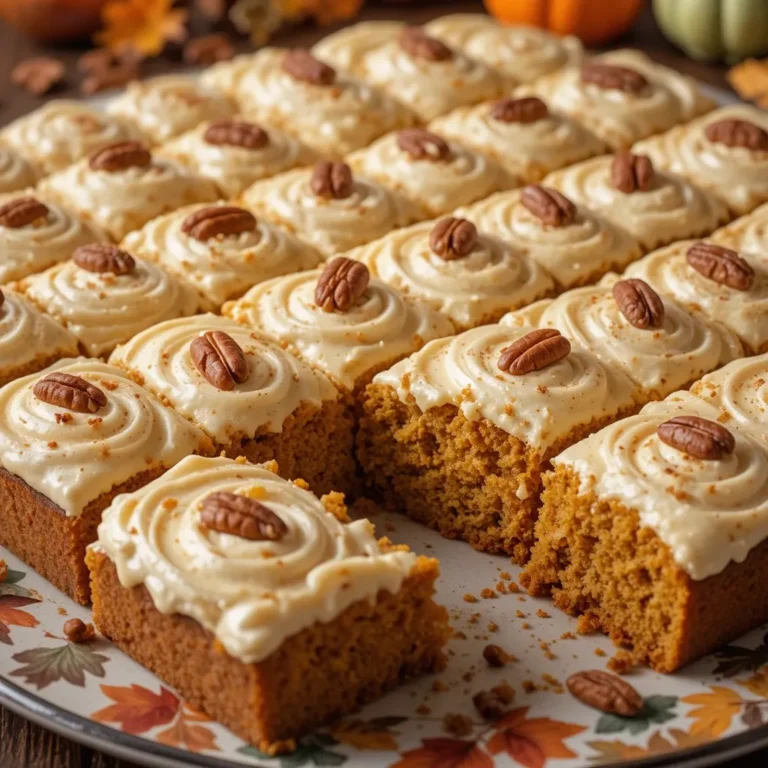
Want to make these cupcakes even more special? Pipe the icing high, then top with candied pecans, a drizzle of salted caramel, or even tiny fondant leaves for an Instagram-worthy presentation. Your family will think you spent hours at a fancy bakery!
How to Make Thanksgiving Cupcake Icing
Quick Overview
This Thanksgiving cupcake icing comes together surprisingly fast for something so delicious. You’ll be amazed at how a handful of simple ingredients transform into bakery-quality frosting. The key is properly softened butter and good mixing technique—that’s what gives you that light, fluffy texture everyone loves.
The best part? This recipe is forgiving and hard to mess up, making it perfect for beginner bakers and seasoned pros alike.
Prep Time: 10 minutes
Total Time: 15 minutes
Yield: Frosts 24 cupcakes generously
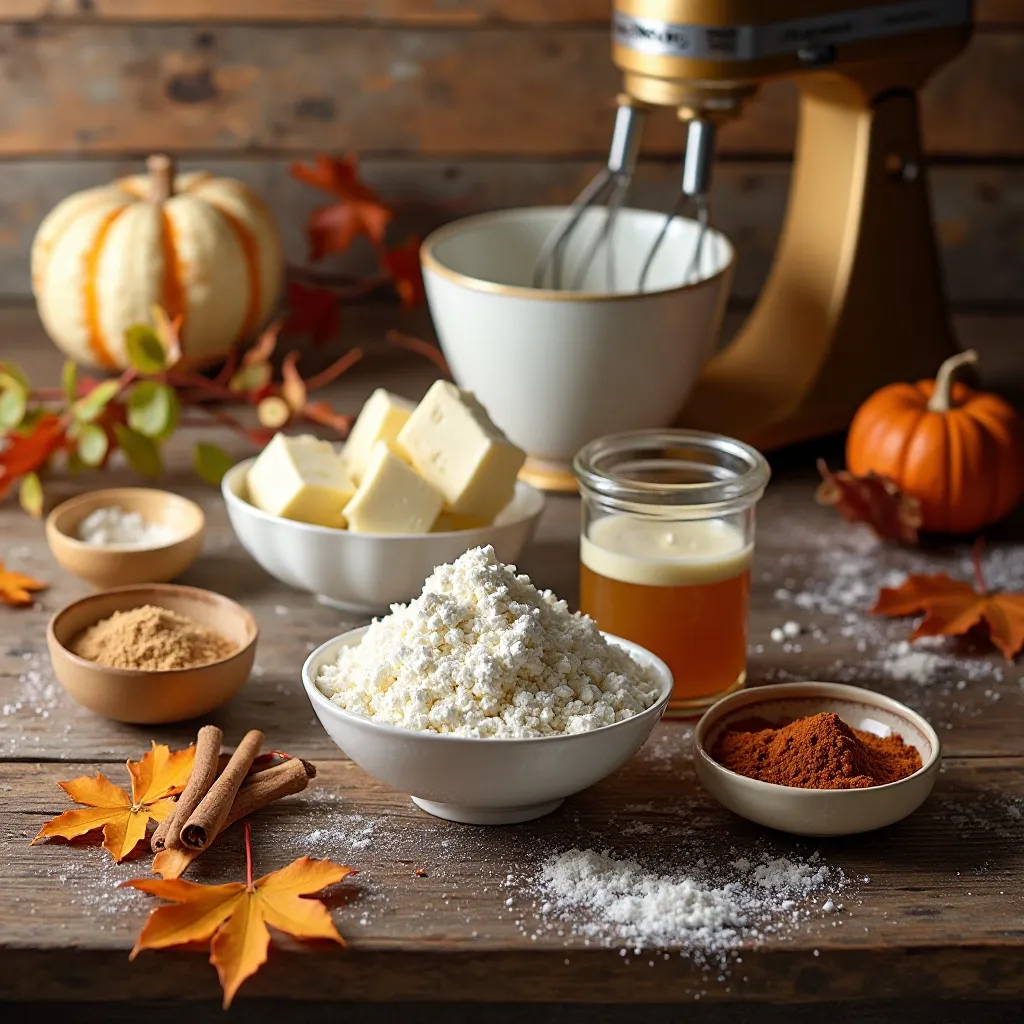
Key Ingredients for Thanksgiving Cupcake Icing
- 1 cup (2 sticks) unsalted butter, softened to room temperature
- 4 cups powdered sugar, sifted
- 3-4 tablespoons heavy cream or whole milk
- 2 teaspoons pure vanilla extract
- 1 teaspoon ground cinnamon
- 1/4 teaspoon ground nutmeg
- 1/8 teaspoon ground ginger (optional but lovely)
- 2 tablespoons pure maple syrup
- Pinch of salt
- Gel food coloring in autumn shades (optional)
Pro tip: Use the highest quality butter you can afford—it makes a noticeable difference in flavor!
Step-by-Step Instructions
Step 1: Prepare Your Butter
Start by making sure your butter is properly softened—it should leave a slight indent when you press it with your finger, but not be greasy or melted. Cut the butter into tablespoon-sized pieces and place them in a large mixing bowl. This helps it cream more evenly.
Step 2: Cream the Butter
Using a stand mixer fitted with the paddle attachment (or a hand mixer), beat the butter on medium speed for 3-4 minutes until it’s light, fluffy, and pale in color. Don’t rush this step! Properly whipped butter creates air pockets that make your icing incredibly smooth and easy to spread.
Step 3: Add Powdered Sugar Gradually
With the mixer on low speed, add the powdered sugar one cup at a time. After each addition, increase the speed to medium and beat for about 30 seconds before adding more. This prevents the sugar cloud that makes your kitchen look like a winter wonderland (in October!).
Step 4: Incorporate the Liquid Ingredients
Once all the powdered sugar is mixed in, add the vanilla extract and maple syrup. Beat on medium speed for another minute. The mixture will look thick and a bit dry at this point—don’t worry, that’s normal!
Step 5: Add Cream and Spices
Add 3 tablespoons of heavy cream along with the cinnamon, nutmeg, ginger, and salt. Beat on medium-high speed for 2-3 minutes until the icing becomes light and fluffy. If it’s too thick for your liking, add the remaining tablespoon of cream gradually until you reach your desired consistency.
Step 6: Add Color (Optional)
If you want to tint your icing for that festive fall look, add gel food coloring one drop at a time while mixing on low speed. I love creating different shades—burnt orange, deep burgundy, and cream—to make an ombre effect on cupcakes. Keep in mind that gel colors intensify slightly as they sit.
Step 7: Final Whip
Give the icing one final beating on high speed for 30-60 seconds. This incorporates extra air and makes it super fluffy and pipeable. Your Thanksgiving cupcake icing is now ready to use!
What to Serve Thanksgiving Cupcake Icing With
This versatile icing pairs beautifully with so many cupcake flavors! My top recommendations include:
Perfect Cupcake Pairings:
- Classic pumpkin spice cupcakes (an absolute must!)
- Apple cider cupcakes with cinnamon swirls
- Spiced carrot cake cupcakes
- Sweet potato cupcakes with marshmallow filling
- Classic vanilla or chocolate cupcakes (sometimes simple is best)
- Maple bacon cupcakes for sweet-and-savory lovers
Complete Your Thanksgiving Dessert Table:
Serve these frosted cupcakes alongside traditional pumpkin pie, pecan tarts, or apple crisp for variety. They’re also wonderful with a hot beverage bar featuring spiced cider, pumpkin spice lattes, or chai tea.
For a stunning presentation, arrange cupcakes on a tiered stand with autumn leaves, mini pumpkins, and cinnamon sticks scattered around the base.
Top Tips for Perfecting Thanksgiving Cupcake Icing
Temperature is Everything
The single most important factor in perfect buttercream is properly softened butter. Too cold, and you’ll have lumps. Too warm, and it’ll be greasy and won’t hold its shape. Room temperature (around 65-68°F) is ideal. If you forgot to soften your butter, cut it into small cubes and let it sit for 20-30 minutes—don’t microwave it!
Don’t Skip the Sifting
Sifting your powdered sugar might feel like an extra step, but it prevents lumps and creates that silky-smooth texture we’re after. I learned this the hard way when I spent ten minutes trying to smooth out grainy frosting. Just sift it—trust me on this one.
Adjust Consistency for Your Method
Planning to pipe intricate designs? Keep the icing on the thicker side by using less cream. Spreading with a knife or offset spatula? Add an extra splash of cream for easier spreading. The icing should hold soft peaks when you lift the beater.
Make Ahead Magic
You can make this Thanksgiving cupcake icing up to 3 days in advance! Store it in an airtight container in the refrigerator, then let it come to room temperature and re-whip it before using. This actually makes it even fluffier because the flavors have time to meld.
Flavor Customization
Feel free to adjust the spices to your preference. Love cinnamon? Bump it up to 1½ teaspoons. Not a nutmeg fan? Leave it out! You can also substitute brown sugar for half the powdered sugar for deeper caramel notes, though the texture will be slightly less smooth.
Storing and Reheating Tips
Room Temperature Storage:
Frosted cupcakes can sit at room temperature for up to 2 days if kept in an airtight container away from direct sunlight or heat sources. This is perfect if you’re baking the night before Thanksgiving.
Refrigerator Storage:
Store frosted cupcakes in the refrigerator for up to 5 days in an airtight container. The icing will harden in the fridge, so let cupcakes sit at room temperature for 30-45 minutes before serving for the best texture and flavor.
Freezing Instructions:
Both the icing alone and fully frosted cupcakes freeze beautifully! For icing, store it in an airtight container for up to 3 months. Thaw overnight in the refrigerator, then bring to room temperature and re-whip before using.
To freeze frosted cupcakes, place them on a baking sheet and freeze until solid (about 2 hours), then transfer to a freezer-safe container with parchment paper between layers. Freeze for up to 2 months. Thaw in the refrigerator overnight, then bring to room temperature before serving.
Leftover Icing Uses:
Don’t toss extra icing! Spread it on graham crackers, use it to fill sandwich cookies, swirl it into your morning coffee (yes, really!), or freeze it in ice cube trays for future emergency cupcake situations.
Common Baking Mistakes to Avoid
Using Cold or Melted Butter
I can’t stress this enough—butter temperature makes or breaks buttercream. Cold butter creates lumps that are nearly impossible to smooth out, while melted butter makes greasy, soupy frosting that won’t hold its shape. Set your butter out 1-2 hours before making icing, or use the “poke test” to check readiness.
Overmixing the Icing
While you want to beat the butter well initially, overmixing after adding all ingredients can incorporate too much air, creating bubbles in your icing. Mix on medium-high speed for 2-3 minutes total after adding liquids—that’s plenty!
Adding Too Much Liquid at Once
Always add cream or milk gradually. You can easily add more, but you can’t take it back! Start with 2 tablespoons, then add more teaspoon by teaspoon until you reach your desired consistency.
Not Tasting as You Go
Everyone’s sweetness preference differs! Taste your icing before using it. Too sweet? Add a pinch more salt. Not enough spice? Add another dash of cinnamon. The maple flavor mellow? Add another half tablespoon of syrup. Make it yours!
Ignoring Humidity
On humid days, your icing may need less liquid or more powdered sugar to maintain proper consistency. On dry days, you might need extra cream. Pay attention to how the icing looks and feels rather than following measurements blindly.
Frequently Asked Questions
Can I make this icing dairy-free or vegan?
Absolutely! Substitute the butter with vegan butter (I recommend Earth Balance or Miyoko’s), and use full-fat coconut cream instead of heavy cream. The texture will be slightly different but still delicious. Make sure all ingredients are at the same temperature for best results.
Why is my icing grainy?
Graininess usually comes from unsifted powdered sugar or butter that wasn’t properly softened. Fix it by continuing to beat the icing on high speed for 3-4 minutes—the friction will help dissolve sugar crystals. If that doesn’t work, add a teaspoon of corn syrup or honey and beat again.
Can I use salted butter instead of unsalted?
You can, but reduce or eliminate the pinch of salt in the recipe. Salted butter can make the icing taste too salty, especially since American-style buttercream is already quite sweet. Unsalted butter gives you better control over flavor.
How do I fix icing that’s too thin?
Simply add more powdered sugar, ¼ cup at a time, beating well after each addition until you reach the right consistency. If it’s drastically thin (you added way too much liquid), refrigerate it for 10-15 minutes, then re-whip it.
What’s the best way to color this icing?
Always use gel or paste food coloring—never liquid! Liquid coloring adds too much moisture and thins the icing. Add color drop by drop, mixing thoroughly between additions. Colors deepen as they sit, so go lighter than you think you need.
Can I pipe this icing or is it only for spreading?
This Thanksgiving cupcake icing is perfect for piping! It holds its shape beautifully. For intricate piping, use slightly less cream to keep it firmer. For simple swirls, the standard consistency works great. Use a large star tip (like Wilton 1M) for gorgeous results.
How far in advance can I frost cupcakes?
Frost cupcakes up to 24 hours before serving for best results. If frosting further in advance, store them in the refrigerator (up to 3 days) and bring to room temperature before serving. The icing may develop a slight crust, which is normal and actually helps preserve freshness.
What if I don’t have maple syrup?
Honey, agave nectar, or even brown rice syrup work as substitutes, though the flavor will be slightly different. You can also use an extra teaspoon of vanilla extract and a tablespoon of brown sugar dissolved in a teaspoon of water.
Nutrition Information
| Nutrient | Per Serving (2 tablespoons) |
|---|---|
| Calories | 180 |
| Total Fat | 9g |
| Saturated Fat | 6g |
| Cholesterol | 25mg |
| Sodium | 15mg |
| Total Carbohydrates | 26g |
| Sugars | 25g |
| Protein | 0g |
Note: Nutrition information is approximate and will vary based on specific ingredients used.
Final Thoughts
Making homemade Thanksgiving cupcake icing is one of those small touches that elevates your holiday baking from good to absolutely memorable. Yes, you could buy frosting from the store, but there’s something special about knowing you made every element of your dessert from scratch.
This recipe has become my go-to for all autumn celebrations, not just Thanksgiving. I’ve used it for fall birthdays, harvest parties, and even just because I wanted my Tuesday to feel more festive.
The warm spices, the silky texture, the way it pipes into those gorgeous swirls—it all comes together to create something that looks and tastes like you’re a professional baker, even if this is your first time making buttercream.
So grab your mixer, soften that butter, and get ready to make the best Thanksgiving cupcake icing of your life. Your family and friends are going to be so impressed, and you’ll be secretly smiling knowing how easy it actually was.
Happy Thanksgiving baking! 🍂
Did you make this recipe? I’d love to hear about it! Drop a comment below and let me know how your Thanksgiving cupcake icing turned out. And if you have any questions, I’m here to help!