Turkey Cake Pops Step-by-Step Thanksgiving Dessert Tutorial
Thanksgiving extra special with Turkey Cake Pops. These sweet, festive dessert bites are perfect for parties, dessert tables, and holiday fun.
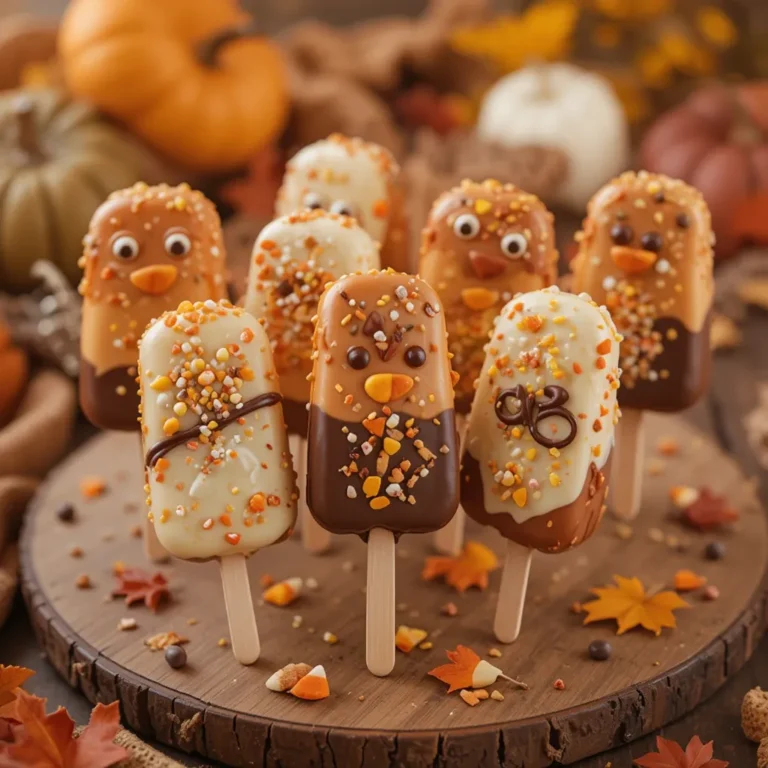
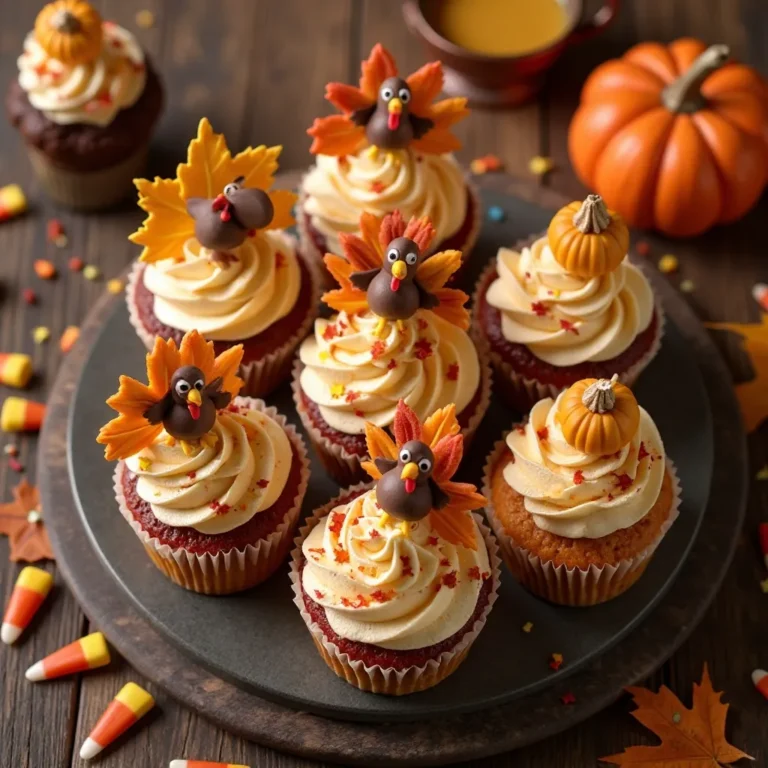
There’s something magical about turning ordinary cake into extraordinary little turkey cake pops that make everyone smile. These adorable bite-sized treats combine moist cake, creamy frosting, and playful decorations to create the most charming Thanksgiving dessert you’ll ever make.
I stumbled upon this idea three years ago when my daughter’s school asked for “creative” holiday treats, and let me tell you, these turkey cake pops stole the show!
They’re surprisingly simple to make, require no fancy equipment, and kids absolutely adore helping decorate them. If you loved my chocolate-covered strawberries, you’ll be obsessed with these festive beauties that bring joy to any fall gathering.
What Are Turkey Cake Pops?
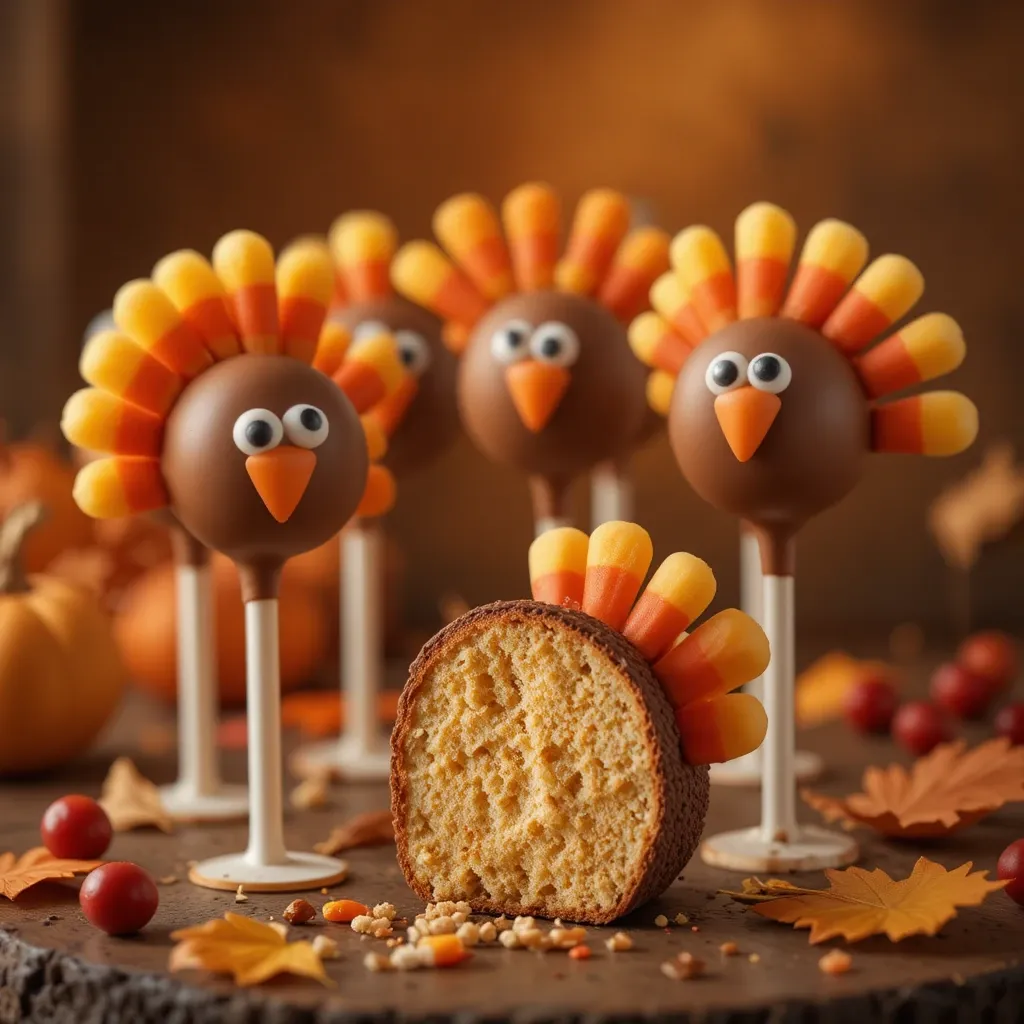
Ever wonder how something so cute can taste so delicious? Turkey cake pops are basically cake truffles on sticks, dressed up like adorable gobblers ready to celebrate Thanksgiving. Picture this: rich cake mixed with frosting, rolled into balls, dipped in chocolate, and decorated with candy corn feathers and candy eyes.
They say the way to anyone’s heart is through their stomach, and these little turkeys march straight there! The name says it all—they’re cake pops that look like turkeys. Ready to create some edible art that disappears in seconds? Let’s get started!
Why You’ll Love This Turkey Cake Pops Recipe
The star of this recipe is how incredibly moist and flavorful each bite becomes when you combine crumbled cake with frosting. That texture is pure heaven—not too dense, not too crumbly, just perfectly poppable perfection.
Making turkey cake pops at home saves you serious money compared to buying fancy decorated treats from bakeries. A box of cake mix costs just a few dollars, and you’ll have enough to make 30-40 pops that would cost you upwards of $3-4 each at a specialty shop. Plus, you control every ingredient that goes into them.
The decorations are what make these truly special. Candy corn transforms into festive feathers, candy eyes bring personality, and orange Starburst or fondant creates the perfect little beaks and wattles. The combination of chocolate coating with subtle vanilla cake inside creates a flavor explosion that’s neither too sweet nor boring.
If you enjoyed decorating my sugar cookies, you’ll love the creative freedom these turkey cake pops offer. The best part? You can customize them with different cake flavors and coating colors to match your Thanksgiving theme perfectly!
How to Make Turkey Cake Pops
Quick Overview
These turkey cake pops are surprisingly easy to make, even if you’ve never worked with cake pops before. The process involves baking a simple cake, mixing it with frosting to create the perfect moldable texture, shaping them into balls, and decorating them as cute turkeys. The finished pops are rich, moist, and absolutely irresistible with their sweet chocolate coating.
Prep Time: 30 minutes
Baking Time: 25-30 minutes
Chilling Time: 2 hours
Decorating Time: 45 minutes
Total Time: 3 hours 45 minutes
Yield: 30-35 cake pops
Key Ingredients for Turkey Cake Pops
For the Cake Base:
- 1 box (15.25 oz) chocolate or vanilla cake mix (plus ingredients listed on box: eggs, oil, water)
- 1/2 cup chocolate frosting (or vanilla frosting)
For Assembly and Coating:
- 2 bags (24 oz total) chocolate candy melts or chocolate almond bark
- 35 lollipop sticks or paper straws
- 1 block styrofoam for drying
For Decorations:
- 1 bag candy corn (for feathers)
- 70 candy eyes (2 per turkey)
- Orange Starburst candies or orange fondant (for beaks and wattles)
- Optional: red candy melts for wattles
Step-by-Step Instructions
Step 1: Bake Your Cake
Preheat your oven according to the cake mix directions, usually 350°F. Prepare your cake mix following the package instructions and bake in a 9×13 inch pan. My secret tip here is to slightly underbake the cake by about 2 minutes so it stays extra moist—dry cake makes crumbly pops! Let the cake cool completely in the pan for at least one hour. I usually bake mine the night before to make the process easier.
Step 2: Create the Cake Pop Mixture
Once cooled, crumble the entire cake into a large mixing bowl using your hands. Break it down until there are no large chunks remaining—think fine breadcrumb texture. Add half a cup of frosting to the crumbled cake. Here’s where the magic happens: use your hands to mix everything together thoroughly. The mixture should hold together when squeezed but not be overly wet or sticky. If it’s too dry and won’t hold a ball shape, add another tablespoon of frosting at a time. If it’s too wet, add some extra cake crumbs or refrigerate for 15 minutes.
Step 3: Shape the Turkey Bodies
Line a large baking sheet with parchment paper. Scoop about 2 tablespoons of the cake mixture and roll it between your palms to form a smooth ball. For the turkey shape, I like to make one side slightly more pointed to create a body with a “head” area. Place each shaped ball onto the prepared baking sheet. Repeat until all the mixture is used—you should get 30-35 pops. Pop the entire tray into the refrigerator for at least 1 hour, or freezer for 20 minutes. This chilling step is crucial for preventing your pops from falling off the sticks!
Step 4: Prepare Your Decorations
While the cake balls chill, prepare all your turkey decorations. Unwrap several orange Starburst candies and microwave them for 5-7 seconds until slightly soft. Roll them out thin and cut small triangles for beaks and small teardrop shapes for wattles. Separate your candy corn—you’ll need 5-6 pieces per turkey for the feather fan. Set out your candy eyes. Having everything ready makes the decorating process much smoother and faster!
Step 5: Melt the Chocolate
Melt your chocolate candy melts according to package directions. I prefer the microwave method: place chocolate in a microwave-safe bowl and heat in 30-second intervals, stirring between each, until completely smooth. Don’t overheat or the chocolate will seize! You want it fluid enough to coat smoothly but not so thin that it drips excessively. Add a teaspoon of vegetable oil or shortening if it’s too thick.
Step 6: Attach the Sticks
Remove your chilled cake balls from the refrigerator. Dip the tip of a lollipop stick about half an inch into the melted chocolate, then insert it straight into a cake ball, pushing it about halfway through. The chocolate acts as “glue” to secure the stick. Repeat with all the balls, then return them to the refrigerator for 10 minutes to set the chocolate.
Step 7: Coat with Chocolate
Now for the fun part! Remove 3-4 pops at a time from the refrigerator (keeping the rest cold prevents cracking). Hold a pop by the stick and dip it completely into the melted chocolate, submerging it fully. Lift it out and gently tap the stick against the bowl’s edge to remove excess chocolate. Don’t shake vigorously or your cake ball might fly off! Rotate the pop to ensure even coverage. If you get any air bubbles, gently tap them out.
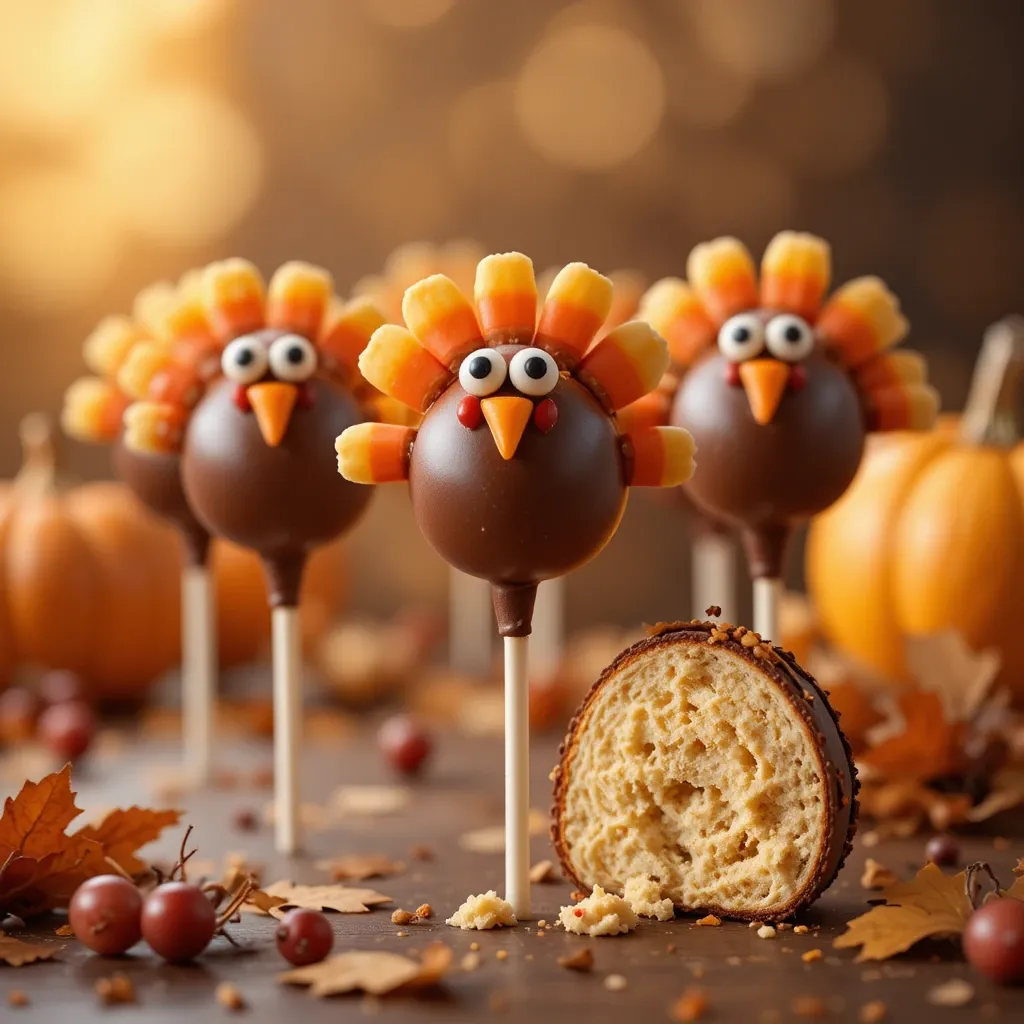
Step 8: Add the Feathers
Immediately while the chocolate is still wet, insert 5-6 candy corns into the back of the pop to create the turkey’s tail feathers. Fan them out in a semi-circle pattern with the pointed ends facing up. Work quickly before the chocolate sets! Carefully stick the pop into your styrofoam block to dry. Repeat with remaining pops.
Step 9: Create the Turkey Faces
Once the chocolate coating is completely set (about 15 minutes), it’s time to bring your turkeys to life. Use a tiny dab of melted chocolate on the back of two candy eyes and press them onto the front of each turkey. Add a small orange triangle beak below the eyes using another chocolate dab. For the wattle (that red thing under a turkey’s beak), attach a small red fondant piece or orange Starburst under the beak. Let everything set completely for at least 30 minutes before serving or packaging.
What to Serve Turkey Cake Pops With
These turkey cake pops are perfect alongside a dessert table spread. Serve them with:
Hot apple cider or spiced cranberry punch for a festive fall beverage pairing that complements the chocolate sweetness.
Pumpkin pie and pecan pie because who says you can’t have multiple desserts on Thanksgiving? The cake pops offer a lighter, handheld option.
A cheese and fruit platter to provide savory contrast before guests dive into these sweet treats.
Vanilla ice cream for any leftover pops you want to turn into a decadent sundae situation.
Coffee or hot chocolate bar where guests can customize their warm drinks while enjoying these adorable turkeys.
Display them upright in a decorative container filled with fall-colored tissue paper or arranged on a tiered dessert stand for maximum visual impact.
Top Tips for Perfecting Turkey Cake Pops
Master the cake-to-frosting ratio. The biggest mistake people make is adding too much frosting, which creates oily, mushy pops that won’t hold their shape. Start with less frosting than you think you need—you can always add more. The mixture should hold together when pressed but not leave greasy residue on your hands.
Keep everything cold. Temperature control is your best friend here. If your cake balls aren’t thoroughly chilled, they’ll crack when dipped in chocolate or slide right off the stick. If your kitchen is warm, work in batches and keep undipped pops in the fridge.
Use quality chocolate. Candy melts work great because they’re formulated to set firm and smooth, but if using regular chocolate chips, add a tablespoon of coconut oil or shortening per cup of chocolate to thin it out. Never use water to thin chocolate—it will seize!
Practice your dipping technique. Dip the pop in at an angle, then straighten it while submerged. Tap gently—just enough to smooth the coating but not so hard that the pop falls off. A gentle swirling motion works better than tapping if your chocolate is the right consistency.
Decorate quickly but carefully. You only have about 30-60 seconds after dipping to add candy corn feathers before the chocolate sets. Have all decorations ready and within arm’s reach. If the chocolate sets too fast, you can use extra melted chocolate as “glue” to attach decorations afterward.
Customize your flavors. Try red velvet cake with cream cheese frosting, funfetti cake for a colorful interior, or add a teaspoon of pumpkin spice to your cake mix for seasonal flavor. Just remember that the moisture content varies, so adjust your frosting amount accordingly.
Fix mistakes immediately. If a pop falls off the stick, just re-dip the stick in chocolate and reinsert it. If the coating is too thick, reheat your chocolate and add a bit of oil. If you get fingerprints in the chocolate, wait for it to set completely, then do a second thin coat.
Storing and Reheating Tips
Room Temperature Storage: Turkey cake pops keep beautifully at room temperature for up to 3 days when stored properly. Place them upright in a container lined with parchment paper, making sure they’re not touching each other. Keep them in a cool, dry place away from direct sunlight and heat sources. If your kitchen is particularly warm or humid, opt for refrigeration instead.
Refrigerator Storage: For longer storage, refrigerate your turkey cake pops in an airtight container for up to 1 week. Let them sit at room temperature for about 15-20 minutes before serving so the chocolate coating isn’t too hard and the cake texture softens slightly. The decorations hold up perfectly in the fridge.
Freezer Storage: These freeze exceptionally well! Place finished turkey cake pops in a single layer on a baking sheet and freeze until solid, about 2 hours. Then transfer them to a freezer-safe container or bag, separating layers with parchment paper. They’ll keep frozen for up to 2 months. Thaw overnight in the refrigerator or at room temperature for 1-2 hours before serving.
Make-Ahead Timeline: You can prepare these in stages to reduce stress. Bake the cake up to 2 days ahead and store covered at room temperature. Shape the cake balls up to 1 day ahead and refrigerate. Complete all dipping and decorating up to 3 days before your event and store as directed. This makes them perfect for busy holiday preparation!
Common Baking Mistakes to Avoid
Mistake #1: Using Hot or Warm Cake
Mixing warm cake with frosting creates a greasy, oily mess that won’t hold shape. Always let your cake cool completely—at least one hour at room temperature or 30 minutes in the refrigerator. Patience here prevents frustration later!
Mistake #2: Overworking the Mixture
While you need to mix the cake and frosting thoroughly, overworking it makes the mixture dense and tough. Mix just until everything is evenly combined and holds together. Think of it like making meatballs—gentle hands create better texture.
Mistake #3: Making Pops Too Large
Giant cake pops look impressive but they’re heavy, harder to coat evenly, and more likely to fall off the stick. Stick to 2-tablespoon portions—about the size of a golf ball. Smaller pops are actually cuter for these turkeys anyway!
Mistake #4: Skipping the Stick-Setting Step
If you coat your pops immediately after inserting the sticks, they will fall off during dipping. That 10-minute refrigeration after adding sticks lets the chocolate “glue” set properly. Don’t skip it!
Mistake #5: Wrong Chocolate Consistency
Too thick and your chocolate won’t coat smoothly, leaving lumps and ridges. Too thin and it drips everywhere with spotty coverage. The chocolate should flow like slightly melted ice cream—fluid but not watery. Test by dipping a spoon; it should coat evenly and smoothly.
Mistake #6: Forcing the Decorations
Pushing candy corn or eyes too hard cracks the chocolate shell. Use a gentle touch and let the chocolate’s stickiness do the work. If the chocolate has already set, use a tiny dab of melted chocolate to attach decorations rather than forcing them through the hardened coating.
Mistake #7: Working in a Warm Environment
Chocolate melts, cake balls soften, and decorations slide in warm temperatures. Work in the coolest room in your house, use a fan if needed, and if your kitchen is above 75°F, definitely keep your cake pops refrigerated between batches.
Frequently Asked Questions
Can I use homemade cake instead of a box mix?
Absolutely! Any cake recipe works perfectly. Just remember that homemade cakes often have more moisture than box mixes, so you might need less frosting. Start with 1/4 cup and add more only if needed. Dense cakes like pound cake work especially well.
Why did my cake pops fall off the sticks?
This usually happens for three reasons: the cake balls weren’t cold enough, you didn’t let the stick “glue” set in the fridge, or your cake pops are too heavy. Make sure to chill thoroughly and keep your pops golf-ball-sized. The chocolate on the stick needs at least 10 minutes to set before you dip.
Can I use regular chocolate chips instead of candy melts?
Yes, but you need to add fat to thin them out. Melt chocolate chips with 1 tablespoon of coconut oil or shortening per cup of chips. Pure chocolate is thicker than candy melts and can be trickier to work with, but the flavor is richer.
How do I prevent cracks in the chocolate coating?
Cracks happen when there’s a big temperature difference between the cold cake ball and the warm chocolate. Let your dipped pops come to room temperature gradually—don’t put them straight from dipping into the fridge. Also, make sure your chocolate isn’t too hot when dipping.
What if I don’t have candy corn for the feathers?
Get creative! Use sliced almonds, orange-tinted white chocolate pieces, or even small triangular cookies. You could also pipe feathers using colored chocolate in a piping bag. Some people use pretzels or colorful fruit leather cut into feather shapes.
Can kids help make these?
Definitely! Kids love rolling the cake balls and adding decorations. The only step they should skip is the hot chocolate dipping—that’s a job for adults. Set up a decorating station with all the candy pieces ready, and let them create their own turkey personalities. It’s a fantastic holiday activity.
How far in advance can I make turkey cake pops?
Make them up to 3 days ahead and store at room temperature, up to 1 week ahead if refrigerated, or up to 2 months ahead if frozen. They actually taste better after sitting for a day because the flavors meld together beautifully.
My chocolate coating is too thick. What do I do?
Add vegetable oil, coconut oil, or shortening one teaspoon at a time, stirring thoroughly between additions. The chocolate should flow smoothly off a spoon. You can also gently reheat it if it’s started to cool and thicken—just be careful not to overheat.
Can I make these without a styrofoam block?
Absolutely! Use a cardboard box and poke holes in it, a colander turned upside down, or even stick the pops in a tall glass with the sticks pointing up. Just make sure the chocolate-coated pops can dry without touching any surfaces.
Nutrition Information
| Nutrient | Amount Per Cake Pop |
|---|---|
| Calories | 145 |
| Total Fat | 7g |
| Saturated Fat | 4g |
| Cholesterol | 15mg |
| Sodium | 95mg |
| Total Carbohydrates | 20g |
| Dietary Fiber | 0.5g |
| Sugars | 15g |
| Protein | 1g |
Nutritional values are approximate and may vary based on specific ingredients used.
There’s something incredibly satisfying about creating these little edible turkeys and watching people’s faces light up when they see them. Whether you’re bringing them to a Thanksgiving potluck, making them with your kids on a cozy fall afternoon, or adding them to your holiday dessert table, turkey cake pops never fail to bring smiles.
They’re proof that the best recipes aren’t always the most complicated—sometimes it’s the simple, fun, hands-on creations that become family traditions. So grab that cake mix, round up your candy corn, and let’s make some memories (and adorable turkeys) together. Happy baking, and happy Thanksgiving!