How to Make a Turkey Cake Topper for Thanksgiving
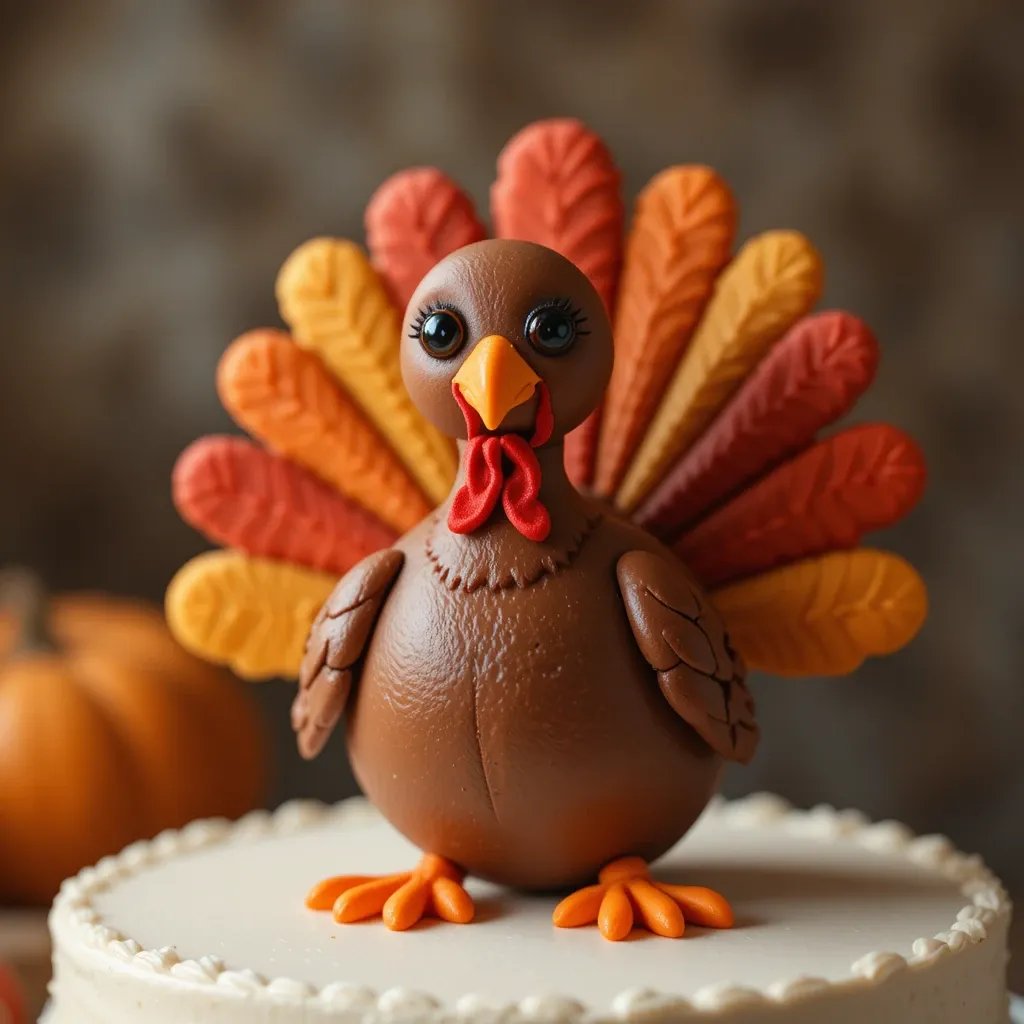
Top your Thanksgiving dessert with a cute Turkey Cake Topper! perfect for turning any cake into a holiday centerpiece everyone will love.
There’s something magical about placing a handmade turkey cake topper on your Thanksgiving dessert. This adorable fondant decoration transforms an ordinary cake into a festive centerpiece that’ll have your guests asking, “Did you really make that yourself?” The answer is yes, and it’s easier than you think!
With just a few simple ingredients and basic techniques, you’ll create a charming turkey that’s almost too cute to eat. If you loved making our pumpkin spice cake decorations, this turkey topper will become your new Thanksgiving tradition.
What is a Turkey Cake Topper?
Ever wonder why we put turkeys on everything during Thanksgiving? A turkey cake topper is your edible masterpiece—a fondant or modeling chocolate sculpture that sits proudly atop your holiday cake. It’s like giving your dessert a personality!
Some folks call it the “crown jewel” of Thanksgiving baking, and honestly, they’re not wrong. After all, the way to anyone’s heart is through their stomach, especially when that path is decorated with an adorable handmade turkey. Ready to impress your family with your newfound sculpting skills? Let’s dive in!

Why You’ll Love This Turkey Cake Topper
It’s Easier Than You Think
Creating a turkey cake topper might sound intimidating, but trust me, if I can do it, anyone can. The beauty of working with fondant is its forgiving nature—you can reshape, remold, and adjust until you’re happy. Unlike delicate sugar work that shatters at the slightest touch, fondant is sturdy and beginner-friendly.
Save Money While Looking Professional
Store-bought cake toppers can cost anywhere from $15 to $40, and they’re often made of plastic that you’ll toss after one use. Making your own fondant turkey costs just a few dollars in materials, and the satisfaction of creating something with your own hands? Priceless. Plus, this one is completely edible!
Customize to Your Heart’s Content
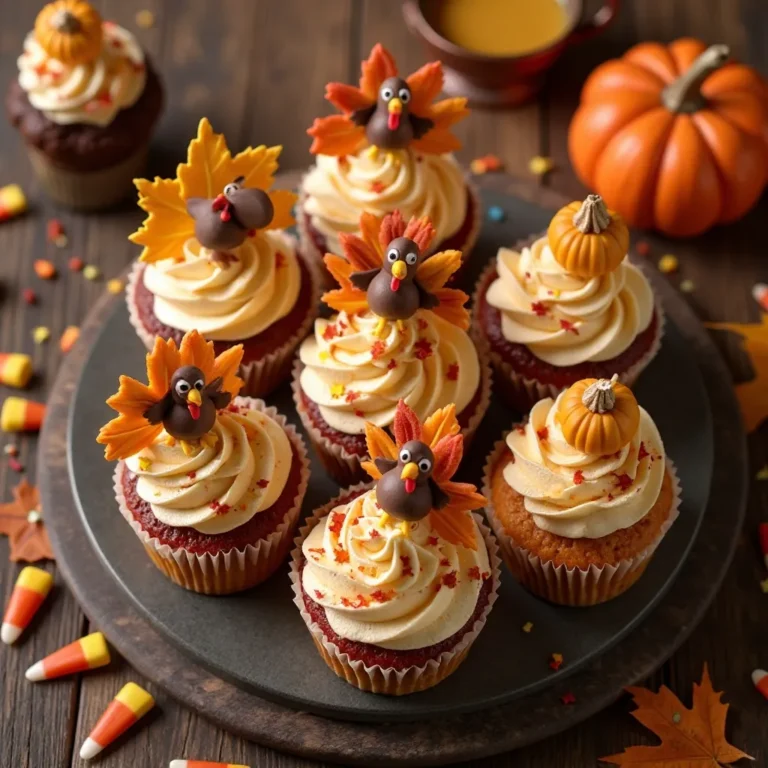
The real magic happens when you personalize your turkey. Want him wearing a tiny pilgrim hat? Go for it! Prefer fall-colored feathers in burgundy and gold? Absolutely! You can match your turkey to your party theme, cake colors, or family traditions. If you enjoyed customizing our autumn leaf cupcake toppers, you’ll love the creative freedom this project offers.
Perfect for Family Bonding
Get the kids involved! This is one of those rare baking projects where little hands can actually help. They’ll love rolling the fondant balls and choosing feather colors. It’s messy, it’s fun, and it creates memories that last way longer than the turkey itself.
Make this turkey cake topper your own and watch your Thanksgiving cake transform into something truly special!
How to Make a Turkey Cake Topper
Quick Overview
This turkey cake topper is surprisingly simple to create, requiring just fondant, food coloring, and basic shaping techniques. The result is a charming, three-dimensional turkey with colorful tail feathers that adds personality to any Thanksgiving cake. The fondant is easy to work with and holds its shape beautifully once dried.
Total Time Needed:
- Prep Time: 20 minutes
- Assembly Time: 30 minutes
- Drying Time: 4-6 hours (or overnight)
- Total Time: 5-7 hours
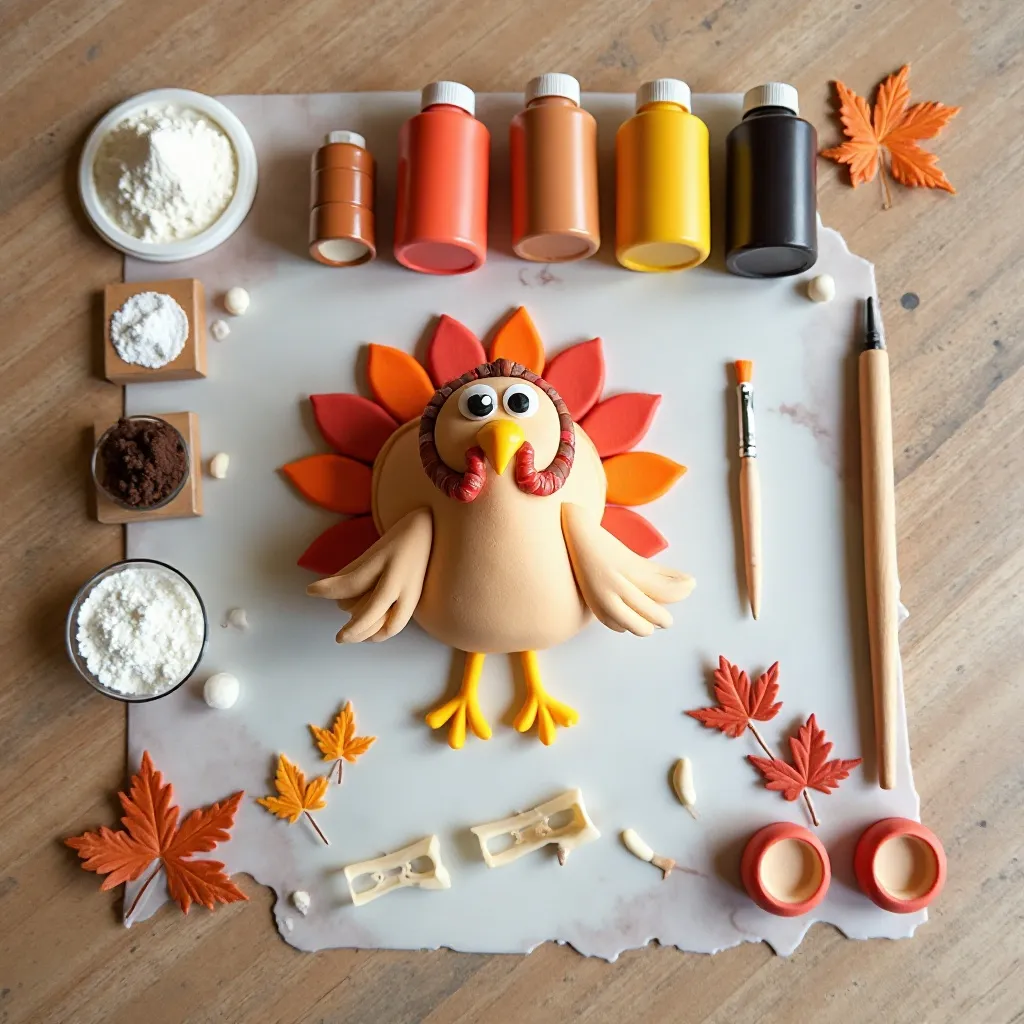
Key Ingredients for Turkey Cake Topper
Essential Materials:
- 1 lb white fondant – Your base for the entire turkey
- Gel food coloring – Brown, red, orange, yellow, and black
- Tylose powder (CMC) – 1 teaspoon per 8 oz fondant (makes it firmer and faster-drying)
- Edible glue or water – For attaching pieces
- Cornstarch or powdered sugar – For dusting work surface
- Toothpicks – For support and texture details
Tools You’ll Need:
- Small rolling pin
- Sharp knife or fondant cutting tool
- Small ball tool or toothpick for details
- Small paintbrush for applying edible glue
- Foam pad or clean work surface
- Small circle cutters (optional, various sizes)
Pro tip: Have a small bowl of cornstarch nearby to keep your hands from getting sticky while working with fondant!
Step-by-Step Instructions
Prepare Your Fondant Colors
Start by dividing your white fondant into portions. You’ll need brown for the body (about 4 oz), red for the wattle and snood (small amount), orange for feet and beak (2 oz), yellow for the beak accent (tiny amount), and keep some white for eyes. Leave some portions larger—about 6 oz should remain white or be divided into fall colors (red, orange, yellow, brown) for the tail feathers.
Knead gel food coloring into each fondant portion until the color is evenly distributed. Add tylose powder to each colored batch and knead thoroughly. This makes your fondant more sculptable and helps it hold its shape. The fondant will feel slightly firmer after adding tylose.
Create the Turkey Body
Take your brown fondant and roll it into a smooth ball about the size of a small egg (roughly 2.5 inches). Gently shape it into a teardrop by rolling one end slightly to create the neck. The wider bottom will be the body, and the narrower top will be the head and neck area.
Set the body upright on your work surface and gently flatten the bottom so it sits steadily. Insert a toothpick through the center from bottom to top, leaving about half an inch sticking out at the top—this will support the head.
Shape the Head
Roll a smaller ball of brown fondant (about 1 inch diameter) for the head. Press it gently onto the toothpick extending from the body. Smooth the connection point where the head meets the neck to create a seamless look.
Add Facial Features
For the eyes, roll two tiny balls of white fondant and flatten them slightly. Position them on either side of the turkey’s head. Create even tinier black fondant dots and place them on the white to make pupils. You can add a small white dot to each pupil for a sparkly, lifelike effect.
Roll a small orange cone for the beak and attach it to the center of the face using edible glue or a dab of water. For the wattle (the red thing that hangs under a turkey’s chin), roll a small teardrop of red fondant and attach it below the beak, letting it drape naturally.
The snood (that red thing that hangs over the beak) is made from a tiny red fondant piece shaped like a curved teardrop. Attach it above the beak so it droops down over one side.
Create the Wings
Roll two small brown fondant ovals (about 1.5 inches long). Flatten them slightly and use a toothpick to create feather texture by making small indentations in a row. Attach these wings to either side of the turkey’s body, pressing gently so they stick out slightly as if the turkey is showing them off.
Make the Feet
Roll two small orange balls and shape them into ovals. Flatten them slightly, then use a knife to make two small cuts on one end of each oval to create three toes. Use a toothpick to add texture lines on each toe. Attach the feet to the bottom front of the turkey’s body.
Create the Spectacular Tail Feathers
This is where your turkey really comes to life! You’ll make 5-7 tail feathers in different fall colors. Roll out your colored fondant (red, orange, yellow, brown, and white) to about 1/8 inch thickness.
Cut teardrop or leaf shapes that are about 3 inches long and 1 inch wide at the widest point. Use a toothpick to create a center line down each feather and add small diagonal lines branching out to mimic a real feather’s texture.
Let these dry slightly for 10-15 minutes so they hold their shape better. Arrange the feathers in a fan pattern behind the turkey’s body, layering them and using edible glue to attach them. Start with the outer feathers and work your way to the center, slightly overlapping each one.
For extra support, insert a toothpick horizontally through the back of the turkey’s body, then press the feathers onto it. This creates a stable base for your tail display.
Add Final Details and Let Dry
Use a toothpick to add texture to the turkey’s body—gentle pokes create a fuzzy, feathered appearance. You can use a small brush with brown food coloring mixed with a drop of vodka or lemon extract to add shading under the wings and around the neck.
Let your completed turkey cake topper dry at room temperature for at least 4-6 hours, or preferably overnight. This allows the fondant to firm up and makes it easier to handle when placing on your cake.
What to Serve Turkey Cake Topper With
Your beautiful turkey cake topper deserves an equally impressive cake beneath it! Here are perfect pairing ideas:
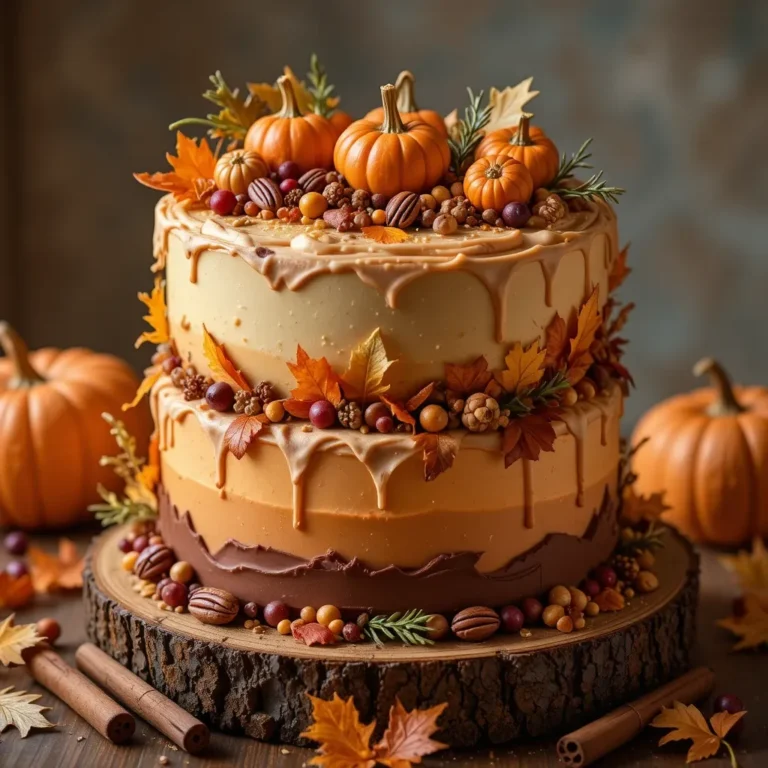
Classic Spice Cake: A moist pumpkin spice or cinnamon cake provides warm autumn flavors that complement the Thanksgiving theme. Top it with cream cheese frosting for a traditional combination.
Chocolate Layer Cake: Rich chocolate cake with chocolate buttercream creates a stunning contrast against your colorful turkey topper. The dark background makes those bright tail feathers really pop!
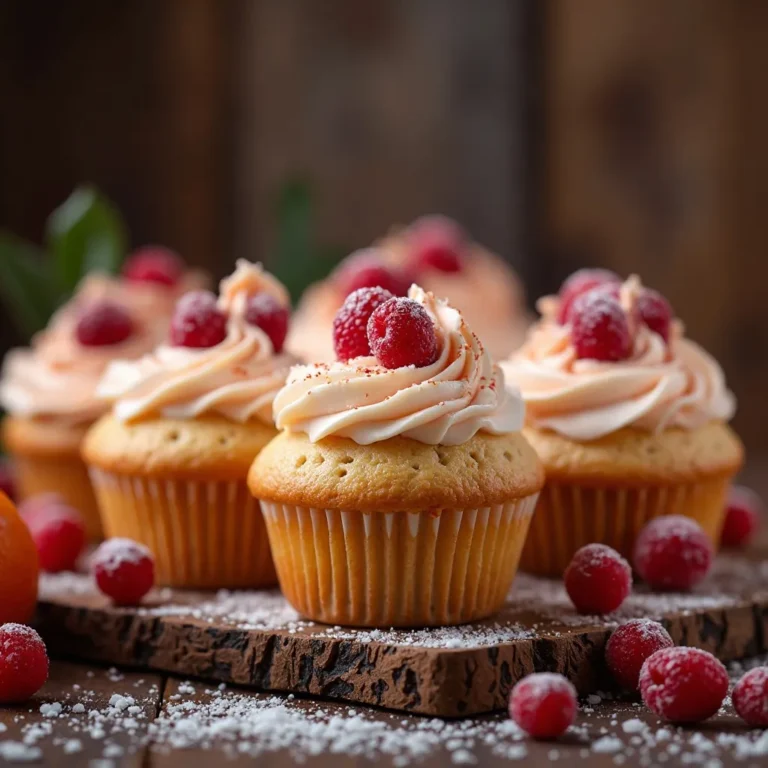
Vanilla Bean Cake: A simple vanilla cake with caramel buttercream is elegant and lets your turkey take center stage. Add some fall sprinkles around the base for extra festivity.
Apple Cider Cake: This underrated autumn flavor brings apple orchard vibes to your table. Pair it with brown butter frosting and your turkey topper for a show-stopping dessert.
Carrot Cake: The warm spices and cream cheese frosting in carrot cake make it a Thanksgiving favorite. Your turkey will look adorable sitting atop the textured frosting.
Consider decorating the cake’s sides with fall leaves, acorns, or small pumpkins made from leftover fondant to create a complete autumn scene!
Top Tips for Perfecting Turkey Cake Topper
Work with Room Temperature Fondant
Cold fondant cracks and tears easily. Let your fondant sit at room temperature for 10-15 minutes before working with it. If it’s too soft and sticky, knead in a bit more cornstarch or powdered sugar.
Don’t Skip the Tylose Powder
This ingredient is a game-changer! It makes fondant dry harder and faster, which means your turkey will hold its shape better and be easier to transport. You can find it at any cake decorating supply store or online.
Use Gel Food Coloring, Not Liquid
Liquid food coloring adds too much moisture to fondant and makes it sticky and difficult to work with. Gel colors are concentrated, so you need less, and they won’t compromise your fondant’s texture.
Size Your Turkey Appropriately
Make sure your turkey topper is proportional to your cake. For an 8-inch cake, aim for a turkey that’s about 4-5 inches tall (including tail feathers). For a 10-inch cake, go slightly larger.
Create Ahead of Time
Fondant decorations actually benefit from being made in advance! Create your turkey 2-3 days before you need it and let it dry completely. This makes it sturdier and less likely to lose its shape when you place it on the cake.
Fix Cracks Immediately
If you notice cracks forming while shaping, rub a tiny bit of shortening over the crack with your finger. The warmth and moisture will help smooth it out. For bigger cracks, use a small amount of fresh fondant as “glue.”
Support Tall Elements
Those beautiful tail feathers need support! Use toothpicks or lollipop sticks as internal supports, especially if you’re creating an elaborate fan tail. Just remember to warn people before they cut the cake!
Add Personality
Don’t be afraid to give your turkey character! Slightly tilt the head, make one wing higher than the other, or position the feet in a playful stance. Imperfections make handmade decorations charming.
Store Properly Before Use
Keep your finished turkey in a cool, dry place away from direct sunlight and moisture. Don’t refrigerate it! Fondant and humidity don’t mix—it’ll become sticky and lose its shape.
Storing and Reheating Tips
Storage Instructions:
Your fondant turkey cake topper can be stored for several weeks if kept properly! Place the dried turkey in a cardboard box or on a plate, loosely covered with plastic wrap (don’t let the plastic touch the fondant). Store at room temperature in a cool, dry area away from direct sunlight.
Never store fondant decorations in the refrigerator—the humidity will cause them to become soft, sticky, and potentially weep moisture. Fondant hates moisture!
If you live in a very humid climate, add a small packet of silica gel to the storage container (but don’t let it touch the fondant directly). This absorbs excess moisture and keeps your turkey crisp.
How Long Does It Last?
- Room temperature: 4-6 weeks when stored properly
- In humid conditions: 1-2 weeks (use silica packets)
- On a cake: Place your turkey on the cake no more than 24 hours before serving for best results
Placing on Your Cake:
When you’re ready to use your turkey, handle it gently by the base. If you’ve used toothpicks for support, insert them into the cake where you want the turkey to sit, then carefully position your turkey over them. Alternatively, use a small amount of frosting as “glue” to secure the turkey to the cake top.
Note About “Reheating”:
Since this is a fondant decoration, there’s no reheating involved! However, if your fondant becomes too soft from warm temperatures, place it in a cool room (not the refrigerator) for 30-60 minutes to firm back up.
Leftover Fondant:
Wrap unused colored fondant tightly in plastic wrap, then place in an airtight container or zip-top bag. Properly stored fondant lasts 2-3 months at room temperature. Before reusing, knead it until it’s pliable again.
Frequently Asked Questions
Can I use modeling chocolate instead of fondant?
Absolutely! Modeling chocolate is a fantastic alternative that many people actually prefer because it tastes better than fondant. It works the same way—just melt chocolate with corn syrup, let it set, then sculpt it like fondant. The techniques are identical, though modeling chocolate may take slightly longer to firm up.
How far in advance can I make my turkey cake topper?
You can make your turkey up to 3 weeks in advance! In fact, making it several days ahead allows it to dry completely and become more stable. Just store it properly at room temperature in a box away from moisture and direct sunlight.
What if I don’t have tylose powder?
You can use gum paste instead of fondant (it’s already firm), or substitute CMC powder, which is essentially the same as tylose. In a pinch, you can skip it altogether, but your turkey will take longer to dry and may be slightly more fragile.
My fondant keeps cracking while I work with it—what am I doing wrong?
Cracking usually means your fondant is too dry or cold. Knead it longer to warm it up with your hands, and add a tiny bit of shortening or glycerin to add moisture. If you’ve added too much tylose powder, that can also cause cracking—stick to the recommended amount.
Can kids help make this turkey cake topper?
Definitely! Kids love working with fondant because it’s like edible Play-Doh. Give them the task of rolling balls for the body and head, or let them choose and shape the tail feather colors. Just supervise the detailed work like attaching small pieces and using toothpicks.
Is fondant safe to eat?
Yes, fondant is completely edible and safe to eat! However, many people choose to remove fondant decorations before eating cake because it’s very sweet and has a different texture than frosting. Think of it like marzipan—technically edible, but not everyone’s favorite.
How do I transport a cake with a turkey topper?
The best method is to transport the turkey separately and place it on the cake at your destination. If you must transport them together, make sure the turkey is very well secured with toothpicks or dowels inserted into the cake, and drive carefully! A flat, sturdy cake box is essential.
Can I make the turkey topper vegan?
Yes! Look for vegan fondant brands or make your own using vegan marshmallows and powdered sugar. Most commercial fondants contain gelatin, but vegan alternatives are becoming more common at specialty baking stores and online.
What if my colors aren’t bright enough?
Gel food coloring should create vibrant colors, but if yours look dull, you may not have added enough. Keep in mind that colors deepen as fondant dries. For super bright colors, use professional-grade gel colors like Americolor or Chefmaster. You can also dust dried fondant with luster dust for extra pop.
My turkey fell apart—can I fix it?
Don’t panic! If pieces fall off, use edible glue or a tiny bit of water to reattach them. For major breaks, you can use a toothpick as an internal splint and cover the repair with fresh fondant. Let it dry again before placing on your cake. Remember, every “imperfection” adds character!
Common Fondant Turkey Mistakes to Avoid
Starting with Wet or Sticky Fondant
This is the number one reason fondant projects fail. If your fondant feels sticky to the touch, it has too much moisture. This happens when you use liquid food coloring instead of gel, or if you’re working in a humid environment. Fix it by kneading in cornstarch or powdered sugar, a little at a time, until the fondant feels smooth and pliable but not sticky.
Making Pieces Too Thin
Thin fondant pieces crack, tear, and don’t hold their shape. Your turkey’s body should be substantial enough to support the head and tail feathers. If you’re creating tail feathers, don’t roll them thinner than 1/8 inch, or they’ll droop and potentially break. Remember: you can always trim away excess, but you can’t add thickness once pieces are shaped.
Forgetting Internal Support
A turkey topper needs a skeleton! Using toothpicks as internal support isn’t optional—it’s essential. Without them, your turkey’s head will flop forward, the body will sag, and those beautiful tail feathers will fall flat. Think of toothpicks as your turkey’s bones. Just be sure to warn people about them before cutting the cake.
Not Allowing Proper Drying Time
Patience is key! Trying to move or place your turkey before it’s fully dried results in squished bodies, bent feathers, and smudged details. The absolute minimum drying time is 4 hours, but overnight is better. If you’re in a rush and need to speed up drying, place your turkey in front of a fan (not in the oven or refrigerator).
Using Too Much Edible Glue
More isn’t better when it comes to edible glue! Using too much makes pieces slide around before they can set, and excess moisture can cause fondant to become soft and lose its shape. A tiny dab is all you need—think the size of a pinhead. If you don’t have edible glue, a slightly damp paintbrush works just as well.
Placing Topper on a Fresh-Frosted Cake
Never place your fondant turkey on buttercream that’s still soft and fresh! The moisture from the frosting will cause the bottom of your turkey to become soft and sticky, and it may start to sink or tip over. Let your frosted cake crust over in the refrigerator for at least 30 minutes before adding fondant decorations. The frosted surface should feel slightly firm to the touch.
Skipping the Texture Details
A perfectly smooth fondant turkey looks plastic and artificial. Real turkeys have texture! Use a toothpick to create gentle feather texture on the body and wings. Add tiny lines to the feet, create vein details on tail feathers, and don’t forget that subtle texture makes all the difference between a homemade decoration that looks amateur versus one that looks professional.
Making the Head Too Heavy
If your turkey’s head is too large or dense compared to the body, it’ll flop forward no matter how many toothpicks you use. The head should be proportionally smaller than the body—about one-third the size. If you’ve already made the head too big, don’t start over! Simply make the body larger to compensate, or remove some fondant from the head’s center before attaching it.
Working in Direct Sunlight or Heat
Fondant softens quickly in warm temperatures. Never work near a stove, in direct sunlight, or in a hot room. Your fondant will become too soft to hold its shape, colors may bleed into each other, and details will smudge. Work in a cool room (ideally 65-70°F) for best results.
Forgetting to Dust Your Work Surface
Your work surface should be lightly dusted with cornstarch or powdered sugar before you start rolling fondant. Without this, fondant sticks to surfaces and tears when you try to pick it up. However, don’t use too much—excess powder can dry out your fondant. A light dusting is perfect.
Final Thoughts
Creating your own turkey cake topper is one of those baking projects that seems daunting until you actually try it—and then you wonder why you ever bought store-bought decorations! The joy of placing something you made with your own hands on top of your Thanksgiving cake is genuinely special. Plus, the compliments you’ll receive are just the cherry (or turkey!) on top.
This turkey isn’t just a cake decoration; it’s a conversation starter, a memory maker, and proof that you don’t need to be a professional cake decorator to create something wonderful. So grab that fondant, get your hands a little messy, and give yourself permission to make something imperfectly perfect.