5 Ingredient Vanilla Lava Cake – Easy to Make
Looking for a stunning dessert that’s easy to make? Our ultimate vanilla lava cake recipe brings a sweet, comforting flavor to your kitchen.
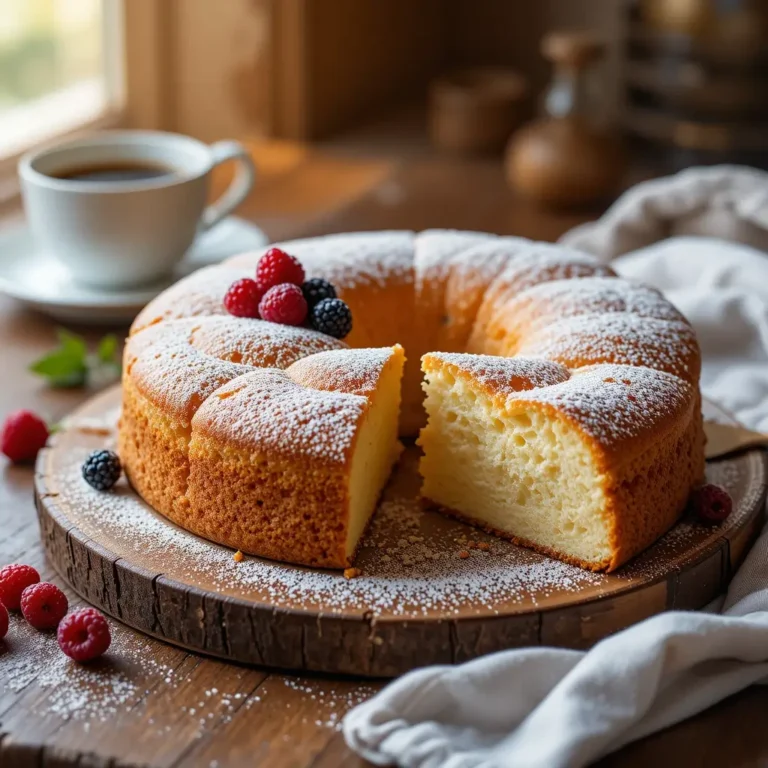
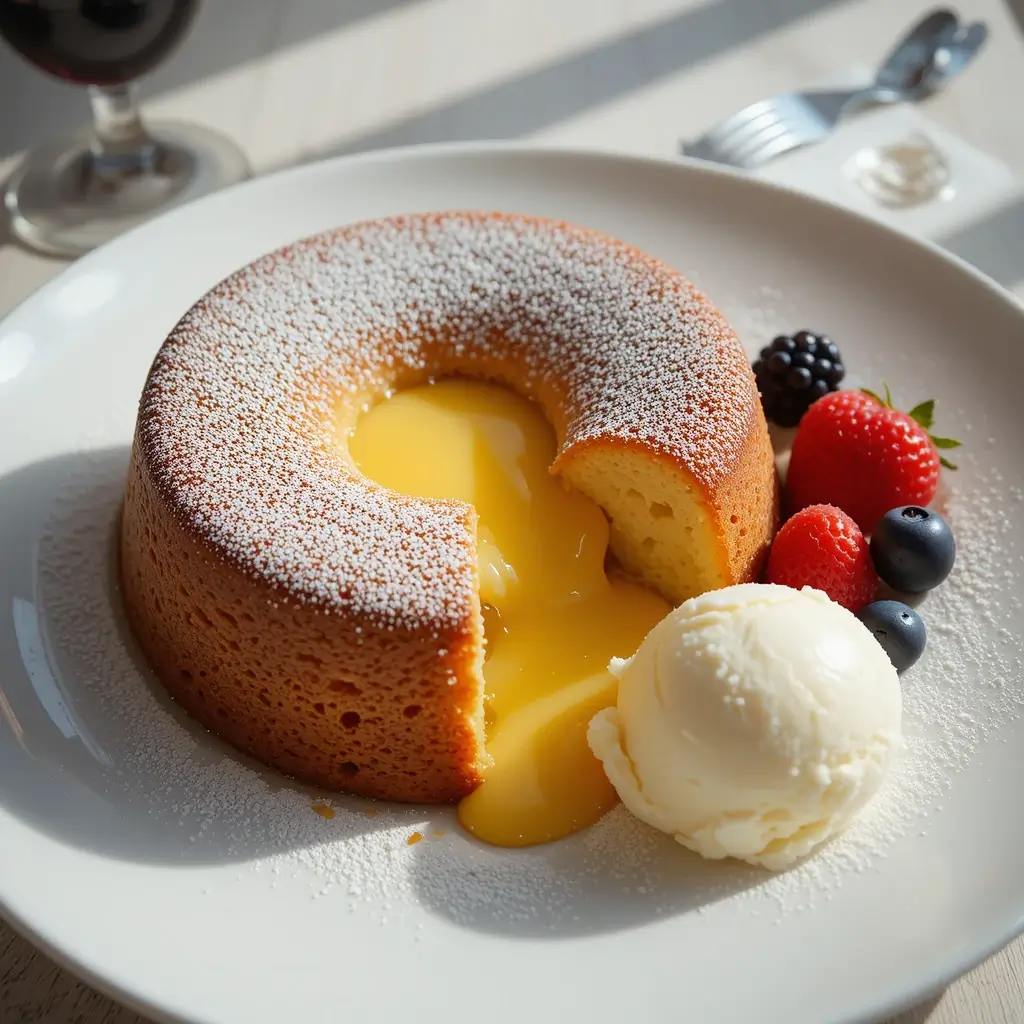
Imagine cutting into a perfectly golden cake and watching warm, creamy vanilla custard flow out like liquid gold. This vanilla lava cake transforms your ordinary dessert routine into something extraordinary with its irresistible molten center.
Perfect for impressing dinner guests or treating your family to something special, this recipe takes just 25 minutes from start to finish. Similar to our popular chocolate lava cake recipe, this vanilla version offers a lighter, more delicate flavor profile that appeals to all ages.
What is Vanilla Lava Cake?
Ever wondered why we call it “lava” cake when there’s no volcano in sight? This delightful dessert gets its dramatic name from the molten vanilla custard that erupts from the center when you cut into it. The contrast between the set exterior and flowing interior creates a culinary experience that’s both surprising and satisfying.
As they say, “the way to a man’s heart is through his stomach,” and this vanilla lava cake certainly paves that path with golden sweetness. Ready to create your own molten masterpiece?
Why You’ll Love This Vanilla Lava Cake
Rich, Molten Center That Steals the Show
The star of this dessert is undoubtedly the warm, flowing vanilla custard center that creates an Instagram-worthy moment every single time. Each spoonful combines the tender cake exterior with the silky smooth molten interior, creating a textural symphony that dances on your taste buds.
Budget-Friendly Elegance for Any Occasion
Making vanilla lava cake at home costs a fraction of what you’d pay at upscale restaurants, yet delivers the same luxurious experience. With simple pantry staples like butter, eggs, and vanilla extract, you can create an impressive dessert that looks and tastes like it came from a professional kitchen.
Customizable Vanilla Bean Perfection
The beauty of this recipe lies in its versatility – use pure vanilla extract for classic flavor, or splurge on real vanilla bean paste for those gorgeous black specks and intense aroma. Top with fresh berries, a dusting of powdered sugar, or a scoop of vanilla ice cream for the ultimate indulgence. Unlike our chocolate brownie recipe, this vanilla version pairs beautifully with fruit flavors and lighter accompaniments.
Don’t wait another day to treat yourself to this heavenly dessert – your kitchen is about to become the most popular spot in your home!
How to Make Vanilla Lava Cake
Quick Overview
This vanilla lava cake recipe delivers restaurant-quality results with surprisingly simple techniques. The secret lies in the perfect timing – underbaking just enough to keep the center molten while ensuring the outer cake sets properly.
Total Time: 25 minutes
- Prep Time: 10 minutes
- Cook Time: 12-15 minutes
- Serves: 4 individual cakes
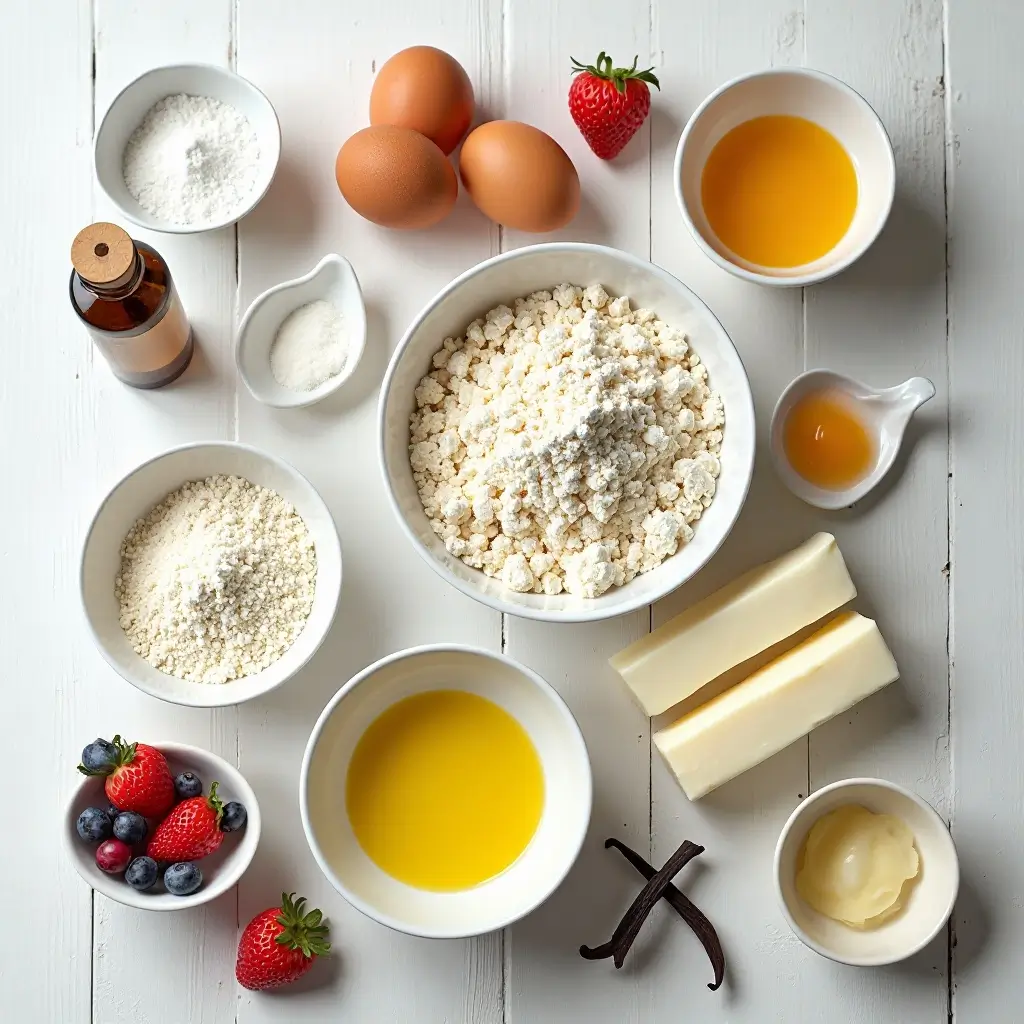
Key Ingredients for Vanilla Lava Cake
For the Cake:
- 4 tablespoons unsalted butter
- 2 large eggs
- 2 large egg yolks
- 1/4 cup granulated sugar
- 2 tablespoons all-purpose flour
- 1/4 teaspoon salt
- 1 teaspoon pure vanilla extract (or 1/2 teaspoon vanilla bean paste)
For Preparation:
- 1 tablespoon butter (for greasing ramekins)
- 1 tablespoon granulated sugar (for dusting)
For Serving:
- Powdered sugar for dusting
- Fresh berries (optional)
- Vanilla ice cream (optional)
Step-by-Step Instructions
Step 1: Prepare Your Ramekins Preheat your oven to 425°F (220°C). Generously butter four 6-ounce ramekins, making sure to coat the bottom and sides completely. Dust each ramekin with granulated sugar, tapping out any excess. This creates a non-stick surface and adds a subtle sweet crust.
Step 2: Melt the Butter In a microwave-safe bowl, melt 4 tablespoons of butter in 30-second intervals, stirring between each interval until completely smooth. Alternatively, melt the butter in a small saucepan over low heat. Set aside to cool slightly.
Step 3: Whisk the Eggs and Sugar In a medium mixing bowl, vigorously whisk together the whole eggs, egg yolks, and 1/4 cup granulated sugar for 2-3 minutes until the mixture becomes pale yellow and slightly thickened. The mixture should fall in ribbons when you lift the whisk.
Step 4: Combine Wet Ingredients Slowly pour the melted butter into the egg mixture while whisking continuously to prevent the eggs from scrambling. Add the vanilla extract and whisk until fully incorporated.
Step 5: Add Dry Ingredients Sift the flour and salt directly into the wet ingredients. Gently fold the mixture with a rubber spatula until just combined – don’t overmix, as this can make the cakes tough.
Step 6: Fill and Bake Divide the batter evenly among the prepared ramekins, filling each about 3/4 full. Place the ramekins on a baking sheet for easy handling. Bake for 12-14 minutes, until the edges are set and slightly pulling away from the sides, but the center still jiggles slightly when gently shaken.
Step 7: Rest and Serve Remove from oven and let the cakes rest for exactly 1 minute – this allows the structure to set slightly while keeping the center molten. Run a thin knife around the edges to loosen, then quickly invert each ramekin onto individual serving plates. Gently lift the ramekin off, leaving the cake on the plate.
What to Serve Vanilla Lava Cake With
Fresh Fruit Pairings: Sliced strawberries, raspberries, or blackberries provide a tart contrast to the sweet vanilla custard. The acidity cuts through the richness beautifully.
Ice Cream Combinations: Vanilla bean, caramel, or even lavender ice cream creates an indulgent temperature contrast that enhances the molten center experience.
Beverage Pairings: Serve with freshly brewed coffee, dessert wine, or even a glass of cold milk for a comforting finish to any meal.
Sauce Additions: Drizzle with caramel sauce, berry coulis, or a simple vanilla glaze for extra elegance and flavor complexity.

Top Tips for Perfecting Vanilla Lava Cake
Timing is Everything
The difference between success and disappointment often comes down to just 1-2 minutes of baking time. Start checking at 12 minutes – the edges should be set but the center should still jiggle when gently shaken.
Temperature Control Matters
Ensure your oven is fully preheated to 425°F before baking. An oven thermometer helps verify accuracy, as temperature variations can significantly affect the molten center.
Room Temperature Ingredients Work Best
Take eggs out of the refrigerator 30 minutes before baking for easier mixing and more consistent results. Cold eggs can cause the butter to solidify in clumps.
Don’t Skip the Ramekin Prep
Properly buttering and sugaring your ramekins ensures easy release. Pay special attention to the bottom edges where cakes often stick.
Make-Ahead Option
You can prepare the batter and fill the ramekins up to 4 hours ahead. Cover with plastic wrap and refrigerate. Add 1-2 extra minutes to baking time if baking from cold.
Storing and Reheating Tips
Immediate Serving: Vanilla lava cakes are best served immediately after baking when the center is perfectly molten. The magic happens in those first few minutes after removal from the oven.
Short-Term Storage: If you have leftover baked cakes (though this rarely happens!), store them covered in the refrigerator for up to 2 days. The texture will change as the center sets, but they’re still delicious.
Reheating Instructions: To reheat refrigerated cakes, microwave individual portions for 15-20 seconds to warm through. The center won’t be molten anymore, but the cake will still be moist and flavorful.
Freezing Batter: Unbaked batter-filled ramekins can be frozen for up to 1 month. Wrap each ramekin tightly in plastic wrap, then place in a freezer bag. Bake directly from frozen, adding 2-3 extra minutes to the baking time.
Make-Ahead Strategy: For entertaining, prepare the ramekins with batter in the morning and refrigerate. This actually improves the flavor as the vanilla has time to develop. Just remember to add a minute or two to the baking time.
Nutritional Information
| Nutrient | Per Serving |
|---|---|
| Calories | 285 |
| Total Fat | 18g |
| Saturated Fat | 11g |
| Cholesterol | 185mg |
| Sodium | 165mg |
| Total Carbs | 28g |
| Dietary Fiber | 0.5g |
| Sugars | 26g |
| Protein | 6g |
| Vitamin A | 15% DV |
| Calcium | 4% DV |
| Iron | 8% DV |
Nutritional values are approximate and based on standard ingredient measurements
Frequently Asked Questions
Can I use vanilla extract instead of vanilla bean paste?
Absolutely! Use 1 teaspoon of pure vanilla extract in place of 1/2 teaspoon vanilla bean paste. The flavor will be just as delicious, though you won’t get those beautiful vanilla bean specks.
What if my lava cake doesn’t have a molten center?
This usually means the cake was overbaked by 1-2 minutes. Every oven is different, so start checking at 12 minutes. The center should still jiggle slightly when the ramekin is gently shaken.
Can I make these without ramekins?
Yes! You can use a 6-cup muffin tin instead. Butter and sugar each cup well, fill 3/4 full, and bake for 10-12 minutes. The baking time will be slightly shorter due to the shallower depth.
How do I know when they’re perfectly done?
Look for edges that are set and pulling slightly away from the ramekin sides, while the center still has a slight jiggle when gently shaken. The tops should be golden but not dark brown.
Can I make the batter ahead of time?
Yes! You can prepare the batter and fill the ramekins up to 4 hours ahead. Cover with plastic wrap and refrigerate. Add 1-2 extra minutes to the baking time when baking from cold.
What’s the best way to unmold the cakes?
Run a thin knife around the edges immediately after removing from the oven, wait exactly 1 minute, then quickly invert onto serving plates. The timing is crucial – too soon and they’ll fall apart, too late and they’ll stick.
Can I substitute the all-purpose flour?
For best results, stick with all-purpose flour. Cake flour will make them too delicate, while other alternatives may affect the texture and molten center.
Why did my cakes sink in the middle?
This can happen if the oven door was opened too early in the baking process, causing temperature fluctuations. Also, overmixing the batter can cause this issue.
Pro Chef Secrets for Next-Level Results
The Vanilla Bean Upgrade: If you want to take this recipe to the next level, scrape the seeds from half a vanilla bean and add them to your batter along with the extract. The visual impact of those tiny black specks is stunning, and the flavor intensity is unmatched.
Temperature Testing: Use an instant-read thermometer inserted into the center of one cake – it should read between 160-165°F for the perfect molten consistency.
Presentation Perfection: Dust with powdered sugar using a fine-mesh sieve just before serving. For restaurant-style plating, add a small quenelle of vanilla ice cream and a few fresh mint leaves.
Flavor Variations to Try: Add a tablespoon of cream cheese to the center of each ramekin before adding batter for an even richer center, or swirl in a teaspoon of caramel sauce for a vanilla-caramel hybrid.
This vanilla lava cake recipe proves that impressive desserts don’t require complicated techniques or expensive ingredients. With just a few pantry staples and 25 minutes of your time, you can create a restaurant-quality dessert that will have everyone asking for the recipe. The combination of the tender cake exterior and flowing vanilla custard center creates a memorable experience that’s perfect for any occasion, from casual family dinners to elegant dinner parties.
Remember, the key to success lies in the timing and temperature control. Don’t be discouraged if your first attempt isn’t perfect – even professional chefs need practice to master the molten center technique. With each batch, you’ll develop a better sense of your oven’s personality and timing.
Whether you’re celebrating a special occasion or simply want to end your Tuesday on a sweet note, this vanilla lava cake delivers pure comfort and indulgence in every spoonful. So preheat that oven, grab your ramekins, and get ready to create some molten magic in your own kitchen!